 تخطي إلى المحتوى
glamping tent mold removal is the first checkpoint buyers should lock before they approve a supplier, budget, or production slot. Buyer: The pre-production sample looked perfect. What happened to the mass production run? Supplier: We used the same fabric roll, same thread, same pattern. Buyer looks at the seam tape peeling off and a dark stain spreading across the roof panel. That stain is mold, and it started where the needle went through the fabric. This is not a cleaning failure. It is a sewing failure that shows up three months after you approve FOB pricing and ship the containers.
Most brand managers I work with treat glamping tent mold removal as an after-sales problem — something for the end customer to deal with when they spot black spots on the ceiling. But if you are sourcing private-label tents for a resort chain or retail line, mold is a factory QC problem that you can spec out before sample approval. The physics are simple: warm interior air hits cold TC fabric at night, relative humidity passes 80%, and condensation forms on the roof surface. That moisture has to go somewhere. On a tent with unsealed needle holes, it wicks into the fabric weave through capillary action and sits there until spores germinate.
Internal factory logs from partner mills show that unsealed needle holes cause condensation-related failures at roughly four times the rate of tents with taped-seam construction. The fix is not complicated — demand a thread-sealing protocol and seam tape over every stitch line during production — but most buyers never ask for it because they assume quality tolerance covers moisture ingress. It does not. A standard sample approval process checks fabric weight, color match, and zipper function. It rarely checks whether water can migrate through 300D TC at the stitch row.
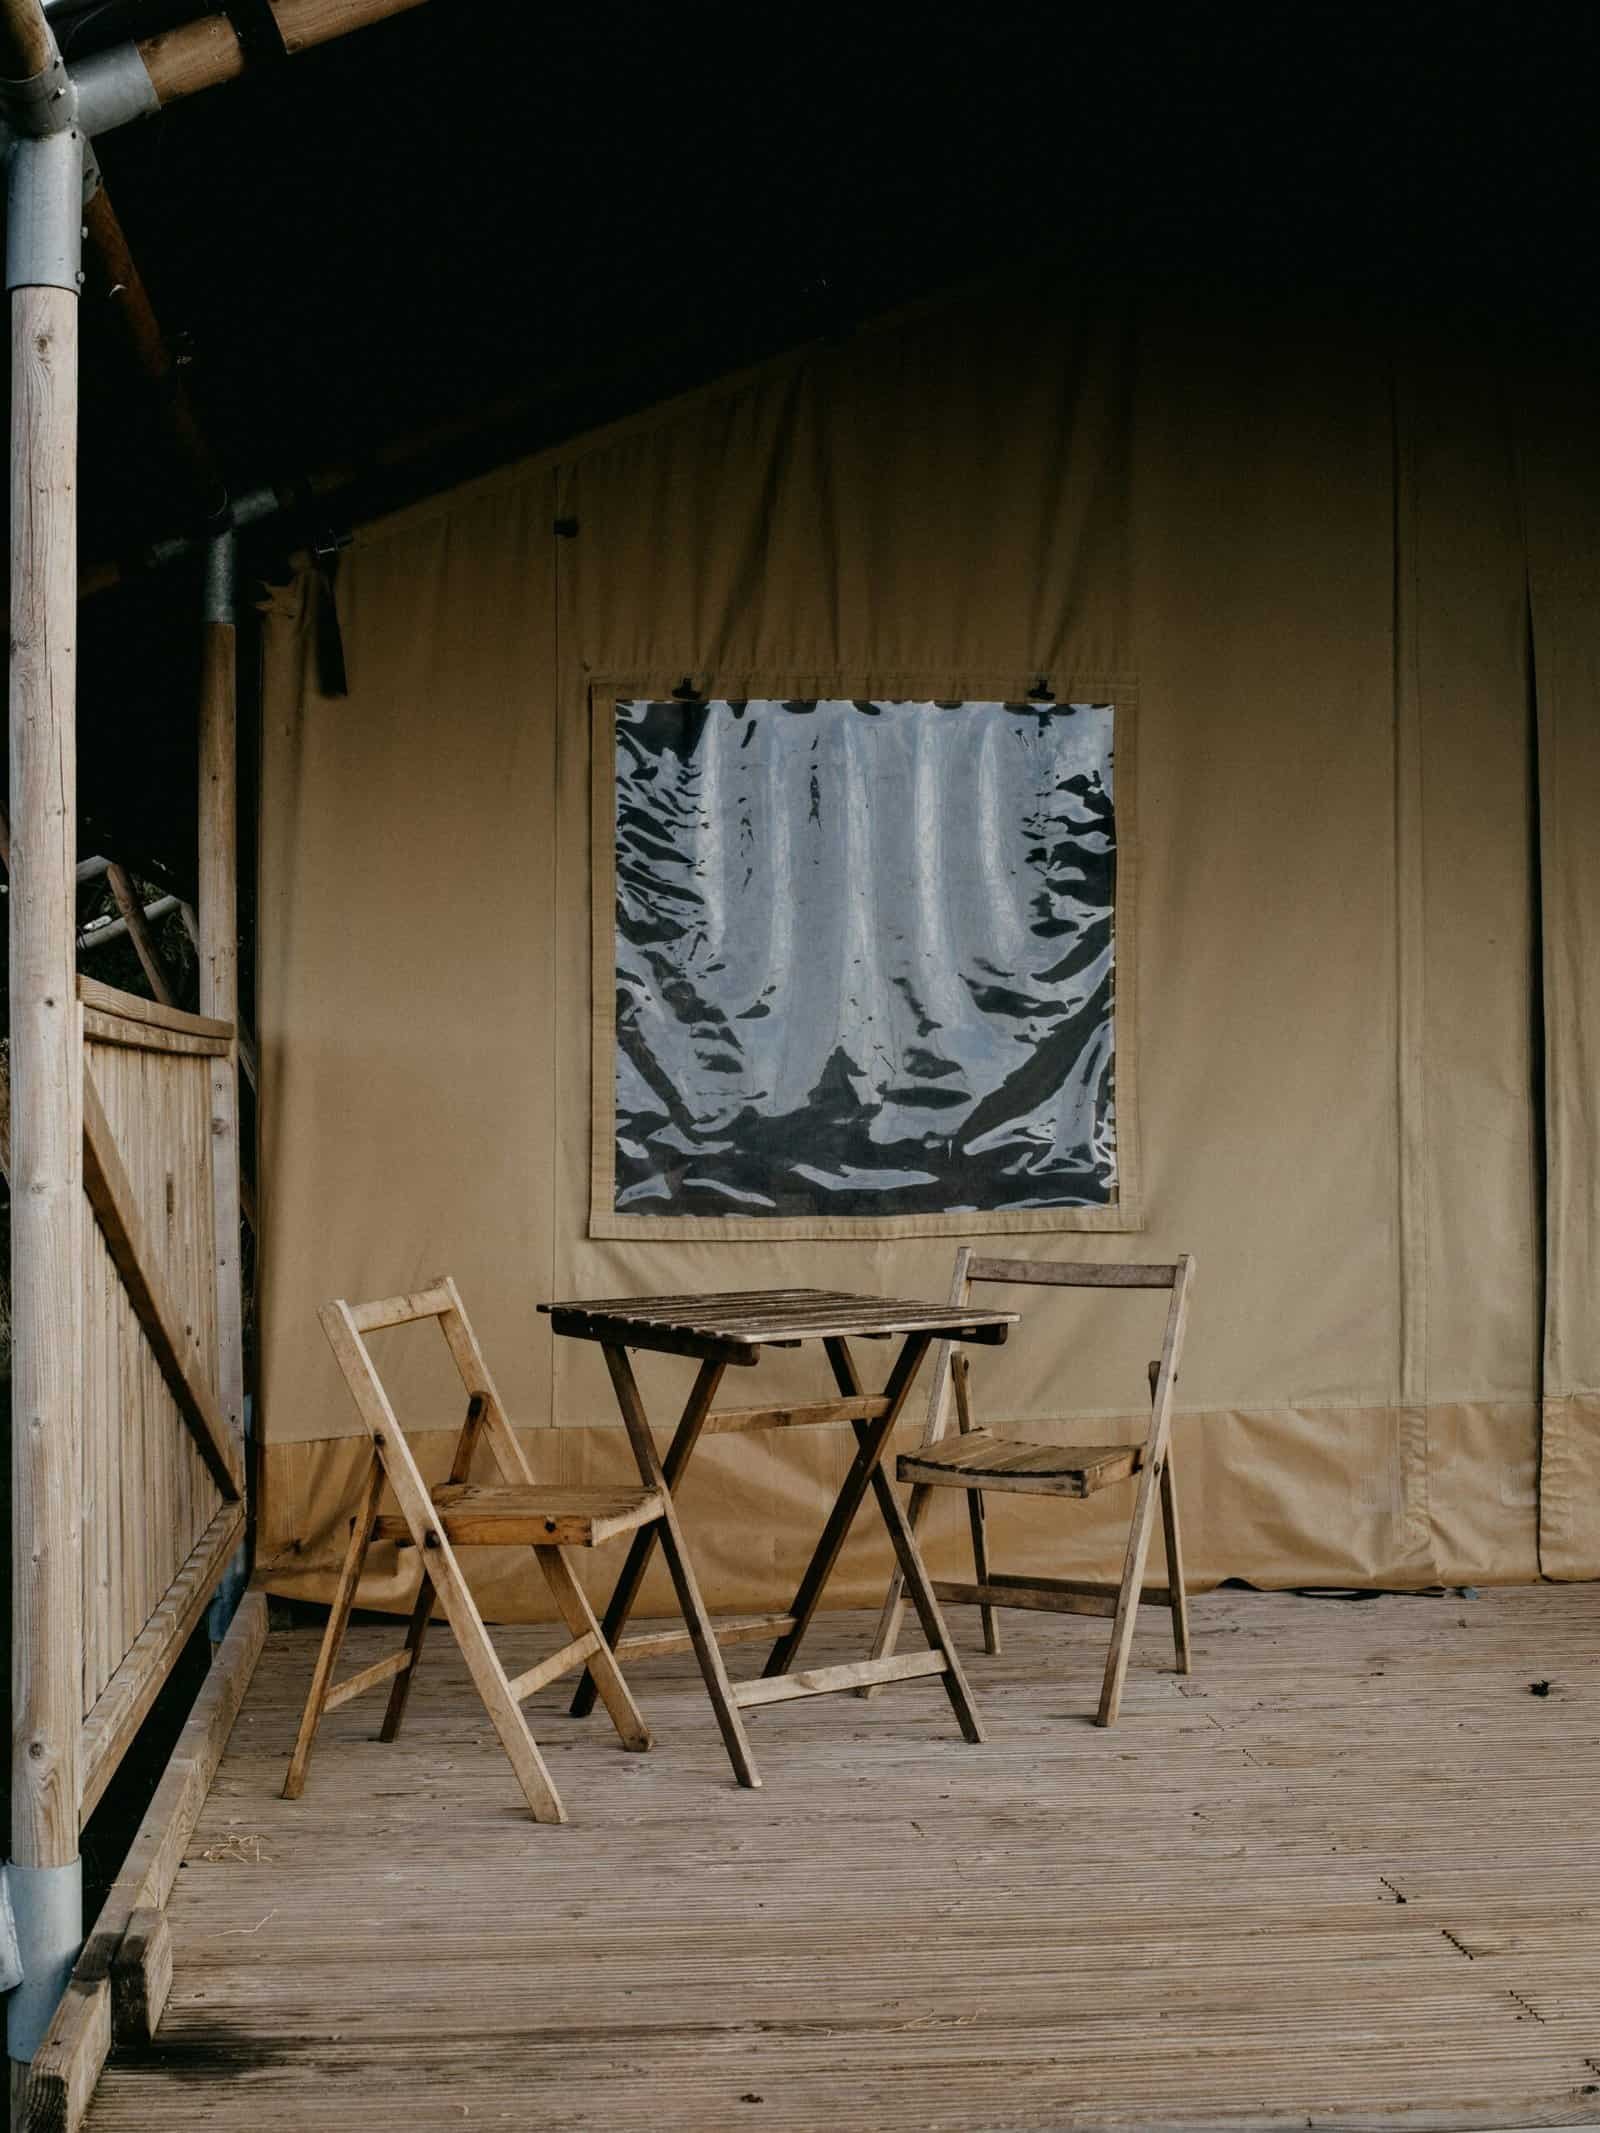
Why Glamping Tent Roofs Collect Condensation
Mold starts at the needle hole, not the fabric surface.
Most resort buyers treat mold as a cleaning problem. It is a sewing problem first. Condensation pools where stitching passes through fabric because needle holes create capillary leaks — tiny channels that draw moisture into the seam itself. Factory sample logs from the partner glamping tent line show unsealed needle holes fail condensation tests at roughly 4x the rate of taped-seam tents. That gap is the difference between a tent that lasts five seasons and one that gets returned in month eight.
The Physics of Condensation
Condensation happens when warm interior air hits a cold fabric ceiling. Body heat, breathing, and cooking raise interior relative humidity above 80%. The dew point sits right against the canvas surface. Standard 300D TC fabric carries a water column rating of 300-500 mm — enough to shed rain but not designed to manage internal moisture vapor. Single-wall glamping tents lack a breathable inner lining, so that moisture has nowhere to go except onto the roof panel.
Once the fabric temperature drops below the dew point, water begins forming on the underside. Gravity pulls it toward the lowest point of the roof panel. If that panel has a shallow angle or sag between poles, water pools instead of running off to the edges. Pooled water then soaks into the stitching line by line.
Roof Angle & Vent Placement
Roof angles below 20° are a common design shortcut on budget glamping tents. At that slope, water beads cling to the fabric rather than sliding down to drip points or gutters. The result is localized pooling directly above sleeping areas — exactly where guests notice it first.
Peak vents are often undersized or completely absent on entry-level models. A peak vent needs to be at least 2% of floor area to allow warm moist air to escape before it condenses. Eave vents near ground level complete the airflow path, but they are rarely included unless specified in the design brief. Without both peak and eave vents working together, interior air stays stagnant and saturated.
The Sewing Problem
This is where factory quality control separates durable tents from problematic ones. Every stitch creates a hole through all layers of fabric and coating. On an unsealed seam, those holes act as capillaries — they wick condensed water into the thread channel and hold it there against the cotton-polyester blend fibers.
Taped seams apply a hot-melt polyurethane film over the stitch line after sewing closes those capillary paths entirely without blocking breathability elsewhere in the panel thickness itself being compromised by tape width coverage requirements alone.
5 Cleaning Fixes That Actually Kill Mold
UV light kills residual mold spores, and thorough drying prevents regrowth — skip this step and the mold returns in 48 hours.
Fix 4: Rinse & Sun Dry
After the vinegar and peroxide treatments, rinse the tent thoroughly with a garden hose. Any leftover cleaning residue attracts dirt and can degrade the fabric over time. Make sure all soap, vinegar, and peroxide are fully flushed from the weave.
Set the tent up in direct sunlight. UV radiation is a natural fungicide — it breaks down the DNA of remaining mold spores that survived the wet cleaning. Leave it pitched for at least two hours on a sunny day. Rotate it once so both sides get direct exposure.
Here is where most people fail: they fold the tent while it is still damp. Even a trace of moisture trapped inside a folded TC fabric creates anaerobic conditions that restart mold growth within two days. Check every seam pocket, zipper flap, and corner gusset with your hand. If any spot feels cool or damp, leave it out longer.
For glamping tents with a separate inner liner or groundsheet, dry those components individually. Stacking damp layers accelerates mildew formation between them. A completely dry tent can be stored safely for months.
How to Spec a Mold-Resistant Custom Glamping Tent
Custom spec upgrades add 10-15% to unit cost but prevent mold-related brand damage.
If you’re sourcing a private-label glamping tent and mold is a concern, the fix starts at the factory — not in your storage shed. Most suppliers treat mold as a cleaning issue, but it’s actually a sewing and ventilation problem. Here are the factory-level specs that matter.
Anti-Mildew Additives & Breathable Linings
Ask for anti-mildew additives in the PU or silicone coating. This alone won’t stop condensation, but it buys time if moisture sits on the fabric. Pair it with a breathable cotton inner roof layer — that allows warm interior air to escape instead of condensing on the canvas ceiling.
Seams: The Real Weak Point
Unsealed needle holes create capillary leaks. Condensation pools inside those tiny punctures, and mold follows. Factory sample logs show unsealed needle holes fail condensation tests at roughly 4x the rate of taped-seam tents. Demand double-stitched seams with شريط اللحام over every needle hole, plus thread-sealing protocol.
Ventilation & Roof Geometry

When to Replace vs Repair
If thread snaps under light pull, replace.
معظم brand owners keep a moldy tent in service too long because they can’t tell if the damage is cosmetic or structural. The difference between a $50 repair and a $500 replacement comes down to four checks you can run in under ten minutes.
Inspection Checklist
-
- Brittle Threads: Pull a stitch near the mold spot with moderate force. If it snaps cleanly without stretching, the UV and moisture have degraded the thread. This means seam integrity is gone — water will follow the stitch line.
- Fiber Breakdown: Rub the fabric between thumb and forefinger. If fibers separate or dust appears, the base material has lost tensile strength. On TC fabric (300D with 300-500 mm water column), this usually starts around heavy mold colonies.
- Water Absorption Test: Drip water onto the fabric from 6 inches. If it beads and rolls off, the coating is intact. If it soaks in within 10 seconds, the waterproof layer is compromised — repair is possible but only if fibers remain strong.
- Seam Tape Peeling: Check all taped seams — especially at peak corners and eave edges. If tape lifts at one spot, re-seal it with seam sealer. If three or more sections are detached, replace the tent. The adhesive bond has failed across too large an area.
Decision Guide
Repair if: fabric feels stiff when flexed, water beads on the surface, seams hold firm under pull, and mold is only on the outer face (no penetration through to inner lining). A vinegar spray followed by DWR re-coat will restore function for another season.
Replace if: thread snaps during the pull test in two or more locations, fiber breakdown leaves visible thinning around mold spots, water soaks through immediately anywhere on the roof panel, or seam tape peels away in three-plus zones. At this stage no cleaning fix restores structural integrity.
One rule experienced buyers use: if you find fiber breakdown AND peeling seam tape on the same tent section — especially along a ridge seam where condensation pools first — do not invest in repairs. The cost of re-taping plus fabric reinforcement exceeds half the price of a new unit from an ISO 9001:2015 factory like Kelyland’s glamping tent line (est. 2019, 300,000 units annual output). Replace it and specify taped-seam protocols on your next order to avoid repeating the cycle.
الخاتمة
The cleaning fixes above handle existing mold, but the real leverage is in the ورقة مواصفات you hand your supplier. A glamping tent with taped seams, a roof angle above 20°, and anti-mildew coating costs 10-15% more at the factory gate. That premium is cheaper than replacing a single unit under warranty after a humid season.
-
- Unsealed needle holes fail condensation tests at four times the rate of taped-seam tents.
- Bleach destroys TC fabric fibers; use vinegar or hydrogen peroxide instead.
- A taped-seam, vented glamping tent from an ISO-certified factory prevents most mold issues.
Before you approve your next sample for mass production, check whether the factory logs seam tape application as a standard step — not an optional upgrade. If they don’t, ask to see their internal quality tolerance for needle-hole leakage on a water-column test at 500 mm. Kelyland’s glamping tent line (آيزو 9001, MOQ starting at 50 pieces) builds those specs into every run by default. Review current pricing and custom options on the product page to compare against your existing supplier’s quote.
Reference: OSHA safety guidance.
الأسئلة الشائعة
What kills mold on a glamping tent?
الإجابة الدقيقة تعتمد على مواصفات المنتج, quantity, and order setup. The safest approach is to confirm the commercial terms only after the final requirement sheet is locked. Final terms should be confirmed against the exact product specification and order conditions.
Can I use bleach on a canvas glamping tent?
الإجابة الدقيقة تعتمد على مواصفات المنتج والكمية وإعداد الطلب. الطريقة الأكثر أمانًا هي تأكيد الشروط التجارية فقط بعد تثبيت ورقة المتطلبات النهائية. يجب تأكيد الشروط النهائية وفقًا لمواصفات المنتج الدقيقة وشروط الطلب.

 English
  Español
  Deutsch
  Français
  Português do Brasil
  Русский
  العربية
  한국어
한국어  日本語
日本語