 跳到内容
跳到内容 
Тема: установка надувной палатки на снегу. The forwarded note said it in one line: a $50K order failed because the pre-production sample passed the quality gate while the mass production run shipped without cold-weather pressure data. That mismatch between what sample approval checks — fabric, zippers, print placement — and what a snow trip actually demands is where winter tent buying goes sideways.
Set an 8 PSI beam at 20°C and it runs about 1.5-2 PSI low by -15°C. The sag invites snow to pool, loads the structure unevenly, and stresses the same welds the factory tested at room temperature. Before any OEM RFQ, demand three documents: TPU cold-flex data to -30°C, PVC cold-crack thresholds below -20°C, and a snow-load test report showing 25-30 cm of fresh snow for 48 hours with no seam failure. A vendor that hesitates on any of those is not winter-grade, whatever the FOB pricing looks like.
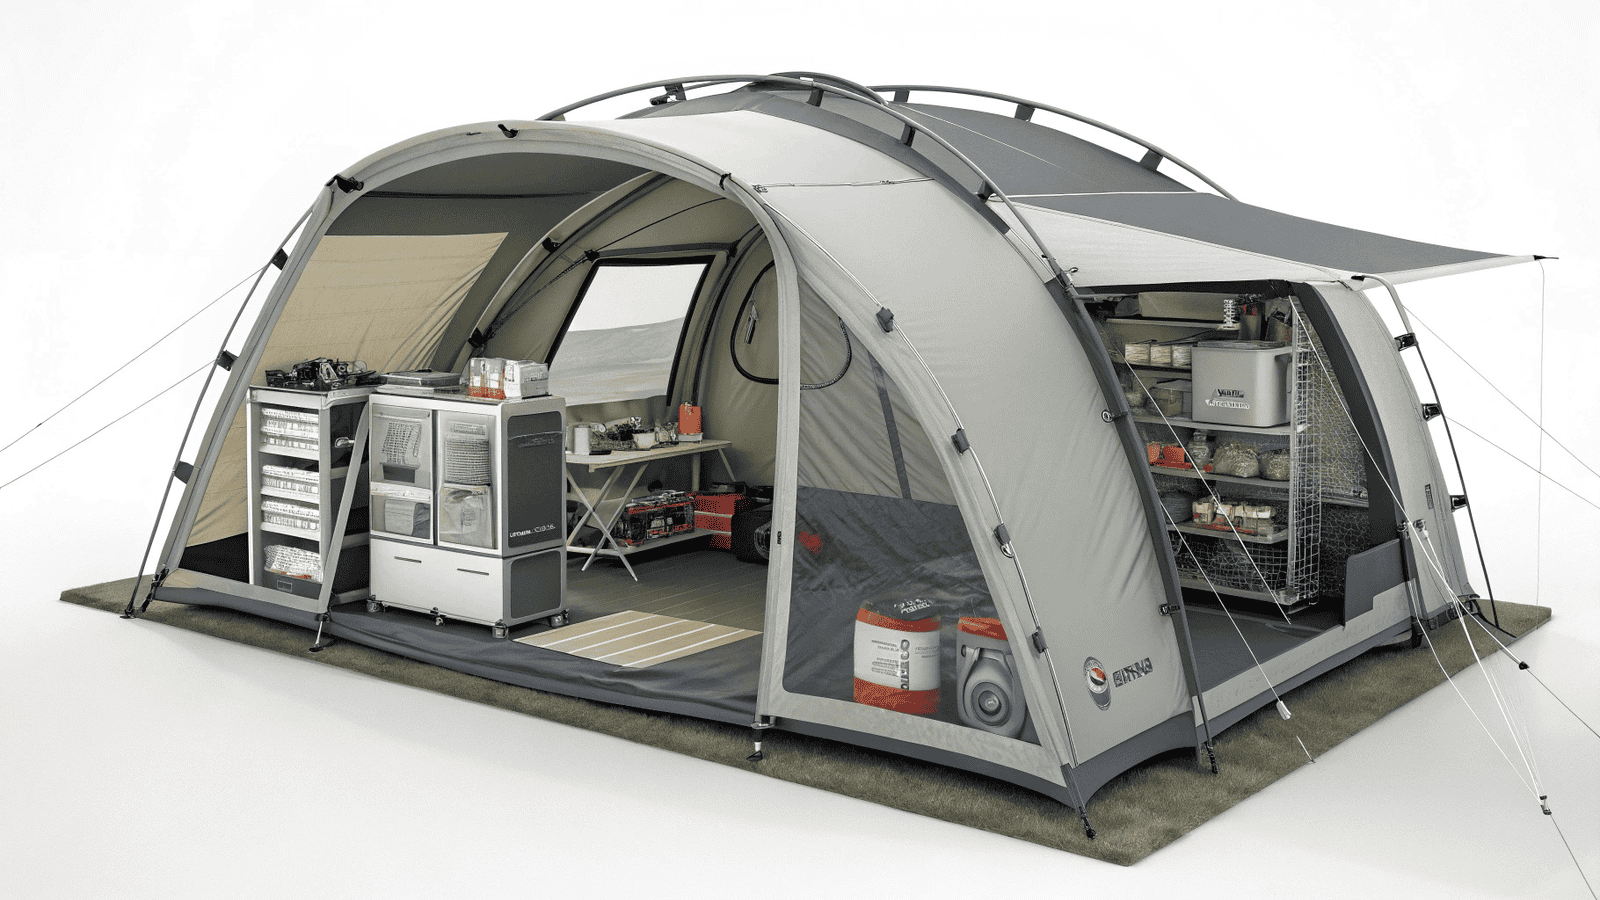
How Snow Load and Cold Air Pressure Affect Air Beams
Under-inflated beams, not beam strength, cause most inflatable tent snow failures.
Cold air changes the math inside an air beam. Set a tent to 8 PSI at 20°C and that same air volume reads roughly 1.5–2 PSI lower at -15°C. The beam softens, deflects, and starts catching snow instead of shedding it. Most retail manuals omit this temperature-to-PSI relationship — which makes it the single most important winter spec to verify.
Gas-Law Pressure Loss
This isn’t a leak. It’s the ideal gas law doing exactly what it does: pressure drops as temperature falls. At an 8 PSI set point, a 2 PSI loss is a 25% reduction in beam stiffness. The tent won’t visibly sag at ground level, but roof panels lose tension and beam-to-fabric attachment points carry load they weren’t designed for. A buyer validating a 4-season tent should ask for a cold-weather inflation chart before approving any sample.
Snow Load and the Sag Feedback Loop
Wet snow is heavy. A sagging beam changes the roof pitch, so snow accumulates instead of sliding off. Every centimeter of deflection increases the catchment area, adds weight, and deepens the sag. This is where air-beam tents have an edge over pole tents — they distribute load across the full beam arc. But only while pressure holds. A pole tent racks and twists under uneven snow; an air-beam tent keeps its geometry until the pressure drops.
Factory Snow-Load Test Data
The benchmark buyers should request: 25-30 cm of fresh snow left on the structure for 48 hours with no seam failure. That’s the snow-load test run on Kelyland’s TPU-beam tents at the Ningbo tent factory, one of 17 core strategic factories operating under ISO 9001:2015. TPU beams stay flexible to -30°C. PVC beams, by contrast, risk cold-cracking below -20°C. The test also exposed warning signs that belong on any inspection checklist.
- Creasing: Longitudinal creases on the beam surface mean the fabric is buckling under load — a sign internal pressure dropped below the design threshold.
- Audible seam stress: Popping or crackling from welded seams at low temperature signals the material is nearing its flex limit.
- Uneven pitch: One side of the roof sitting visibly lower than the other means the pressure loss isn’t uniform and the beam geometry is already compromised.
- Pressure gauge drop >2 PSI: A drop beyond 2 PSI during a 48-hour snow test means the structure is losing pressure faster than temperature change alone can explain.
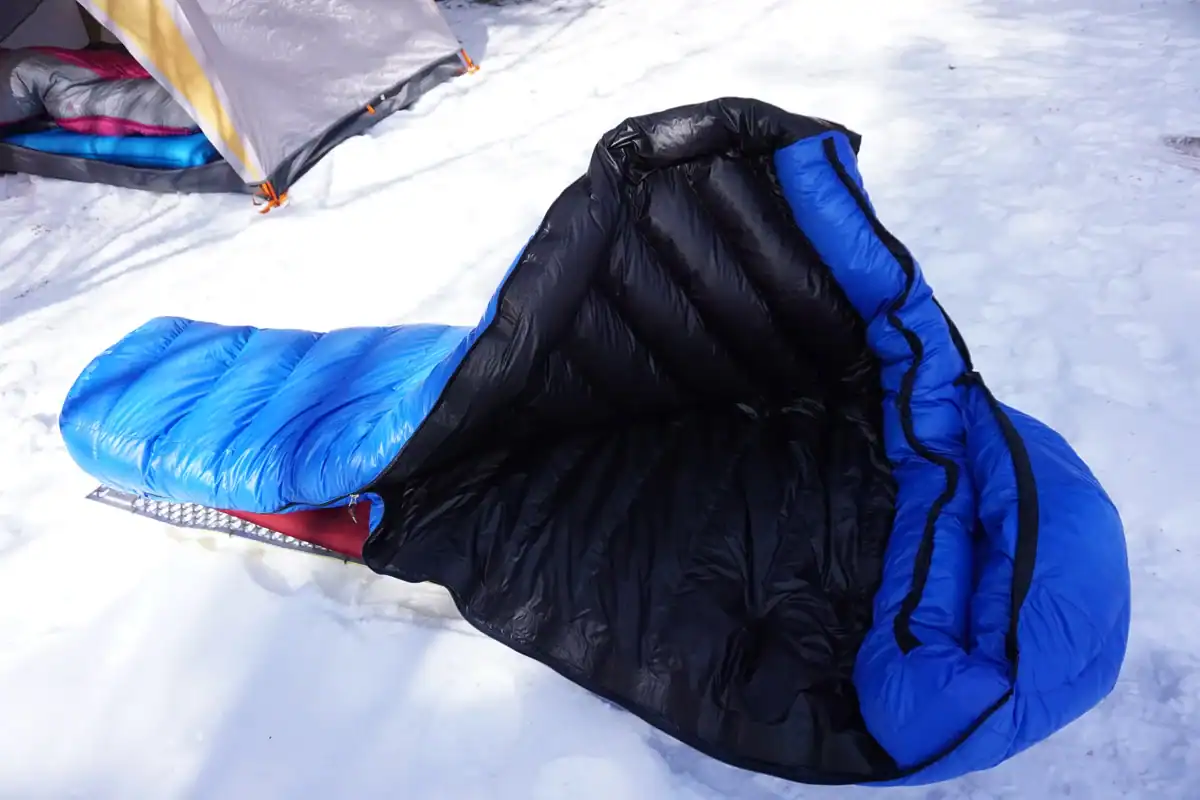
The Correct Inflation Sequence in Freezing Temperatures
Set an inflatable tent to 10-12 PSI before snow.
Most inflatable tents fail on snow because the beam pressure drops overnight and nobody re-checks it. Cold air contracts, the shell relaxes, and a snowfall lands on a beam running softer than the rating in the manual. The sequence below is what an OEM buyer should verify before approving any winter-grade sample.
Warm the pump before inflation
Set up the tent first, then place the pump inside the tent or inside a sleeping bag for ten minutes. A pump that sits in a cold vestibule draws outside air, which gives false pressure readings once that air warms inside the beam. The order matters: set up, warm pump, inflate, wait, re-check.
Inflate to 10-12 PSI, then wait 15 minutes
Target 10-12 PSI, not the 8 PSI you see in single-season manuals. A tent set to 8 PSI at 20°C runs roughly 1.5-2 PSI low at -15°C. That drop does not always collapse the tent, but it lets the beam deflect further under snow, and deflection concentrates stress at the seams.
Stop pumping once the gauge reads 10-12 PSI. Wait 15 minutes. The beam material stretches, and the air temperature equalizes with the snow surface. Re-check the gauge and top up. That extra 15 minutes costs nothing and prevents the most common field complaint. Skipping this step is why tents look tight at 16:00 and sag by 21:00.
Prevent beam seam stress
Inflate in 3-4 PSI increments instead of one continuous burst. Rapid pressure spikes stress the seams before the fabric seats. With TPU air-tube frames, the material stays flexible to -30°C. PVC air-tube frames carry a cold-crack risk below -20°C, so seam checks matter before loading the fly.
Kelyland’s factory snow-load test runs 25-30 cm of fresh snow on TPU air-tube tents for 48 hours with no seam failure, and it only passes when beam pressure stays at spec. Ask the factory for that pressure log, not just a brochure photo, before you add winter inflatable tents to your private-label line.
- Cold-crack check: Inspect beam folds for whitening or hairline splits before pitching in snow; PVC beams need extra scrutiny below -20°C.
- QC gate: Kelyland’s partner factories run to ISO 9001:2015 standards; request the cold-flex data and snow-load test report before sample approval.
Snow Anchoring Methods That Don’t Fail
Standard stakes pull out at 80 kg.
Tents don’t blow over on snow because the fabric fails. They blow over because the anchor fails first. A deadman anchor built from 25 mm tubular webbing buried 30 cm below the surface holds 80-100 kg of pullout force. A standard aluminum stake in soft snow zeroes out at 80 kg. That difference is the margin between a tent that stays put and one that becomes a sled.
Deadman Anchors
Dig a slot 30 cm deep, aligned perpendicular to the direction the guyline will pull. Drop in a loop of 25 mm tubular webbing, then pack snow back in layers, compacting each layer before adding the next. The webbing exits at the surface and connects to the guyline. The buried loop transfers load across a large snow area instead of a single stake point.
- Webbing: 25 mm tubular webbing spreads the load over the snow mass. Thin cord concentrates it and pulls through.
- Bury depth: 30 cm minimum, positioned perpendicular to the pull direction.
- Packing: Compact snow back in layers. A loosely filled pocket fails before a packed one.
Snow Pickets and Engineered Stakes
Snow pickets are the faster option when the snowpack is deep enough. Engineered snow stakes need a 25-30 cm bury depth. Set them shallower and they tip under load instead of holding. Standard aluminum stakes are not a substitute: in soft snow, an 80 kg load pulls them clean out. If a supplier calls a tent four-season and ships thin aluminum stakes, question the rest of the spec sheet.
Guyline Geometry and Groundsheet Prep
Anchors only work when the guyline gives them a favorable angle. Set guylines at 45° to the snow surface. Flatter angles pull anchors upward and out of the snowpack. On the windward side, reinforce with 6-8 anchor points minimum. Snow drifting against the leeward wall creates a shifting load; one or two stakes will not hold it through a night of changing wind.
Groundsheet prep is the step most crews skip. Lay an insulated moisture barrier between the floor and the snow. It stops the floor from freezing into the ice layer and blocks conductive cold from the ground. Skipping it turns strike-camp into a fight that ends with ripped webbing and frozen fingers.
An anchor is only as strong as the stitching that ties it to the tent. Kelyland’s partner factories — which adhere to ISO 9001:2015 — inspect stitching and attachment points at every production stage, with reports available on request. That documentation matters when you qualify a winter tent line: a deadman anchor tied to a poorly sewn loop fails at the seam, not the snow.
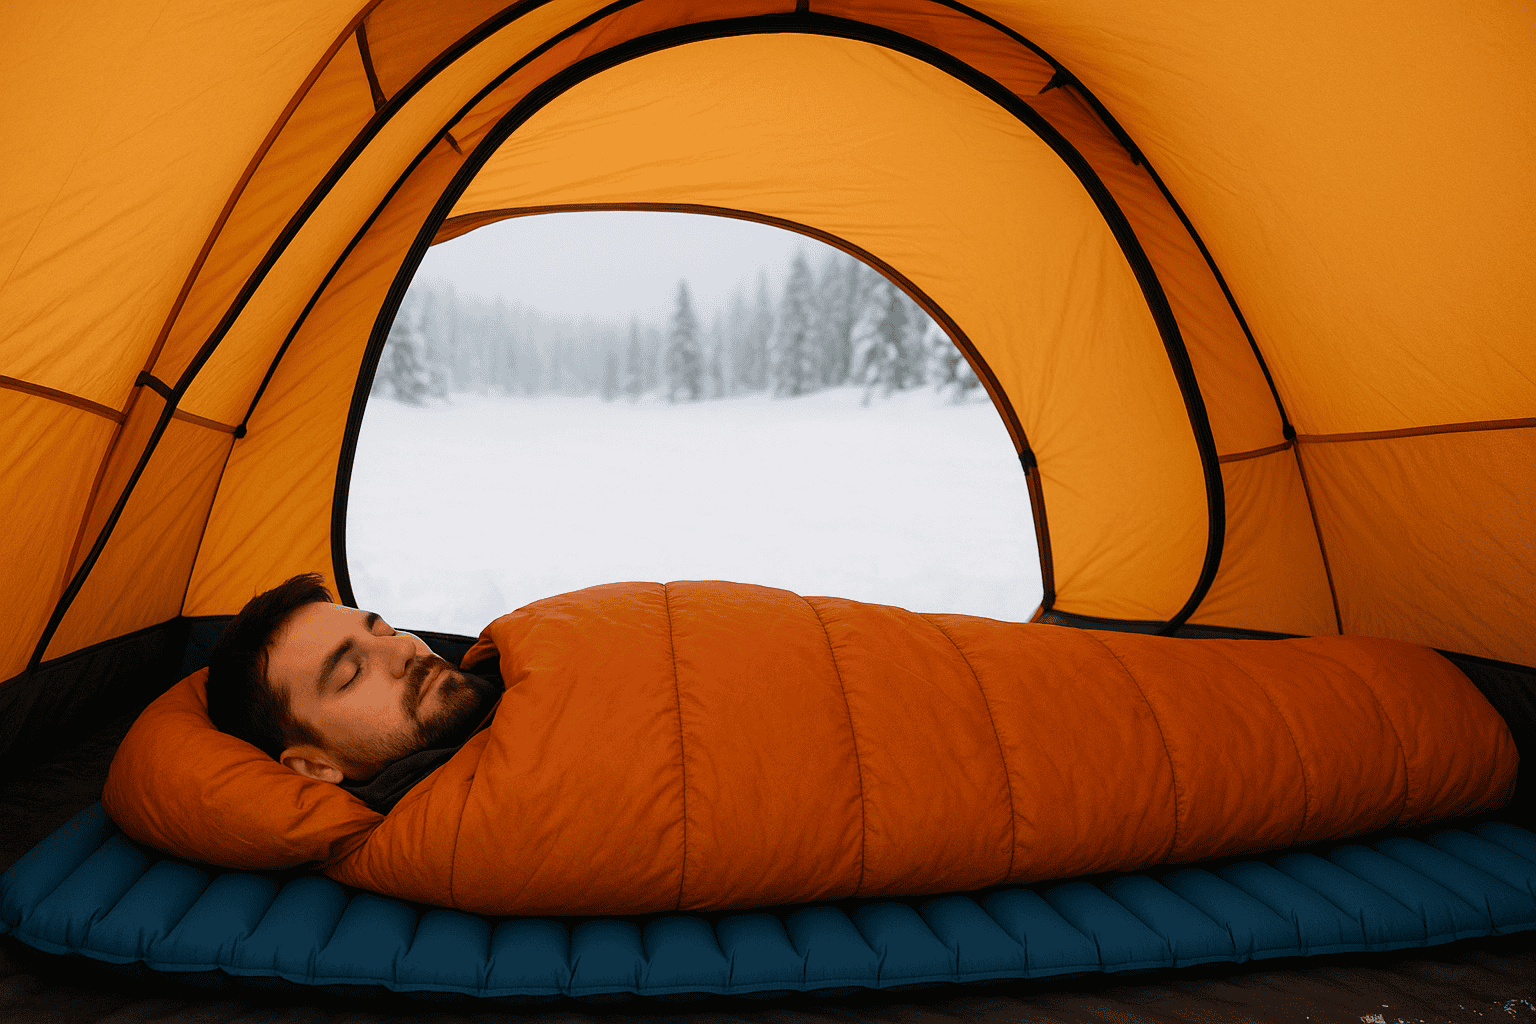
B2B Checks for Winter-Grade Inflatable Tents
If a supplier can’t produce a low-temp flex chart, the tent hasn’t been winter-tested.
Winter-grade claims need to be verified at the document level, not the marketing level. Before sending an RFQ, demand three things: a low-temp flex test report, a snow-load test certificate, and weld/stitch performance data at -20°C. A supplier who hesitates on any of those is telling you something.
Low-Temp Flex Test Reports
TPU air beams stay flexible to -30°C; PVC cold-crack risk starts below -20°C. For any tent labeled four-season, request a test report showing the actual temperature range and the beam’s behavior at the low end. A missing chart means the test was never run. Without data, assume the beam will fail in the field.
- TPU air beams: Low-temp flex data should extend to -30°C, with the beam bent at the weld seam, not just the fabric surface.
- PVC cold-crack risk: Below -20°C, PVC stiffens and can crack along welds. Ask which PVC grade was used in the test.
- Красный флаг: If the supplier sends a marketing sheet instead of a test chart, the tent has not been validated for snow use.
- Weld/stitch performance at -20°C: TPU welds and sewn seams react differently in cold. Confirm the report states the test temperature and the failure mode observed.
- Vent sizing: A sealed winter tent traps moisture. Verify vent area against internal volume so condensation doesn’t build up and freeze overnight.
- ISO 9001:2015 factory: Confirm production runs at an ISO 9001:2015-certified facility with inspections at every stage and reports available on request.
Snow-Load and Weld Certificates
Ask for a snow-load test certificate, not a claim that the tent “handles snow.” The factory snow-load test for TPU-beam tents at Kelyland runs 25-30 cm of fresh snow for 48 hours with no seam failure. Match that standard precisely: snow density, test duration, and seam inspection method all need to be documented.
Kelyland QC and Customization
Kelyland’s winter tent OEM process runs through 17 core strategic factories and more than 200 manufacturing partners, most ISO 9001:2015 certified. Bulk orders can start at 50-100 pieces with a standard production lead time of 30-45 days. Customization covers fabric dyeing, printing, private-label branding, tags, and packaging.
Заключение
Winter inflatable tent setup rewards pressure discipline. The 1.5-2 PSI loss at -15°C is the difference between a stable 10-12 PSI beam and a sagging frame that collects snow. Proper inflation, TPU material verification, and deadman anchoring keep the tent up through the season, support cold-weather compliance, and keep 4. и предполагает, что стойки слишком слабые или пластина ступицы гнётся. Поэтому они выбирают более толстое стекловолокно или более тяжёлую алюминиевую штамповку. Ни одно из этих решений не устраняет фактический механизм отказа: влага попадает в отверстие штифта, разъедает самое дешёвое покрытие в спецификации материалов и блокирует запирающий механизм. off your ledger.
- Set TPU-beam tents to 10-12 PSI before snow; at -15°C an 8 PSI baseline runs 1.5-2 PSI low.
- TPU air beams flex to -30°C; PVC cold-crack risk starts below -20°C. Verify which material the spec sheet names.
- Bury 25 mm tubular webbing deadman anchors 30 cm deep for 80-100 kg pullout; standard stakes zero out.
- Ask for snow-load test results: 25-30 cm fresh snow for 48 hours without seam failure.
Before you issue an RFQ for a 4-season inflatable tent, hold the supplier’s spec sheet against the numbers above. Ask for the cold-weather inflation chart, a TPU cold-flex report to -30°C, and the snow-load test record — then compare those documents across vendors. Kelyland publishes the cold-weather inflation chart, snow-load test data, and private-label sample process on its winter tent page, so you can benchmark suppliers before approving a sample.
Часто задаваемые вопросы
Обрушится ли надувная палатка под снегом?
Недостаточное давление — основная причина; при правильных 10–12 PSI и периодической очистке от снега палатки с балками из ТПУ выдерживают снег. Фабричные испытания показывают 25–30 см свежего снега в течение 48 часов без расхождения швов. Поддерживайте давление в балках на целевом уровне PSI и очищайте снег с тента.
Нужно ли добавлять больше давления воздуха в палатку в холодную погоду?
Да. Установите давление 10-12 PSI перед снегом; при -15°C давление 8 PSI, установленное при 20°C, будет на 1.5-2 PSI ниже. Повторно накачайте холодные балки до накопления снега.
Как закрепить палатку на льду или снегу?
Use deadman anchors or snow pickets buried 30 cm; on ice, use ice screws. Never rely on standard stakes in these conditions. Carry both deadman straps and ice screws for mixed conditions.
Can I use regular tent stakes on snow?
No, standard aluminum stakes pull out under 80 kg load in soft snow. You need deadman anchors or engineered snow stakes rated for deep snow. Use snow-specific anchors before the storm hits.

 English
  Español
  Deutsch
  Français
  Português do Brasil
  Русский
  العربية
  한국어
한국어  日本語
日本語