 Zum Inhalt springen
Der Flutschutz für Pop-up-Zelte ist der erste Kontrollpunkt, den Käufer festlegen sollten, bevor sie einen Lieferanten, ein Budget oder einen Produktionsslot genehmigen. Das Spezifikationsblatt sagt wasserdicht. Das Hangtag sagt sturmbereit. Dann kommt der erste starke Regen, und innerhalb von 20 Minuten ist der Boden nass, der Schlafsack durchnässt, und eine Bestellung von $50K Pop-up-Zelten erzeugt Retouren-Genehmigungen statt Nachbestellungen. Genau diese Lücke zwischen dem, was der Lieferant behauptet, und dem, was im Container ankommt, macht einen Pop-up-Zelt-Flutschutz für jeden relevant, der Private-Label-Sofortzelte beschafft.
Ich habe dieses Schadensmuster bei Audits in Ningbo, Shaoxing und Jinhua gesehen. Der Stoff versagt fast nie zuerst. Was versagt, ist das Nahtband an den Ecken – lösemittelverklebtes Band, das nach UV-Einwirkung reißt – oder eine Wannenbodenwand, die bei 5 cm statt 15 cm liegt. Auf schrägem Boden lässt diese flache Wand Wasser über die Schwelle treten, als wäre sie nicht da. Ein Käufer, der bei einer $50K-Bestellung verbrannt wurde, weil das Vorserienmuster übereinstimmte, die Serienproduktion aber billigeres Band verwendete, weiß genau, was das bedeutet.
Bevor Sie also Ihre nächste RFQ senden oder eine Musterfreigabe für tausend Einheiten genehmigen, verstehen Sie Folgendes: Ein echter Flutschutz für Pop-up-Zelte beginnt mit dem Spezifikationsblatt der Fabrik, nicht mit Sprühversiegelung nachdem der Schaden entstanden ist. Die Aufwertung auf einen 150D-Oxford-Boden mit einer Wassersäule von 3.000 mm und heißluftversiegelten Nähten kostet bei einer Mindestbestellmenge von tausend Stück etwa $0.80 bis $1.50 pro Einheit – etwa vier bis acht Prozent der Landed Costs – und beseitigt die beiden häufigsten Ursachen für Regenretouren bei Sofortzelten.

Warum Pop-up-Zelte volllaufen: 3 physische Fehlerpunkte
Das Volllaufen ist ein Geometriefehler, kein Stofffehler.
Das meiste Regenwasser gelangt über drei physische Stellen in ein Pop-up-Zelt, nicht durch den Stoff selbst. Wenn Sie diese Fehlermodi verstehen, können Sie jedes Sofortzelt in zwei Minuten prüfen und feststellen, welche Lösung tatsächlich anwendbar ist.
Fehlerpunkt 1: Nahtband des Bodens löst sich an den Ecken
Der Boden wird aus Bahnen genäht, und das im Werk aufgetragene Band schwächt sich nach UV-Belastung und wiederholtem Falten. Sobald das Band an den Ecknähten reißt, dringt Wasser durch die Nadelstiche in das Zelt. Prüfen Sie die Ecken, an denen der Boden auf die Wand trifft, und achten Sie auf abblätterndes oder milchiges Band.
Fehlerpunkt 2: Flache 5-8 cm Wannenböden lassen Wasser über die Schwelle
Ein Wannenboden ist eine Wand, die sich vom Boden nach oben erstreckt. Billige Pop-up-Zelte verwenden 5-8 cm hohe Wände, die auf geneigtem Boden oder in einer Pfütze unterhalb des Wasserspiegels liegen. Sturmfeste Konstruktionen verwenden 15-20 cm hohe Wände, und eine erhöhte Türkante verhindert, dass Wasser am Eingang hineinläuft.
Fehlerpunkt 3: 8.5-mm-Glasfasergestänge erzeugt flache Dachmulden
Leichte Fiberglasstangen mit 8,5–9,5 mm können die Dachbespannung bei Regen nicht straff halten. Das Dach hängt in flachen Taschen durch, Wasser sammelt sich, und hydrostatischer Druck drückt Feuchtigkeit durch die Beschichtung. Pop-ups mit steiler Dachgeometrie und verstärkten Rahmennaben leiten Wasser ab, anstatt es zu halten.
2-Minuten-Routine zur Sichtprüfung
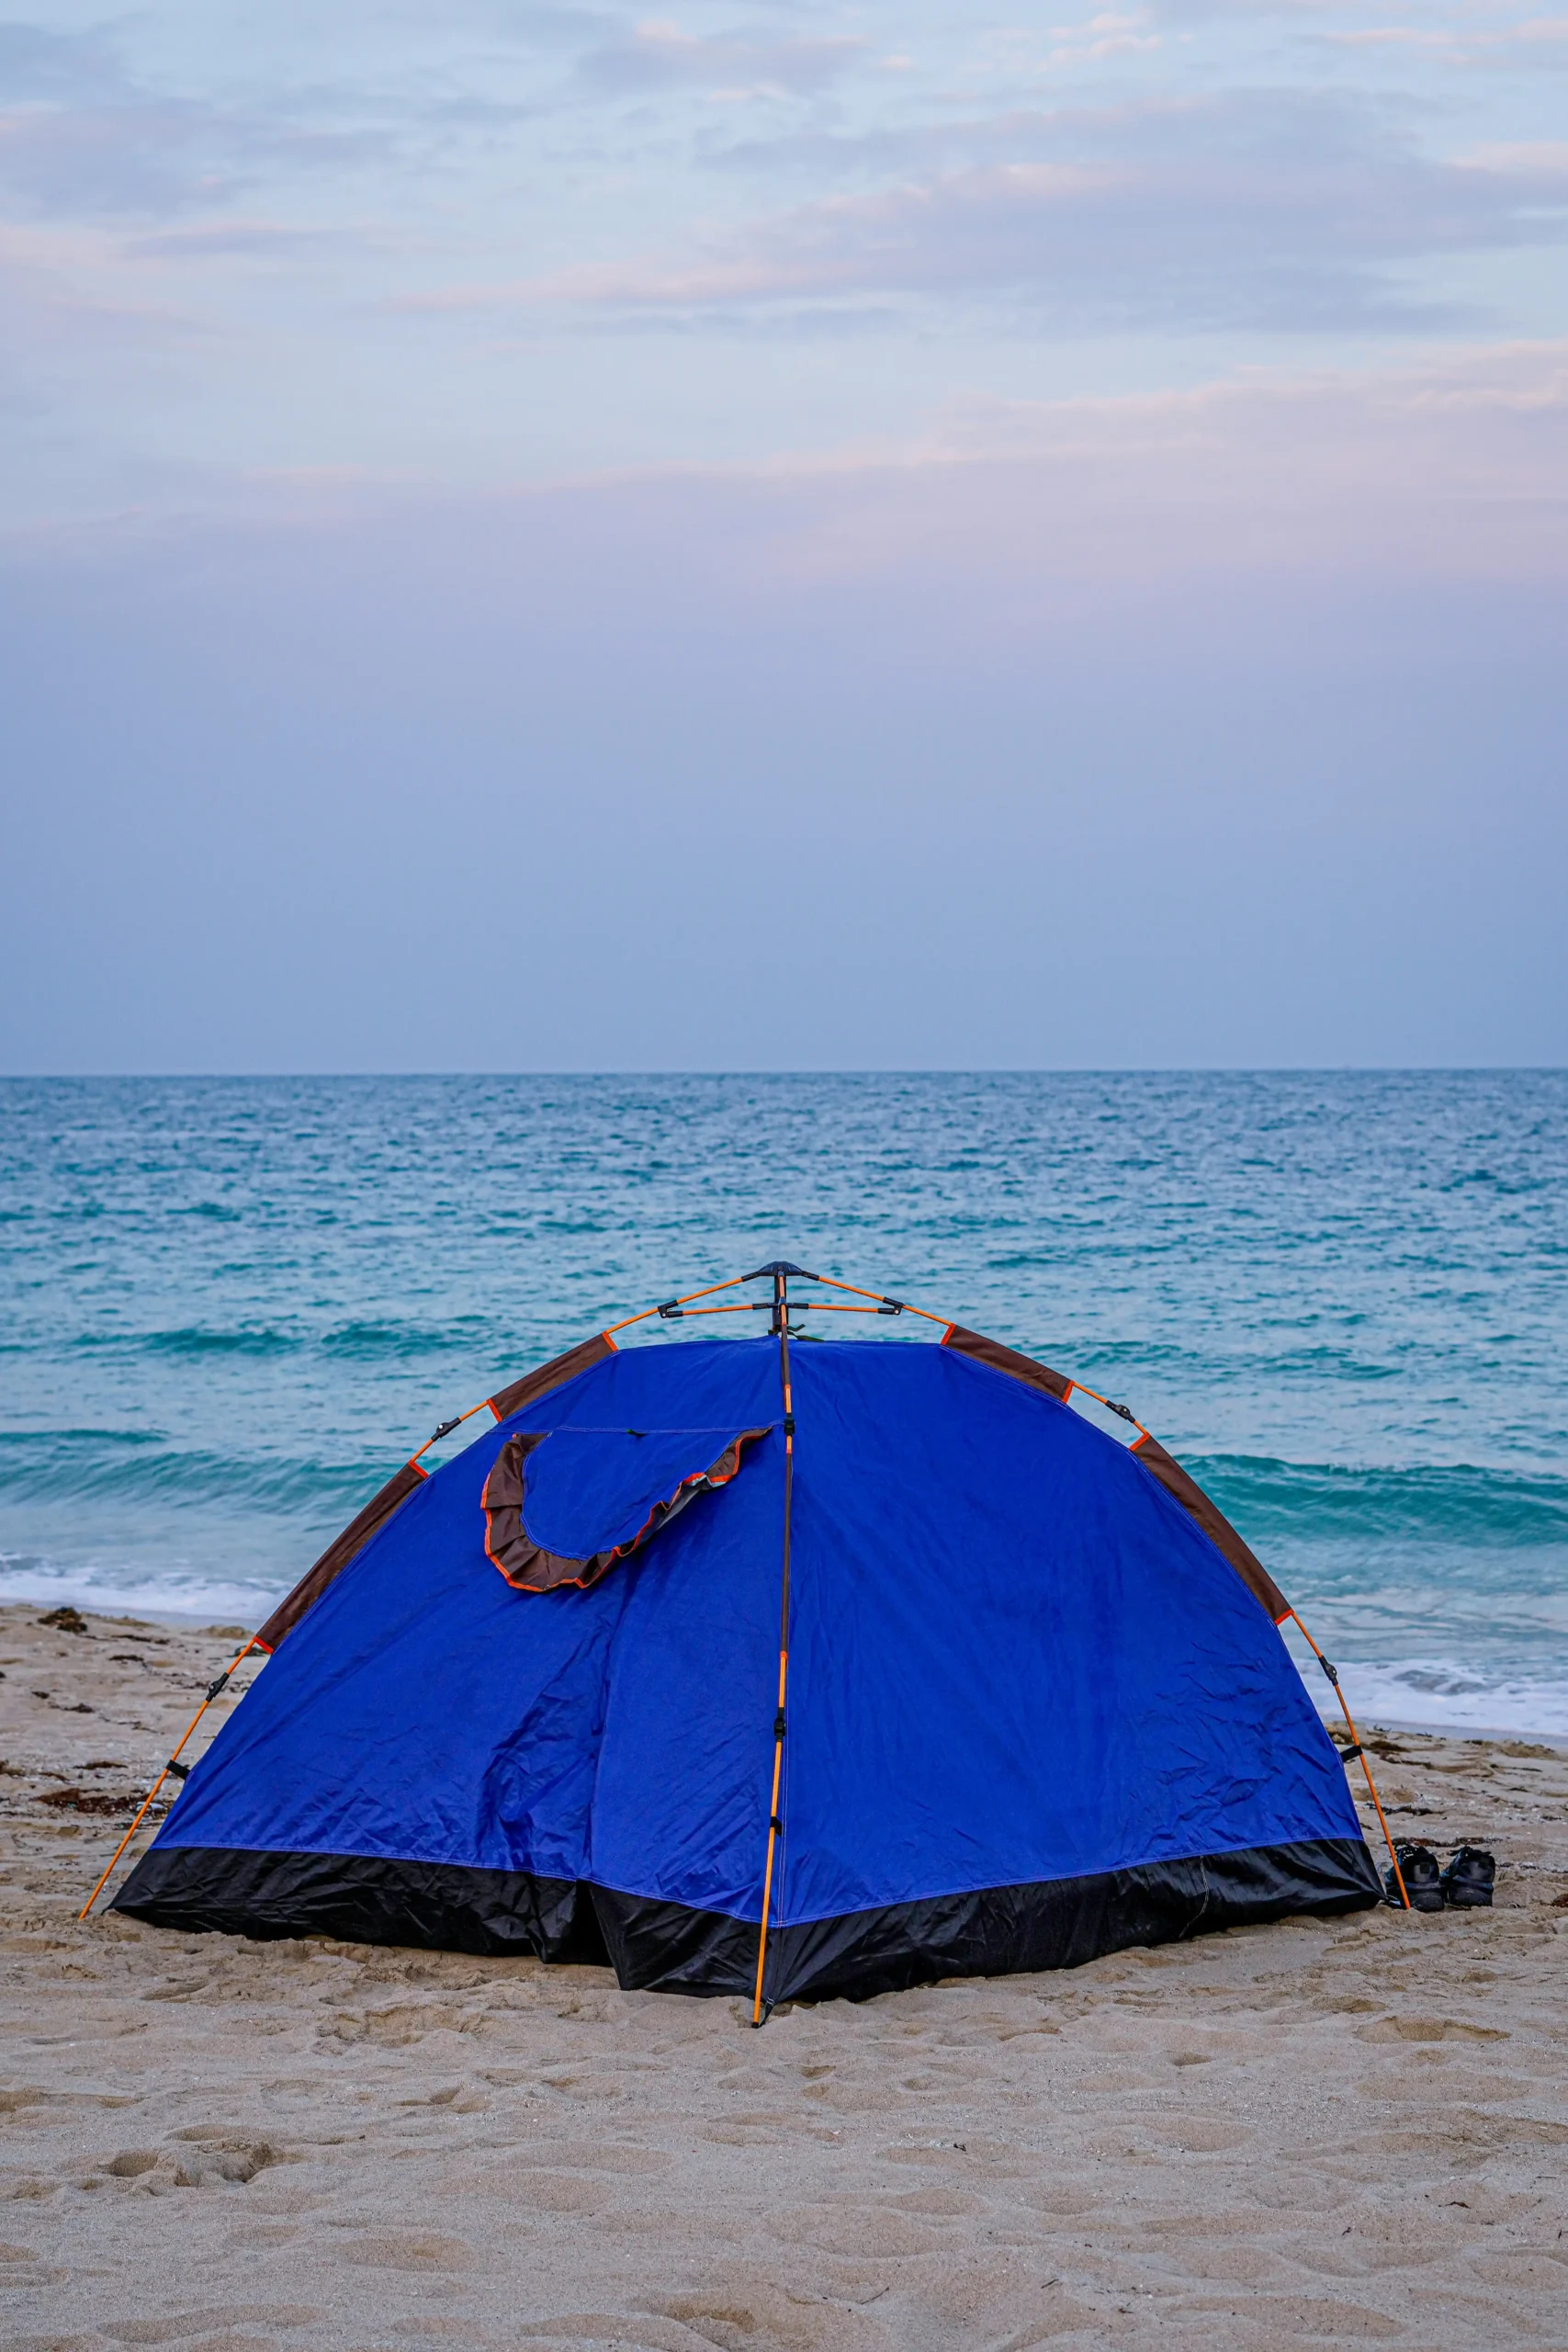
Das sturmfeste Spezifikationsblatt: Boden, Beschichtung und Nähte
Die meisten Überschwemmungen bei Pop-up-Zelten sind auf Nahtband- und Wannengeometriefehler zurückzuführen, nicht auf eine fehlerhafte Gewebeimprägnierung.
Ein Einkäufer bei einem Outdoor-Händler gab eine Bestellung über $50K für Pop-up-Zelte auf. Am Tag 14 traf das Vorserienmuster ein – es sah richtig aus. Am Tag 45 landete der Container. Am Tag 60 begannen die ersten Rückgaben wegen starkem Regen. Der gemeinsame Nenner aller Beschwerden: Bodennähte, die innerhalb von 15 Minuten durchnässten, und eine Wannenwand, die an abschüssigen Standorten unterhalb der Wasserlinie lag. Dieser Einkäufer verlor den Auftrag nicht wegen der Stoffqualität. Er verlor ihn wegen Geometrie und Klebeband.
Günstige vs. sturmfeste Pop-up-Zelt-Spezifikationen
Der Unterschied zwischen einem Zelt, das Wasser sammelt, und einem, das es abweist, hängt von drei physikalischen Spezifikationen ab, die die meisten Käufer nie in die RFQ aufnehmen: der Bodenstoff, die Beschichtungsdurchgänge und das Nahtband. Günstige Pop-ups verwenden 68D-Polyester mit einer einlagigen PU-Beschichtung, die mit 800 mm Wassersäule bewertet ist. Dieser Stoff hält einem leichten Nieselregen stand, aber unter stehendem Wasser wird er in Minuten durchnässt. Die sturmfeste Alternative, die die Fabriken von Kelyland Outdoors in ihre jährliche Zeltproduktion von 800.000 Einheiten einbauen, beginnt mit einem 150D-Oxford-Gewebe. Das höhere Denier verleiht dem Grundgewebe mehr Reißfestigkeit gegen Durchstich, und die mehrlagige PU-Beschichtung erhöht die Wassersäule auf mindestens 3.000 mm. Diese Bewertung bedeutet, dass der Boden eine Wassersäule von etwa 10 Fuß Höhe halten kann, bevor ein einziger Tropfen durchdringt. Die Höhe der Wannenwand bei einem sturmfesten Zelt liegt zwischen 15 und 20 cm, verglichen mit den 5 bis 8 cm Wänden bei Budgetmodellen, die bei einem starken Regenguss Grundwasser über die Naht saugen lassen.
Warum PU-Beschichtungsdurchgänge und Türschwellenlippen wichtig sind
OEM-Kostenauswirkung bei einer Mindestbestellmenge von 1.000 Stück
Die Gesamtkosten für das Upgrade von einer Budget-68D/800-mm-Spezifikation auf eine sturmfeste 150D-Oxford-Ausführung mit mehrlagiger PU-Beschichtung, die 20-mm-Heißluft-versiegelten Nähte und die 15-cm-Wannenwand kosten zwischen $0.80 und $1.50 pro Einheit bei einer Mindestbestellmenge von 1.000 Stück. Das ist je nach Basispreis des Zeltes eine Erhöhung der Einstandskosten um etwa 4% bis 8%. Die Rendite auf diese Differenz ist eine direkte Reduzierung der beiden häufigsten Gründe, warum Kunden Schnellaufstellzelte zurückgeben: Undichtigkeiten an den Bodennähten und Wassereintritt über die Wannenwand. Für einen Supply-Chain-Manager, dessen KPIs die Rücklaufquote und die Fehlerquote umfassen, sind diese $0.80 bis $1.50 pro Einheit die billigste Versicherung in der Zeltkategorie.
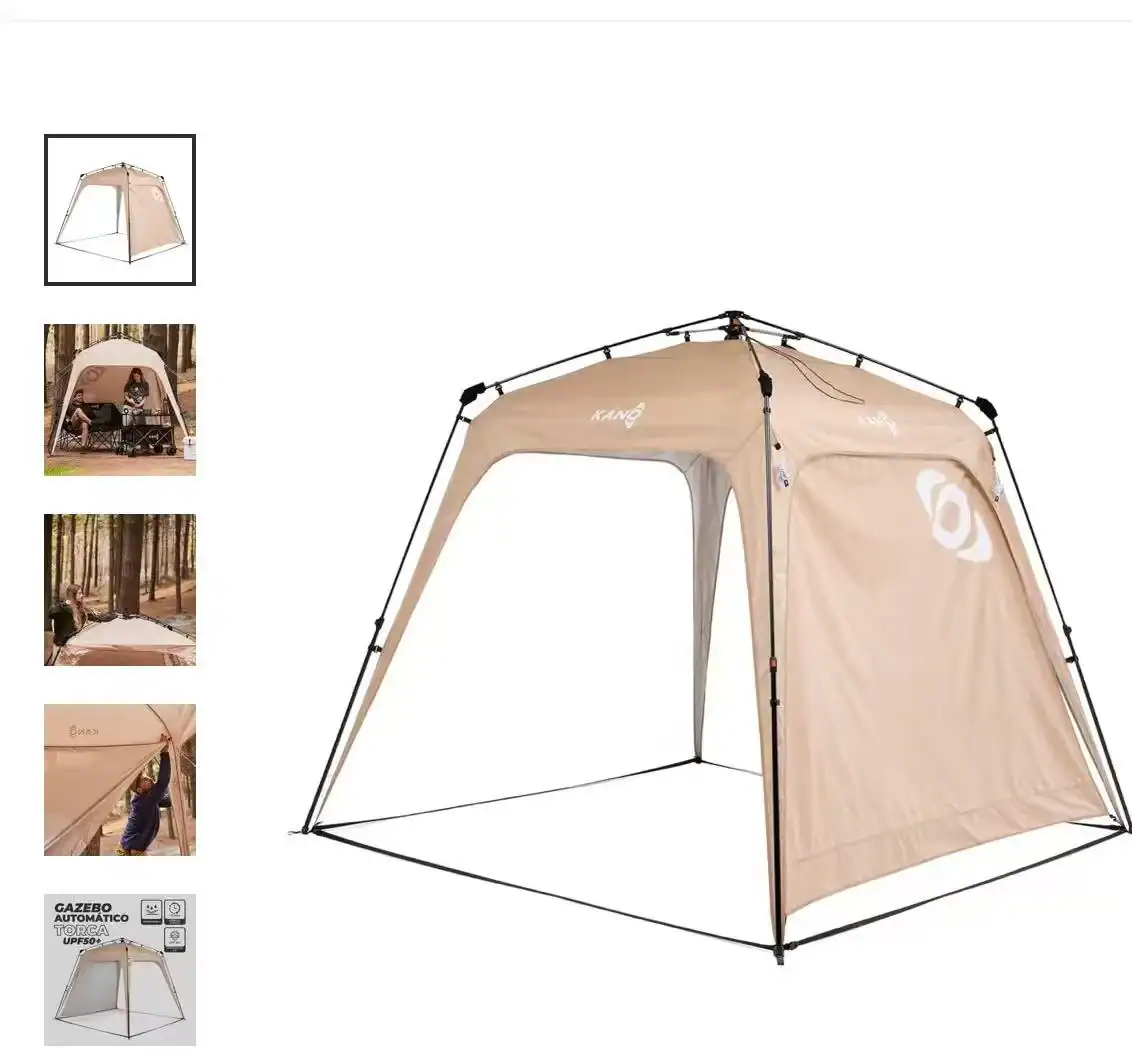
Reparaturen vor Ort für ein überflutetes Pop-up-Zelt
Stoppen Sie das Leck noch heute Nacht.
Wenn Sie dies nach einem verregneten Ausflug lesen, brauchen Sie eine Reparatur, die noch heute Nacht funktioniert. Wenn Sie ein Einkäufer sind, der die nächste Produktionscharge beschafft, müssen Sie die Lösung vor der Massenproduktion in der Werksspezifikation festschreiben. Beide Wege beginnen mit derselben Regel: Reinigen und trocknen Sie die Naht, bevor Sie etwas versiegeln.
Sofortige Heimwerker-Lösungen, die Lecks noch heute Nacht stoppen
Trocknen Sie das Zelt vollständig. Schrubben Sie jede Bodennäht mit warmem Seifenwasser, um Schmutz und Fabrikrückstände zu entfernen. Tragen Sie dann einen 20 mm breiten Silikon-Nahtdichter über die gesamte Länge des Nahtbandes auf – nicht nur an der undichten Stelle. Lassen Sie es 12 Stunden aushärten, tragen Sie es erneut auf und testen Sie es vor Ihrer nächsten Reise mit einem Schlauch. Diese Methode funktioniert, weil die meisten Überschwemmungen an abgelösten Eckbändern entstehen, nicht am Gewebe selbst.
Spannen Sie eine Plane 10–15 cm über dem Dach auf, um einen Kondensationsspalt zu schaffen. Richtig ausgerichtet verhindert dieser Spalt, dass sich Regen auf flachen Dachabschnitten ansammelt, die durch zu kleine 8,5-mm-Glasfaserrahmen verursacht werden. Die Plane leitet Wasser von der Türschwelle weg, die bei einem Pop-up-Zelt oft der tiefste Punkt ist. Diese Kombination stoppt die meisten nächtlichen Tropfgeräusche bei einem Zelt mit intaktem Wannenboden.
-
-
- Nahtdichter-Breite: Mindestens 20 mm – handelsübliche 10-mm-Streifen überbrücken die Bandkante nicht. In zwei Schichten auftragen.
- Planeabstand: 10–15 cm verhindern, dass Kondenswasser auf das Dach tropft. Kleinere Abstände fangen Feuchtigkeit ein.
- Testmethode: Test mit einem 5-Gallonen-Eimer Wasser auf dem Boden für 10 Minuten. Keine dunklen Stellen an den Nähten im Inneren bedeutet bestanden.
-
B2B-Lösungen: Das Muster verbessern, nicht die Garantie.
Wenn Sie Pop-up-Zelte als Eigenmarke beziehen, akzeptieren Sie nicht die Budget-Spezifikation. Die beiden häufigsten Reklamationsgründe bei Schnellaufbauzelten sind niedrige Wannenbodenwände und lösungsmittelgeklebtes Nahtband, das unter UV-Einwirkung reißt. Beides ist in der Fabrik zu bekannten Kosten vermeidbar. Kelyland Outdoors, das jährlich über 800.000 Campingzelte über ISO-9001-zertifizierte Partnerfabriken produziert, verbessert Muster routinemäßig auf sturmtaugliche Spezifikationen, bevor die Serienproduktion beginnt.
Fordern Sie drei spezifische Änderungen am Vorserienmuster: einen 150D-Oxford-Boden mit 3.000 mm PU-Beschichtung, eine 15 cm hohe Wannenbodenwand und 20 mm breite, heißluftverklebte Nähte anstelle von Lösungsmittelkleber. Dieses Spezifikationspaket erhöht die Stückkosten um $0,80 bis $1,50 bei einer Mindestbestellmenge von 1.000 Stück – also etwa 4-8% Mehrkosten im Landedkostenpreis. Es eliminiert die beiden häufigsten Retourenauslöser, da Wasser weder durch Nadelstiche noch über die Schwelle aufsteigen kann.
-
- Wannenbodenwand-Höhe: Mindestens 15 cm. Billigzelte verwenden 5–8 cm hohe Wände, die auf abschüssigem Gelände versagen. 15–20 cm verhindern das Aufsteigen von Grundwasser.
- Nahtband-Typ: Heißluftverklebtes PU, 20 mm breit. Lösungsmittelgeklebtes Band reißt nach 6–12 Monaten UV-Belastung.
- Werksprüfung: 30-minütiger statischer Berieselungstest am Vorserienmuster. Das Fabriknetzwerk von Kelyland umfasst diesen Test als standardmäßigen Qualitätskontrollschritt vor der Massenproduktion.
- Lieferzeit: 30-45 Tage für zertifizierte Muster und Produktion. Die Mindestbestellmenge liegt zwischen 300 und 1.000 Stück pro Modell.
Fotografieren Sie das Wassersäule Etikett, messen Sie die Wannenwandhöhe mit einem Maßband und machen Sie eine Nahaufnahme des Nahtbands. Senden Sie diese Bilder an den QC-Bericht des Werks und verlangen Sie eine Antwort mit Korrekturmaßnahmen. Dies schafft einen schriftlichen Nachweis, den Sie nutzen können, um Ersatz auszuhandeln, falls die Produktionscharge nicht dem genehmigten Muster entspricht.
So testen Sie die Sturmtauglichkeit, bevor Sie 1.000 Einheiten beschaffen
Ein technisches Datenblatt ist ein Versprechen, kein Beweis. Bevor Sie sich für eine Produktionsserie von 1.000 Stück verpflichten, benötigen Sie physische Belege, dass das Zelt Regen standhält. Diese drei Feldtests dauern weniger als eine Stunde und decken Mängel auf, die das Anhängeetikett nie erwähnen wird. Führen Sie sie am Vorserienmuster, durch, fotografieren Sie alles, und senden Sie die Ergebnisse an den QC-Bericht der Fabrik, bevor die Massenproduktion beginnt.
Test 1: 5-Gallonen-Eimer-Wasseransammlungstest
Stellen Sie das Zelt auf einer ebenen, trockenen Fläche auf. Gießen Sie 5 Gallonen Wasser in die Mitte des Bodens – verteilen Sie es nicht, lassen Sie es natürlich aufstauen. Lassen Sie es 10 Minuten einwirken. Bestanden bedeutet: keine Feuchtigkeit unter dem Zelt und keine dunklen Stellen, die sich entlang der Boden-Wand-Nahtlinien ausbreiten. Nicht bestanden bedeutet: sichtbares Aufsteigen von Feuchtigkeit oder Wassertropfen innerhalb von 5 Minuten, was bedeutet, dass das Nahtband bereits beeinträchtigt ist. Dieser Test simuliert eine Pfütze, die sich bei einem Sturm unter dem Zelt bildet. Wenn das Bodenband an den Ecken delaminiert, werden Sie es hier sehen.
Test 2: 30-minütiges Nahttränken mit dem Gartenschlauch
Richten Sie einen Gartenschlauch 30 Minuten ununterbrochen auf die Dachnähte und die Türschwelle. Lassen Sie die Düse nicht auf dem Stoff aufliegen – halten Sie sie 15 cm entfernt, damit der Druck starkem Regen entspricht. Bestanden bedeutet: keine Wassertropfen im Zeltinneren und kein Wasser, das die Türschwelle überquert. Nicht bestanden bedeutet: jegliche Nässe an einer Naht, einer Ecke oder der Schwelle. Fotografieren Sie das Innere alle 10 Minuten, um einen zeitgestempelten Nachweis darüber zu erstellen, wann der Leck begann. Dieser Test zielt gezielt auf die 20 mm heißluftverklebten PU-Nähte ab, die sturmfeste Zelte erfordern. Lösungsmittelgeklebtes Band versagt bei diesem Test oft innerhalb der ersten 15 Minuten.
Test 3: Aufbautest am Hang
Stellen Sie das Zelt auf einem Gefälle von 5–8° auf – ein typisches Campingplatz-Gefälle. Gießen Sie Wasser auf die hohe Seite des Dachs und beobachten Sie den Abflussweg. Bestanden bedeutet: Wasser fließt an der Seite des Überzeltes ab, während die Türschwelle trocken bleibt. Nicht bestanden bedeutet: Wasser überquert die Wannenwand oder sammelt sich auf der hangabwärts gelegenen Seite des Bodens. Dieser Test zeigt die realen Grenzen einer 5–8 cm hohen Wannenwand auf. Sturmfeste Designs verwenden 15–20 cm hohe Wände, die den Schlafbereich auch dann trocken halten, wenn der Boden abfällt. Billige 8,5-mm-Fiberglasgestänge erzeugen auf abschüssigem Gelände außerdem flache Dachmulden – achten Sie auf durchhängenden Stoff, der Wasser zurückhält und es durch die Beschichtung drückt.
Fotografische Beweise für den QC-Bericht der Fabrik
Dokumentieren Sie jeden Test mit klaren Fotos. Fügen Sie ein Bild des Wassersäulen-Labels auf dem Bodenstoff hinzu, ein Maßband, das die Höhe der Wannenwand zeigt, und eine Nahaufnahme des Boden-Nahtbandes an einer Ecke. Erfassen Sie dann das Innere nach jedem Test – nach Möglichkeit mit Zeitstempel. Senden Sie den vollständigen Satz an das QC-Team der Fabrik und verlangen Sie für jeden Fehler eine Korrekturmaßnahmen-Antwort. Dies schafft einen schriftlichen Nachweis, den Sie nutzen können, um Ersatz auszuhandeln, wenn die Produktionsserie nicht dem freigegebenen Muster entspricht. Kelyland Outdoors, das ISO-9001-zertifizierte Fabriken betreibt, die jährlich 800.000 Campingzelte produzieren, erwartet dieses Maß an Dokumentation von ernsthaften Käufern. Das ist der Standard für eine Bestellung sturmfester Pop-up-Zelte bei einer Mindestbestellmenge von 1.000 Stück mit einer Vorlaufzeit von 30–45 Tagen.
Schlussfolgerung
Ein Pop-up-Zelt, das vollläuft, ist fast nie ein Rätsel. Es ist ein Versagen des Nahtbandes, ein zu flacher Wannenboden oder eine Dachgeometrie, die Wasser zurückhält. Diese drei Probleme verursachen die Mehrheit der regenbedingten Retouren, und sie sind alle auf Fabrikebene vermeidbar.
-
- Steigen Sie auf einen 150D-Oxford-Boden mit einer Wassersäule von 3.000 mm um.
- Legen Sie eine Mindesthöhe der Wannenwand von 15 cm für jedes Pop-up-Modell fest.
- Verlangen Sie in der Fabrik heißluftverklebte Nähte anstelle von lösungsmittelgeklebtem Band.
- Führen Sie vor der Freigabe der Massenproduktion einen Sprinklertest in der Vorserie durch.
Die Kosten zur Behebung dieser Probleme nach dem Versand sind vier- bis fünfmal höher, als wenn sie bereits während der Mustergenehmigung im Voraus festgelegt werden. Wenn Sie für die nächste Saison beschaffen, prüfen Sie Ihr aktuelles Spezifikationsblatt für Pop-up-Zelte anhand der oben genannten Sturmfestigkeits-Schwellenwerte. Vergleichen Sie diese Spezifikationen mit dem, was das Werksnetzwerk von Kelyland zu Ihrer Ziel-Mindestbestellmenge und Vorlaufzeit liefern kann, bevor Sie sich auf die nächste RFQ festlegen.
Häufig gestellte Fragen
Warum überschwemmt mein Pop-up-Zelt bei starkem Regen?
Wassereintritte werden in der Regel durch abgelöstes Nahtband am Boden, einen Wannenboden unter 8 cm oder eine Türschwelle ohne Lippe verursacht. Diese drei Geometriefehler lassen Wasser durch Nadelstiche hindurchziehen. Überprüfen Sie zuerst die Ecken und die Türschwelle, nicht das Gewebe.
Sind Pop-up-Zelte wasserdicht oder nur wasserabweisend?
Die meisten sind wasserabweisend, nicht sturmfest. Ein wirklich wasserdichtes Pop-up benötigt mindestens eine Wassersäule von 3.000 mm am Boden und 20 mm heißversiegelte Nähte. Überprüfen Sie die Wassersäulenangabe vor der Bestellung.
Was ist ein Wannenboden bei einem Zelt?
Ein Wannenboden wölbt sich an den Rändern nach oben, um Wände zu bilden, typischerweise 15-20 cm bei sturmfesten Zelten. Die senkrechten Wände verhindern, dass Wasser durch die Naht zwischen Boden und Wand eindringt. Messen Sie die Wandhöhe vor dem Kauf.
Wie repariere ich eine undichte Naht an einem Pop-up-Zelt?
Trocknen Sie das Zelt vollständig, schrubben Sie das Nahtband mit warmem Seifenwasser und tragen Sie einen 20 mm Silikon-Nahtdichter über die Bandkante auf. Dies verhindert, dass Wasser durch Nadelstiche zieht. Tragen Sie den Dichter nach jedem nassen Trip erneut auf.
Was bedeutet eine Wassersäule von 3000 mm?
Es ist die Wassersäulenhöhe, die das Gewebe aushält, bevor es undicht wird. Ein 3.000-mm-Boden widersteht etwa 10 Fuß stehendem Wasserdruck, was das Minimum für Sturmfestigkeit darstellt. Spezifizieren Sie 3.000 mm für den Boden und 1.500 mm für das Außenzelt.

 English
  Español
  Deutsch
  Français
  Português do Brasil
  Русский
  العربية
  한국어
한국어  日本語
日本語