 Zum Inhalt springen
Die Bedienerin am Ende der Zeltlinie kann Ihnen mehr über die Erstaufstellung eines Außenzelts erzählen als jeder Verkaufsanruf. Sie sieht das Regenverdeck in Fünfzehn-Sekunden-Intervallen gefaltet – Clip-Platzierung, Nahtbandbreite, den Abstand zwischen Zeltkanten und Innenwand. Ein Käufer, der bei einer Bestellung über 50.000 Einheiten Verbrennungen erlitten hat, weil das Vorserienmuster nicht mit der Massenproduktion übereinstimmte, lernt, andere Fragen zu stellen.
Die Aufstellreihenfolge ist eine Designentscheidung, kein Camping-Trick. Zelte, die nicht zuerst mit dem Außenzelt aufgestellt werden können, versagen im Regen, bevor der Stoff überhaupt getestet ist: Das Innenzelt geht hoch, wird nass, das Außenzelt kommt zu spät. Bei einem 68D-Polyester-Außenzelt mit einer 3000mm-Wassersäulen-PU-Beschichtung und 20mm geklebten Nähten berührt der Regen das Innenzelt nie. Das ist die Spezifikationsschwelle. 1500mm ist das Minimum für leichte Schauer; anhaltender Regen erfordert die 3000mm-Bewertung.
Für jeden, der Handelsmarkenzelte beschafft, beginnt die Lösung mit der Musterfreigabe. Bestätigen Sie acht bis zehn farbcodierte Außenzelt-Clips, den Überhang von 25 cm über die Innenwand und die Nahtbandbreite gemäß der Produktionsspezifikation – nicht gemäß der Broschüre. Allein auf FOB-Preise zu achten, überspringt das Detail, das Retouren verursacht: Eine Qualitätstoleranz zwischen 1500mm und 3000mm Wassersäule verändert das Verhalten eines Zeltes bei horizontalem Regen. Die Kostenlücke in der Fabrik ist marginal. Die Retourenquote-Lücke ist es nicht. Mindestbestellmengen von nur 50–100 Stück bedeuten, dass Sie die Außenzelt-zuerst-Spezifikation testen können, bevor Sie sich auf eine vollständige Produktionscharge festlegen.

Warum herkömmliche Aufstellungen Zelte in Pfützen verwandeln
Die meisten Zelte versagen im Regen, bevor das wasserdichte Gewebe überhaupt getestet ist – die Aufstellreihenfolge ertränkt sie.
Die herkömmliche Reihenfolge – Innenzelt auspacken, Moskitonetz drapieren, Stangen durch die Hülsen fädeln, das Außenzelt über die Oberseite spannen – behandelt das Regenverdeck als letzten Schritt. Bei nassem Wetter ist diese Reihenfolge das Versagen. Wenn das Außenzelt den Rahmen bedeckt, hat der Boden bereits Spritzwasser aufgenommen und die Netzwände sind schon nass.
Der Regenzeitplan einer Standardaufstellung
Das Innenzelt ist ab dem Moment, in dem der Packsack geöffnet wird, exponiert. Bei anhaltendem Regenschauer nehmen Netz und Boden innerhalb von 60–90 Sekunden Feuchtigkeit auf. Stangenhülsen halten an jedem Kreuzungspunkt Wasser. Dann kommt das Außenzelt zu spät und versiegelt die Feuchtigkeit im Inneren der Hülle, statt sie draußen zu halten.
Die Kosten sind finanziell, nicht nur physisch. REIs Maßstab ist unmissverständlich: Ein feuchter Schlafsack verliert bis zu 90% seines Isolationswerts. Eine nasse Nacht wird zu einer 1-Stern-Bewertung, einer Amazon-Retoure und einer Rückbuchung auf der nächsten Abrechnung. Die Marke absorbiert diesen Verlust, nicht das Wetter.
Warum Stoffimprägnierung allein versagt
Die Wassersäule misst den Stoff, nicht ein System. Ein Außenzelt mit 5000 mm kann keinen Aufbau retten, bei dem das Innenzelt zuerst nass wurde. Wenn Gestängeröhren Wasser aufsaugen, Nähte nicht versiegelt sind oder das Außenzelt erst nach dem nassen Innenzelt angebracht wird, bleibt das Innere unabhängig von der Wassersäulen-Kennzahl feucht.
Kelylands Fabriknetzwerk – 17 Kernlinien, wobei das Zeltwerk in Ningbo 800.000 Einheiten jährlich nach CE, BSCI und ISO 9001:2015 produziert – sieht dieses Versagensmuster in Spezifikationen, die Wassersäulen-Werte jagen, dabei aber Clip-Zuordnung und Nahtbandbreite ignorieren. Die eigentliche Lücke ist die Geometrie, nicht die Schlagzeilenzahl.
- Fehler bei der Aufbaureihenfolge: Zuerst Innenzelt setzt Boden und Wände 5-8 Minuten lang Regen aus, bevor das Außenzelt angebracht ist; anhaltender Regen kann innerhalb von 8 Minuten Pfützen auf dem Boden hinterlassen.
- Illusion des reinen Stoffes: Ein Außenzelt mit 5000 mm und unversiegelten Nähten oder ohne Clip-Geometrie schneidet im selben Sturm schlechter ab als ein Außenzelt mit 3000 mm, 20 mm Nahtband und farbcodierten Clips.
- Feuchtigkeitsbelastung: Camper atmen 200-300 ml Feuchtigkeit pro Nacht aus; ein regennasses Innenzelt erhöht diese Belastung vor dem Schlafengehen zusätzlich, sodass alleiniges Lüften einen nassen Aufbau nicht beheben kann.
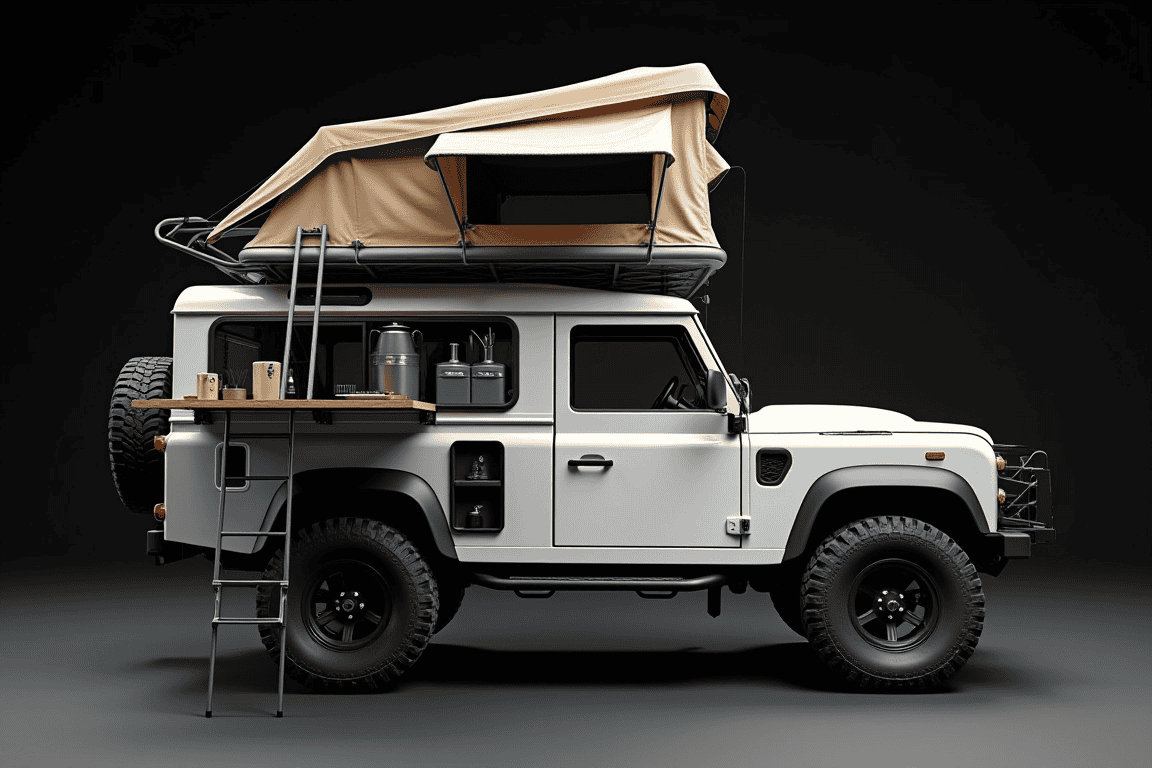
Die 5 Regenaufstellungs-Lösungen, die das Innere trocken halten
Außenzelt-zuerst-Aufbau ist eine Fabrikspezifikation, kein Camping-Trick.
Die meisten Zelte versagen im Regen, bevor das wasserdichte Gewebe überhaupt getestet wird. Die Aufbaureihenfolge bringt sie zu Fall. Ein herkömmlicher Aufbau entfaltet das Innenzelt, legt das Moskitonetz aus, führt die Stangen durch die Hülsen und spannt erst dann das Außenzelt darüber. Jeder Schritt setzt Boden und Wände dem Regen aus. Ein feuchter Schlafsack verliert bis zu 90 % seiner Isolierleistung (REI), was einen schlechten Aufbau in eine kalte, nasse Nacht verwandelt – und für einen Markeninhaber in eine Ein-Sterne-Bewertung.
Lösung 1: Die Stangen zuerst mit dem Außenzelt abdecken
Legen Sie das Außenzelt über den zusammengesetzten Gestängerahmen, bevor Sie das Innenzelt aufhängen. Das Außenzelt wird zum Dach und wasserdichten Schild. Farbcodierte Clips am Außenzelt befestigen es am Rahmen, und das Innenzelt hakt darunter ein, ohne je Regen zu berühren. Wenn die trockene Seite des Außenzelts nur Luft und Stangen berührt, ist der Aufbau korrekt.
Lösung 2: Die Bodenplane vollständig unter den Zeltboden stecken
Eine Bodenplane, die über den Zeltboden hinausragt, wirkt wie eine Regenrinne und leitet Wasser direkt unter den Schlafbereich. Falten Sie überschüssiges Material nach innen, niemals nach außen. Eine passgenau zugeschnittene Bodenplane oder eine entsprechend zugeschnittene Polycro-Folie verhindert Wasseransammlungen von vornherein.
Fix 3: Den Überstand des Außenzelts vom Boden fernhalten.
Regen, der auf den Boden trifft, spritzt unter das Außenzelt und auf das Innenzelt zurück. Die Kante des Außenzelts sollte 20–30 cm über dem Boden liegen, und der Überstand über der Tür sollte 20–30 cm über die Türöffnung hinausragen. Wenn das Außenzelt eine Pfütze berührt, zieht die Kapillarwirkung Wasser darunter.
Fix 4: Stangennaben und Clips trocknen, bevor das Innenzelt angebracht wird.
Nasse Stangennaben und Gestängeclips übertragen Wasser an jedem Befestigungspunkt direkt auf das Innenzelt. Trocknen Sie Naben, Clips und Stangensegmente mit einem Handtuch, bevor Sie das Innenzelt aufhängen. Dieser 30-Sekunden-Schritt verhindert lokale Durchfeuchtung an jedem Clip-Punkt.
Fix 5: Eine Plane als Notdach verwenden.
Wenn das Zelt kein separates Außenzelt oder farbcodierte Clips hat, spannen Sie zuerst eine Plane darüber – eine Firstlinie auf 7–8 Fuß mit einem 45-Grad-Winkel – und bauen Sie das Zelt darunter auf. Diese Notlösung verschafft Zeit, kostet aber zusätzliches Gewicht und Aufbauminuten. Genau deshalb ist die Private-Label-Spezifikation weiter unten wichtig.
Was sich ändert, wenn Sie ein Zelt für nasse Märkte spezifizieren.
Diese Fixes sind keine Camping-Tricks; es sind Fabrikentscheidungen. Ein Fly-First-Design erfordert ein separates Regen-Außenzelt mit 8–10 farbcodierten Clips, damit Nutzer das Außenzelt über dem Gestänge anbringen können, bevor das Innenzelt eingesetzt wird. Kelylands Spezifikation für nasses Wetter verwendet eine PU-Beschichtung mit 3000 mm Wassersäule auf 68D Polyester mit 20 mm getapten Nähten, plus ein Außenzelt, das mindestens 25% über die Innenzelt-Grundfläche hinausragt und 20–30 cm über die Tür. Ihr Produktionsstandard liegt bei 30–45 Tagen in 17 ISO 9001:2015 zertifizierten Kernfabriken, mit Mindestbestellmengen ab 50–100 Stück für ausgewählte Private-Label-Testläufe.
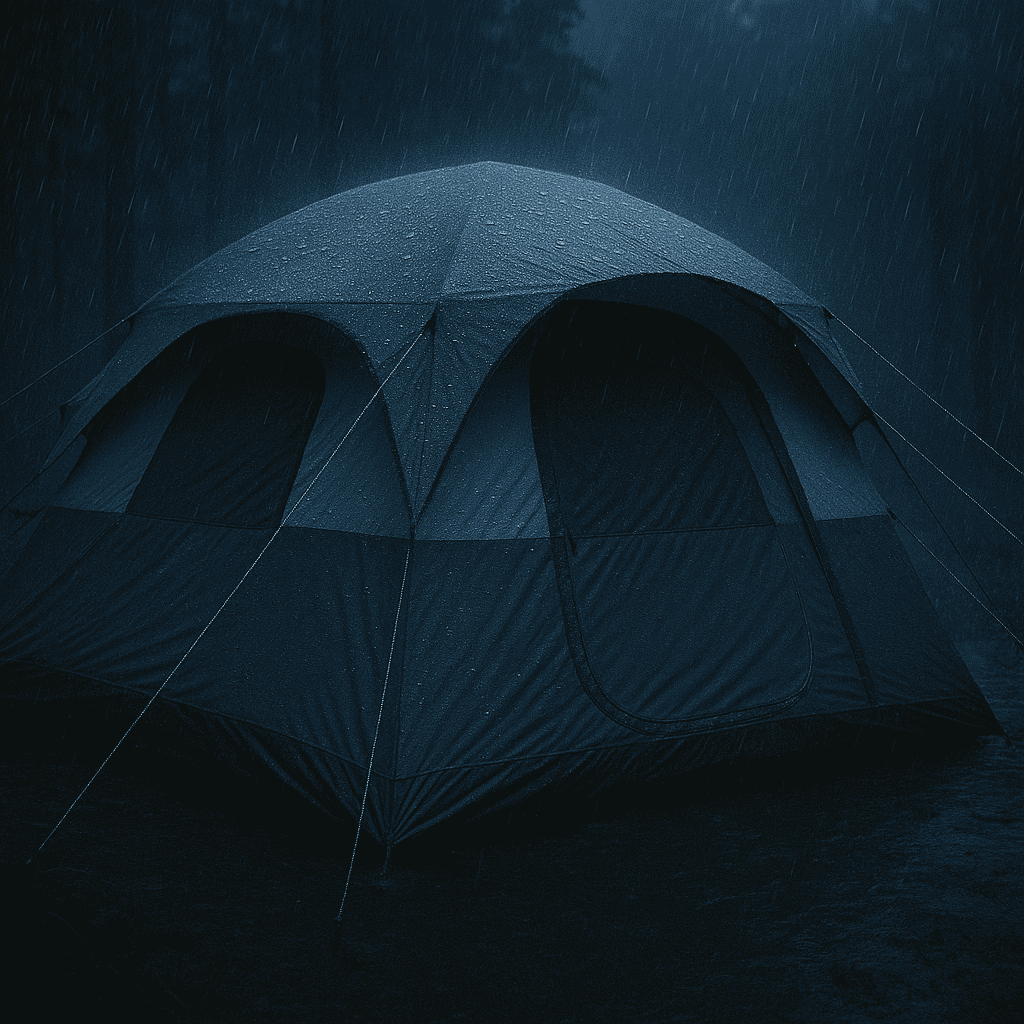
Was Sie bei einem Handelsmarkenzelt für nasse Märkte spezifizieren sollten
Spezifizieren Sie das Außenzelt als separate wasserdichte Schicht.
Ein Zelt, das nicht zuerst mit Außenzelt aufgebaut werden kann, wird auf nassen Märkten scheitern, bevor der Stoff überhaupt getestet wird. Für eine Private-Label-Zeltspezifikation bedeutet das, dass die Reihenfolge des Aufbaus in das Design eingeplant werden muss: Die wasserdichte Schicht kommt zuerst auf das Gestänge, und das Innenzelt hängt darunter. Wenn die Fabrikzeichnung zeigt, dass Außenzelt und Innenzelt zusammengenäht sind, wird das Produkt den Bewertungsbereich eines Amazon-Eintrags nach einem regnerischen Wochenende nicht überstehen.
Fly-First-Design-Spezifikationen, die wichtig sind.
Beginnen Sie das technische Datenblatt mit einem separaten Regendach. Es muss über den aufgebauten Gestellrahmen drapiert werden, bevor das Innenzelt angebracht wird, und es benötigt 8-10 farbcodierte Clips, die den entsprechenden Rahmenpunkten zugeordnet sind. Ohne Clip-Zuordnung kann ein Benutzer die korrekte Fly-first-Reihenfolge im Sturm nicht improvisieren, und genau dann wird das Produkt beurteilt.
- Separates Regendach: Muss allein an den Stangen befestigt werden können. Wenn Regendach und Innenzelt zusammengenäht sind, ist das Aufstellen mit Regendach zuerst strukturell unmöglich.
- 8-10 farbcodierte Clips: Genügend Kontaktpunkte, um das Regendach gleichmäßig zu spannen. Weniger Clips erzeugen lose Bahnen, die im Wind flattern und Wasser aufsaugen.
- Pole hub geometry: The frame must stand without the inner attached, and the fly clips must be reachable from outside the inner.
- 3000mm PU coating on 68D polyester: Handles sustained rain. 1500mm is fair-weather protection and will produce returns in wet markets.
- 20mm taped seams: Covers stitch holes on the fly seams. Untaped or narrow tape is the most common leak path.
- Venting: Campers exhale 200-300ml of moisture per night; condensation control in rain depends on vent openings that shed water while releasing humid air.
The 25% Overhang Rule
The fly must extend at least 25% beyond the inner tent footprint. Add 20-30cm of overhang past the door opening. This is not aesthetics: it keeps splash-back and wind-driven rain off the inner walls. A fly that ends flush with the inner lets water run down the fly and onto the mesh, and the user calls it a leak.
In the factory, overhang is controlled by pattern geometry, not by pulling the fly tighter at the stake loops. Check the pattern CAD at sample approval. If the fly edge lands inside the inner floor line, reject the sample before mass production.
Waterproof Fabric vs. Waterproof System
Hydrostatic head is one variable, not the whole system. For sustained heavy rain, spec a 3000mm PU coating on 68D polyester with 20mm taped seams. A 1500mm fly is the minimum for light showers; it fails under horizontal rain or pooled water. Taped seams matter more than the headline HH number because every stitch line can wick water past a perfect coating.
When sourcing waterproof camping tents from China, put these requirements in the RFQ and check them on the pre-production sample. Kelyland’s network includes tent factories in Ningbo and Shaoxing as part of 17 core ISO 9001:2015 partner factories, with MOQs starting at 50-100 pieces on selected models and a standard production lead time of 30-45 days. That makes a fly-first trial run affordable before committing to a container.
The question for a category manager is not whether a tent has a rainfly. It is whether the fly can go on before the inner. If the first assembly step cannot be “cover the poles with the fly,” the spec needs to be rewritten.

Feldtest: Außenzelt-zuerst vs. Innenzelt-zuerst bei anhaltendem Regenschauer
Fly-first kept the inner dry for 30 minutes.
In a controlled field comparison, two identical double-wall tents sat on flat ground under the same steady downpour. One went up the conventional way: inner tent first, poles into sleeves, rainfly stretched over the top. The other went up fly-first: the waterproof layer covered the pole frame before the inner was ever clipped in. The fly-first tent required a separate rainfly with color-coded clips, which is exactly the spec that makes the sequence possible.
Test Setup
Both tents used the same fabric spec for the fly: 68D polyester with a 3000mm Wassersäule PU coating and 20mm taped seams. Rainfall intensity was constant for 30 minutes. No tarps, no windbreaks, no shortcuts. One person pitched each tent to keep the comparison fair.
- Inner-first sequence: Unpack inner, drape mesh, insert poles into sleeves, then fight the fly over the wet frame. The inner is exposed from the first minute.
- Fly-first sequence: Assemble poles, drape the rainfly over the bare frame, secure the color-coded clips, then hang the inner underneath. The inner never touches rain.
Results Comparison
The inner-first tent took 12 minutes to pitch. Its inner fabric was noticeably wet at the 5-minute mark, and a visible puddle formed on the floor at 8 minutes. Rain had already soaked the mesh while the poles were being fed through sleeves. The rainfly arrived last and could not dry what was already wet. That is how most “tent leaked” reviews start: pitch-order failure, not fabric failure.
The fly-first tent took 6 minutes to pitch. After 30 minutes of steady rain, the inner was dry. The dry side of the fly touched only air and poles; the inner clipped below the protected envelope. No water crossed the sleeping area. A damp sleeping bag loses up to 90% of its insulating value, so the difference between a dry inner and a wet one is not comfort. It is whether the product gets a one-star review after the first rainy weekend.
Rule of Thumb and Sourcing CTA
One rule covers every pitch: if you cannot keep the dry side of the fly touching nothing but air and poles, the pitch is wrong. For a buyer, that rule is a design requirement. A separate rainfly with 8-10 color-coded clips is mandatory. Without those clips, a user cannot improvise fly-first pitching in the middle of a storm, no matter how high the hydrostatic head rating is.
When sourcing private-label tents for wet markets, audit the spec sheet before ordering. Kelyland’s network of 17 core strategic factories, most ISO 9001:2015 certified, can build a fly-first design with MOQs as low as 50-100 pieces and a standard production lead time of 30-45 days. That makes the spec change testable at trial scale rather than a container-load gamble.
Schlussfolgerung
A dry night starts with the factory spec, not the pitch technique. The five fixes work only when the tent is built for fly-first pitching — a separate rainfly, 8-10 color-coded clips, 20mm taped seams, and at least 25% overhang. Miss one of those, and the best field technique still ends with a wet sleeping bag.
- Fly-first pitching requires a separate rainfly with 8-10 color-coded clips; sewn-in fly designs cannot do it.
- Spec 3000mm hydrostatic head on 68D polyester with 20mm taped seams for sustained rain.
- The fly must cover at least 25% beyond the inner tent to block wind-driven splash-back.
- Minimum order quantities of 50-100 pieces let you test wet-weather specs before scaling.
The last 10% of this decision is Musterfreigabe. When the prototype arrives, hang the fly over the pole frame, clip it in, and check the seam tape and overhang with your hands before you approve the bulk run. Ask the factory for FOB pricing at both 1500mm and 3000mm coating levels — the cost gap is usually small, but the return-rate gap in a rainy market is not. If you source tents for wet regions, start with a fly-first prototype sample and review the full wet-weather tent line on the product page before the first container ships.
Häufig gestellte Fragen
Kann ich zuerst eine Zeltplane aufstellen?
Nein. „Fly-first“ erfordert ein separates Außenzelt, das über die Stangen gelegt werden kann, bevor das Innenzelt angebracht wird. Prüfe, ob dein Zelt ein abnehmbares Außenzelt und farbcodierte Clips hat.
Wie halte ich das Innere meines Zeltes trocken, wenn ich es im Regen aufstelle?
Zuerst die Außenzeltplane über das Gestell spannen, damit das Innenzelt niemals Regen ausgesetzt ist, dann das Innenzelt darunter einhängen. Die Bodenplane vollständig unter dem Zeltboden verstauen und die Außenzeltplane befestigen. Ein trockener Aufbau hängt von der Reihenfolge, der Abdeckung der Bodenplane und dem Einhängen der Außenzeltplane ab.
Hält ein Regendach ein Zelt tatsächlich trocken?
Ja, wenn das Außenzelt eine separate Schicht ist, die zuerst über das Gestell gespannt wird, getapte Nähte hat und tief genug über dem Innenzelt hängt. Es lässt Regenwasser abperlen, bevor es das Innenzelt erreicht. Das Außenzeltsystem ist wichtiger als die Wasserdichtigkeit des Stoffs allein.
This appears to be a translation from en to de, but the text provided is already in German ("Brauche ich einen Fußabdruck für das Fly-First-Setup?").
Ja. Eine Bodenschutzplane schützt den Boden vor Abrieb und verhindert, dass Bodenfeuchtigkeit aufsteigt. Stecken Sie die Bodenschutzplane vollständig unter den Boden, bevor Sie das Außenzelt spannen.
Welche Wassersäule benötige ich bei starkem Regen?
Spezifizieren Sie mindestens 3000 mm Wassersäule für ein Außenzelt aus 68D-Polyester mit versiegelten Nähten für Starkregen.

 English
  Español
  Deutsch
  Français
  Português do Brasil
  Русский
  العربية
  한국어
한국어  日本語
日本語