 Zum Inhalt springen
The problems with inflatable tent manufacturers rarely surface at Musterfreigabe. They surface six weeks later, when a $50,000 order starts losing air on retail display floors and the valve welds that looked clean on the pre-production sample begin hissing in the field. By then the container has shipped, the deposit is gone, and the conversation has moved from Qualitätskontrolle to damage control.
The gap between that pre-production sample and the mass production run is where the real audit happens. A sample is hand-built by a senior technician and gets ten times the attention of a line run. Under FOB pricing pressure, factories shave costs somewhere — a thinner beam fabric, a softer TPU compound, or a faster heat-seal cycle that saves 40 seconds per weld. None of these changes show up on the spec sheet; the quality tolerance just drifts until the tent starts failing on cold nights.
Set the baseline before you discuss MOQ or lead time. Write this down for your next supplier call: a 24-hour pressure-hold test with 90% minimum retention, a cold-chamber test at minus 10°C, and a 10,000-cycle sleeve abrasion test. A manufacturer that can produce those three reports understands failure modes. One that hesitates has just told you everything you need to know.
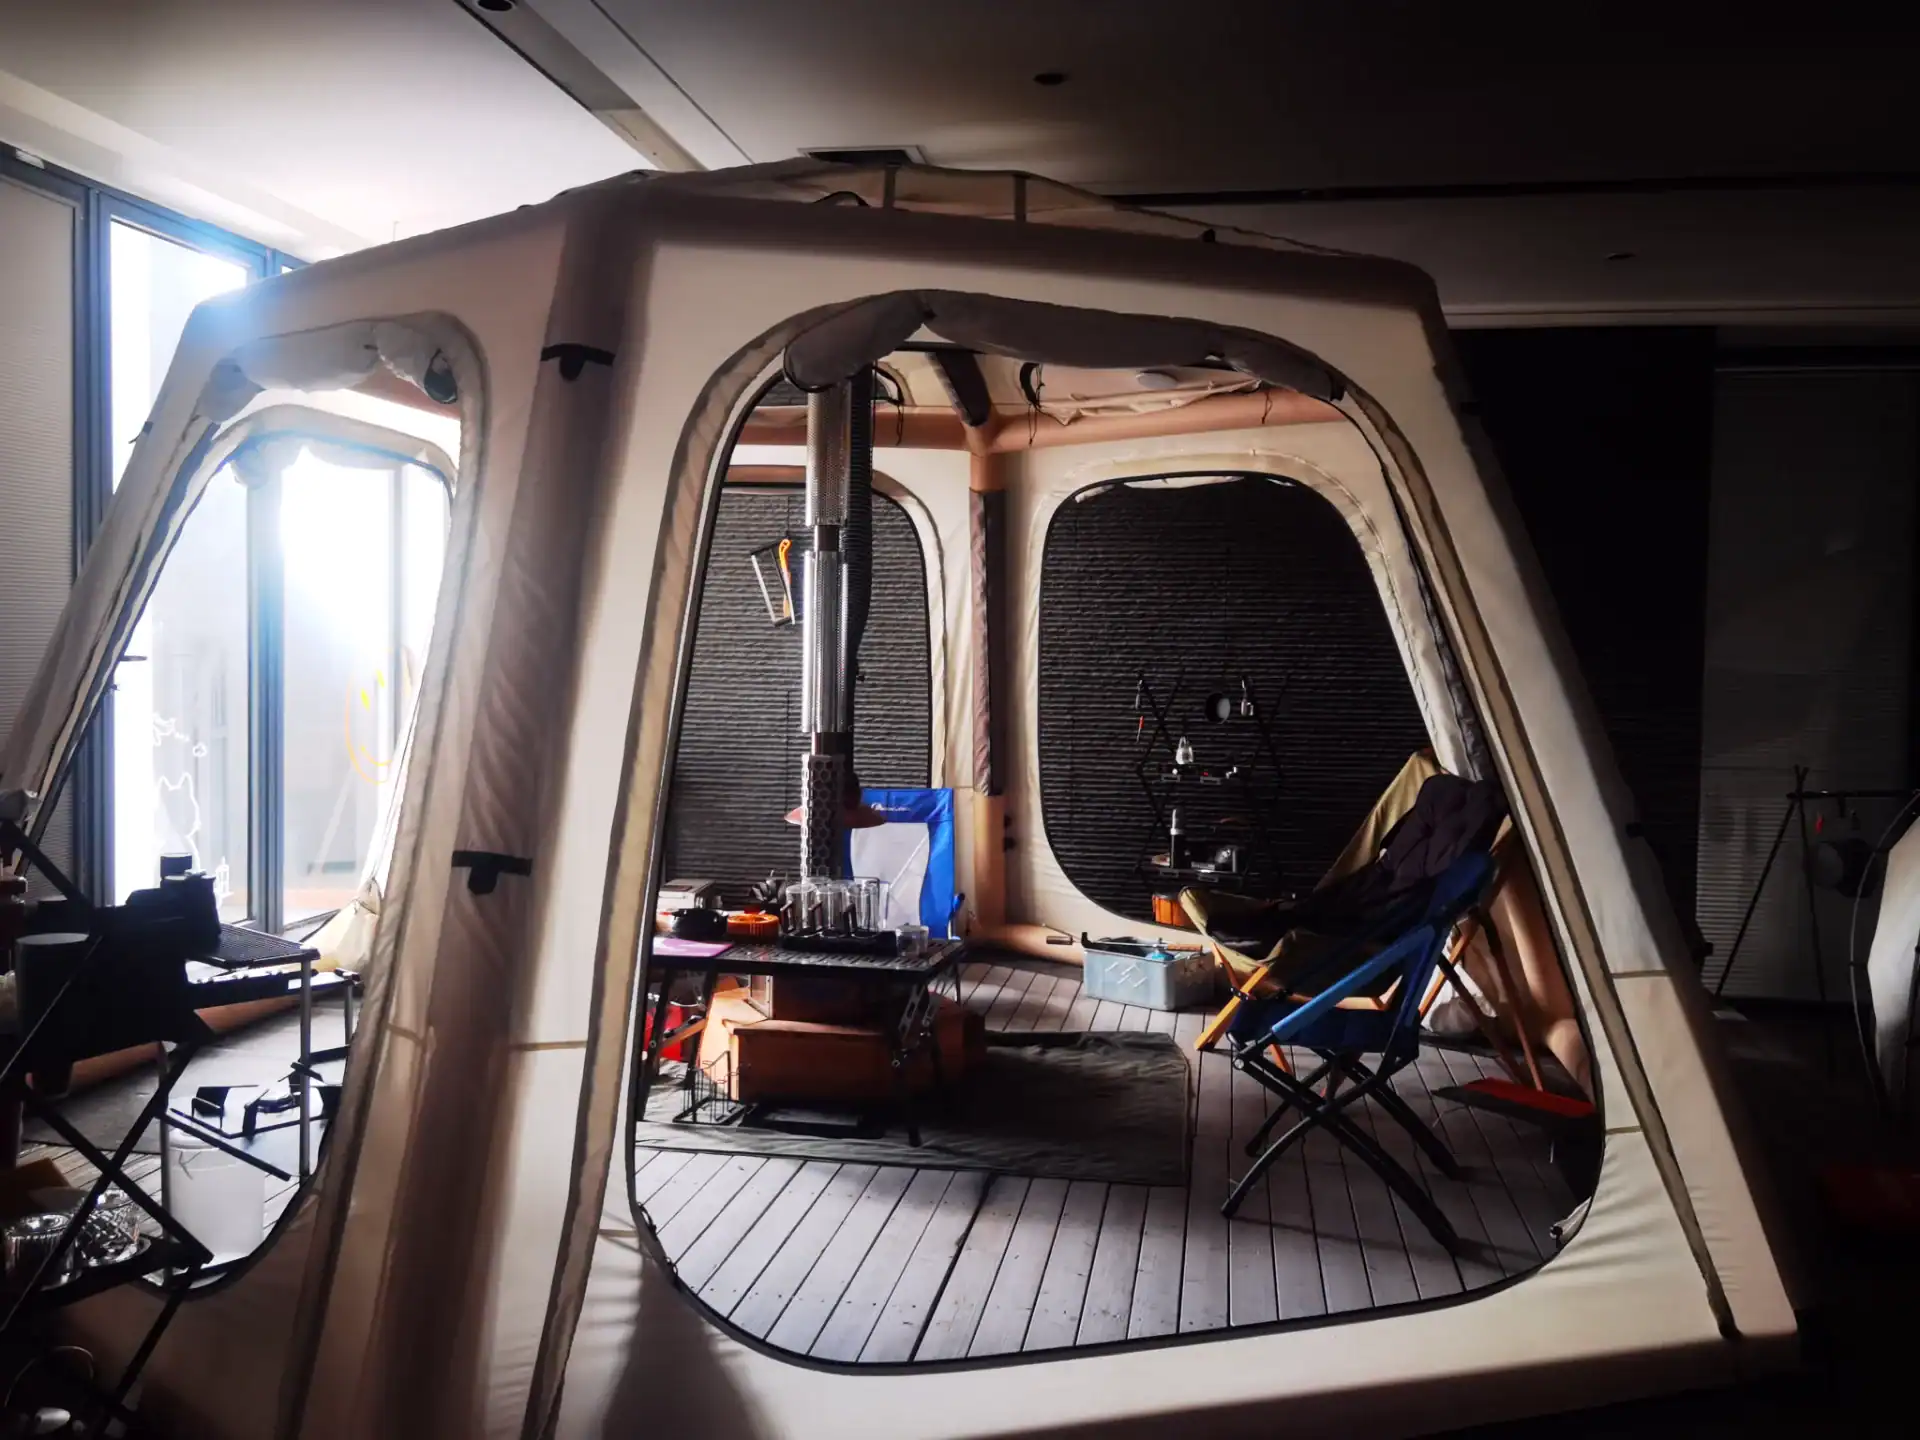
The Rain-on-Your-Face Moment: Inflatable Tent Reality
Most inflatable tent failures start with pressure habits and valve welds, not punctures.
The typical return pattern repeats: a tent that held fine on the lawn folds mid-way through the second night, a valve hisses, or a pinhole appears along a seam. Consumer reviews blame the tent. Competitor retail guides reference a 30% failure rate for inflatable tents, with most cases traced to pressure mistakes and valve weld defects rather than punctures.
The Failure Scenes That Trigger Returns
Midnight sagging is usually the first sign. The owner tops up the beam, hears a hiss, then finds a pinhole near a seam by morning. In colder weather, condensation drips off the beams onto sleepers — the rain-on-your-face moment that generates the worst reviews.
Why Owners Blame the Tent, Not Pressure Habits
A beam inflated to 10 PSI at 20°C drops to about 8 PSI at -10°C. The tent feels soft, so the camper adds air at midnight. Morning sun expands that air to 14 PSI. The over-pressure cracks a weld; the owner sees a leak and calls the tent defective.
- Temperature swing: Gas laws rule air beams. A drop from 20°C to -10°C pulls pressure from 10 PSI down to 8 PSI. The beam feels soft without losing air.
- Midnight top-up: Adding air at the coldest hour creates a 14 PSI peak in the morning. That spike cracks valve welds, not the beam fabric.
- Factory fix: A pressure-relief valve on the beam manifold vents the excess. Most consumer tents omit it; custom orders should not.
The Physical Laws Behind Most Defects
Valve welds fail first because they carry repeated flexing and pressure changes. Heat-sealed welds without a reinforcing patch around the valve flange crack under the stress. The solution is built before shipment: a molded flange seat, a pressure-relief valve, and a 24-hour pressure-hold test that requires 90% minimum retention.
Kelyland’s partner factories hold ISO 9001:2015 certification, and inspections run at every production stage. A network of 17 core strategic factories and 200+ manufacturing partners makes it possible to specify these failure-prevention details in a custom air tent order rather than hoping the container shows up with sound beams.
Beam Construction and the Valve Weak Point
Cold nights cause more valve weld failures than any manufacturing defect ever will.
Beam material choice decides how a tent survives the cold. At 20°C, a correctly inflated air beam runs about 10 PSI. Drop the temperature to -10°C and the same beam falls to about 8 PSI. A camper who tops up at midnight wakes to 14 PSI in morning sun — enough pressure to stress a valve weld past its limit. That is the physics behind most “deflated overnight” complaints.
TPU vs PVC Air Beam Behavior in Cold Weather
TPU stays flexible down to -10°C. PVC does not — it hardens, and every flex in cold wind transfers stress to the weld line. A factory cold-chamber test at -10°C exposes the difference before mass production. Kelyland’s tent factory partner in Ningbo runs both PVC and TPU air tube lines under ISO 9001:2015, so the material choice is a spec decision, not a supply constraint.
Why Valve Welds Crack
The valve flange is the most stressed point in an inflatable tent. Every temperature swing changes internal pressure, and the valve area absorbs that flex. Heat-sealed welds without a reinforcing patch fail first. A proper weld seats the valve in a molded flange with an extra welded patch around the base — the difference between a one-season failure and a tent that lasts 5–10 years.
Gooseneck Valves vs Flush-Mounted Valves
- Gooseneck: Extends away from the beam for easier pump access. More exposed during transport — side-loading can bend the neck or tear the weld. Suits user-friendly products where inflation frequency is high.
- Flush-mounted: Low profile and less prone to snagging, but needs a rigid molded seat so pressure doesn’t concentrate on a single weld point. Better for dense packed freight and rough handling.
The valve choice comes down to packaging and field-repair strategy. Gooseneck valves are easier for end users to reach with a pump. Flush-mounted valves survive freight better and sit protected under the sleeve. Specify valve style in the technical drawing — don’t leave it to the factory’s default.

Condensation: Why Cold Beams Drip on Sleepers
Condensation is a design problem, not a ventilation problem.
Water dripping from the ceiling at 2 AM generates more return requests than any other inflatable tent complaint — even when the fly is bone dry. Beam fabric has almost no thermal resistance. On a cool night the beam surface drops close to outside temperature while the tent interior stays warm and humid from breathing.
The beam becomes a cold-conductive channel. Once it crosses the dew point, moisture condenses along the full length and drips onto the sleeping area. The arc makes it worse — condensed water follows the curve and collects at the lowest point, which is usually directly above a sleeper’s face. Campers call it a leak. The fly never got wet.
Closed-Cell Foam Beam Wraps
The factory fix is insulation, not airflow. Wrapping the top 50 cm of each beam in closed-cell foam breaks the cold path before it reaches the inner surface. The strip goes on the arched section over the sleepers, not the full beam. That small change stops condensation where it forms. Most manufacturers skip it because it adds a step and a material — it is rarely offered unless the buyer puts it in the spec.
Breathable Liner as the Thermal Break
A breathable inner liner approaches the same problem from the other side. It adds a thermal break between the sleeper and the cold beam while still letting moisture escape through the fly. Double-wall construction with an internal liner should be a checklist item in every custom inflatable tent specification — and a prototype question, not a production afterthought.
- Closed-cell foam wrap: Insulates the top 50 cm of each beam; blocks the cold-conductive path and stops condensation before it drips.
- Breathable inner liner: Adds a thermal break between sleeper and beam while letting moisture vent through the fly.
Kelyland addresses condensation at the design and sample approval stage of its 10-step sourcing process, not after field failures surface. The camping tent partner factories in Ningbo and Shaoxing run ISO 9001:2015 quality systems, so the insulation method is verified in the prototype before mass production begins.
Zippers, Floors, and Anchor Points
Over-inflation distorts the frame, misaligns zippers, and turns a 30-second zip into a field repair.
When a beam is over-inflated, the arch flattens and the door panel shifts out of position. The zipper track misaligns, the slider jams, and the buyer logs a ‘defective zipper’ return. The zipper was never the issue — the frame geometry was. A pressure-relief valve on the beam manifold stops the over-pressurization at its source.
Door Zipper Stress Corners
Reinforcement tape at the zipper base corners costs little and prevents fabric stretch at the highest-stress point. A jammed zipper at the bottom corner is usually deformed fabric, not a broken slider. Put both the reinforcement tape and the pressure-relief valve in the same spec line, or the factory will skip one to save cost.
Bathtub Floor Welding: Inspect the Joint, Not the Fabric
The bathtub floor is only as strong as its welded joint to the sidewall. A continuous, even weld width across the full perimeter is the baseline. Most ‘inflatable tent leaking repair‘ searches trace back to this weld, not to a puncture in the floor fabric.
- Weld check: Require a continuous floor-to-wall weld with even width; reject any segment with skipped or thin welding.
- Drainage gap: Confirm the door base lets water run past the zipper line instead of pooling against it.
- Zipper base seal: Check that the zipper track sits above the floor weld line, not inside the pooled-water zone.
Guy-Out Loops: Load Path Is Everything
Guy-out points carry the highest wind loads on a tent. A loop stitched directly to plain fabric tears out after a few gusty nights. Specify bar-tacked loops backed by a reinforcement webbing panel, and position each loop over a beam intersection so the load transfers into the air beam structure rather than the sleeve fabric alone.
These three details separate a container that sells through from one that generates chargebacks. In Kelyland’s QC flow, every production stage includes inspections of stitching, mechanisms, and overall compliance; the core tent factory in Ningbo runs to ISO 9001:2015 at 800,000 units per year. That is the difference between a batch that ships and a batch that ships back.

Factory Tests That Predict Real Field Life
A 90% pressure-hold threshold at 24 hours separates factory-grade air tents from retail throwaways.
A tent can pass a visual inspection and still fail on night 16. That is why every aufblasbares Zelt manufacturer in Kelyland’s network runs a 24-hour pressure-hold test before a unit leaves the line. The beam is inflated to its rated PSI and left untouched. If pressure drops below 90% within 24 hours, the valve weld or seam tape has a micro-leak that no visual check will catch.
Cold-chamber test at -10°C
Temperature physics is the hidden killer. A beam at 10 PSI in 20°C air drops to roughly 8 PSI at -10°C. A camper who tops it up at midnight creates 14 PSI by morning, and that spike cracks the valve weld. In Kelyland’s factory network, TPU beams are inflated and flexed in a -10°C chamber to confirm they stay supple. PVC becomes rigid, stresses the welds, and fails this test.
Sleeve abrasion: 10,000 rub cycles
Most field pinholes do not start with a puncture. In high wind, the air beam pumps inside its fabric sleeve, and the sleeve’s inner seam tape wears through after 15–20 windy nights. That is why Kelyland specifies a sewn-in anti-abrasion wear strip along the load-bearing seam—not a thicker beam—and validates it with a 10,000-cycle rub test. This test is the single best predictor of long-term field life.
UV aging for TPU/PVC sleeves
UV exposure breaks down both the sleeve fabric and the beam material. Polyester and TPU degrade differently than PVC, and the failure shows up as color fade, fabric rot, or weld embrittlement. Kelyland’s partner factories run UV aging tests on the exact fabric-and-beam combination a client orders, so the QC report matches the production run, not a lab sample.
- Ask for the test report: Require a pressure-hold record with the exact beam PSI, ambient temperature, and time interval. Vague certificates mean the test never happened.
- Specify TPU for cold climates: PVC may work for beach tents but fails the -10°C flex test. Confirm which material your product line needs before mass production.
- Demand anti-abrasion sleeves: A sewn-in wear strip and a 10,000-cycle abrasion report are concrete proof the beam sleeve will survive wind without pinholes.
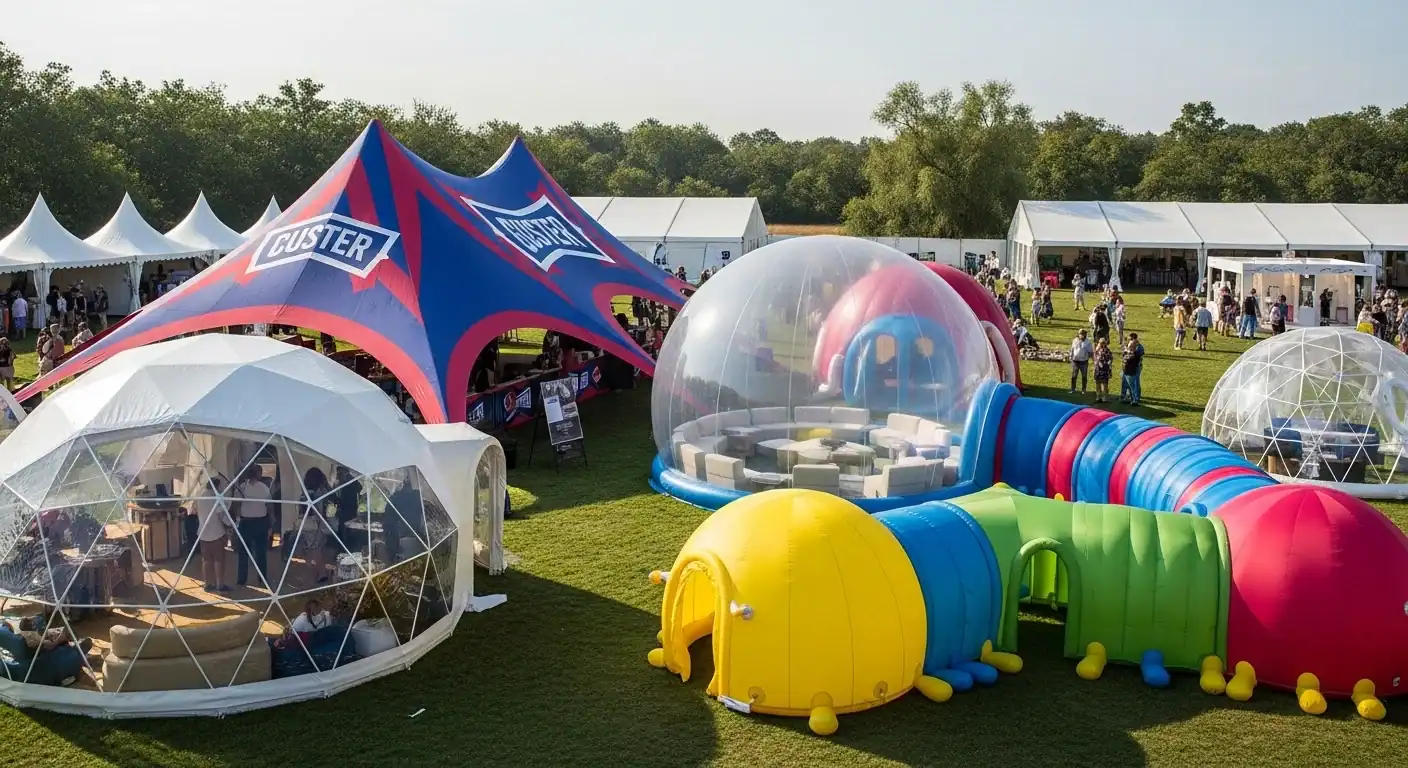
Sourcing Custom Inflatable Tents (OEM/ODM)
Specify the pressure-relief valve and anti-abrasion sleeve in your custom inflatable tent spec.
Sourcing a custom inflatable tent starts with failure modes, not fabric swatches. Valve weld cracks, internal sleeve abrasion, and condensation are set by design and material decisions made before the sample stage. A sourcing manager’s job is to force those decisions into the open during prototyping.
Design, Prototypenentwicklung und Musterfreigabe
Der OEM/ODM-Weg beginnt mit einem technischen Datenblatt: Lichtkegeldurchmesser, Betriebsdruck, Gewebedenier, Beschichtung, Ventilplatzierung und Befestigungspunkte. Der Prozess bei Kelyland verläuft von der Bedarfsanalyse über einen vollständigen Designvorschlag bis hin zum Prototyp vor der Massenproduktion. Die Musterfreigabe ist die kritische Go/No-Go-Entscheidungsstelle – und der Zeitpunkt, an dem verborgene Kosten für Sonderanfertigungen zutage treten.
Fordern Sie den Vorserienmuster , um den Anti-Abrasion-Verschleißstreifen im Innern des Schlauchs zu zeigen, den pressure-relief valve am Verteilerstück und verstärkte Ventilschweißnähte. Wenn das Muster diese Details nicht aufweist, wird dies auch auf die Produktionscharge durchgehen.
Material- und Beschichtungsauswahl
Das Material des Luftschafts ist die entscheidende Größe für die Haltbarkeit. TPU bleibt auch bei -10°C flexibel; PVC verhärtet bei Kälte und setzt die Schweißnähte unter Spannung. Geben Sie für Winter- oder Alpine-Produktlinien TPU vor und verlangen Sie den Bericht zum Kaltschlagtest . Verwenden Sie ein reißfestes Polyester-Raupenmaterial mit PU- oder Silikonbeschichtung für die Wasserdichtigkeit und schwarze Beschichtung, wenn der UV-Schutz eine Rolle spielt.
Mindestbestellmenge, Lieferzeiten, Qualitätskontrolle und Logistik
Kelyland startet bei ausgewählten aufblasbaren Zeltmodellen ab 50–100 Stück, Standard-Sonderanfertigungen werden ab 300–1.000 Stück gefertigt. Die Produktion läuft über 17 Kern-Strategiefabriken, die meisten nach ISO 9001:2015 zertifiziert, sowie ein Netzwerk aus über 200 Fertigungspartnern. Die Lieferzeit beträgt 30–45 Tage, und bezahlte Muster werden bei einer bestätigten Großauftragsbestellung erstattet.
Fordern Sie den 24-stündigen Druckhalte-Test mit mindestens 90 % Retention (90%) und den Abriebtest am Schlauch über 10.000 Zyklen. Verlangen Sie Prüfberichte vor Versand und klären Sie die Incoterms FOB sowie die Exportdokumentation, bevor der Container das Werk verlässt. Ein Lieferant, der bei Testdaten zögert, gibt Ihnen einen guten Grund, den Kontakt abzubrechen.
Schlussfolgerung
Die meisten Käufer jagen der Puncturesresistenz hinterher; Profis fragen nach dem Inneren des Schlauchs. Der Luftschlauch reibt nachts im Wind gegen das Nahtband, und nach 15–20 Nächten solcher Reibung nutzt sich das Band ab und winzige Löcher entstehen. Ein eingenähter Anti-Abrasion-Verschleißstreifen ist der Fertigungsdetail, das Ihre Ausschussrate unter 1% hält.
- Ausrüsten mit TPU-Luftstreben und Druckausgleichsventil; PVC wird bei -10°C hart und belastet die Schweißnähte.
- Fordern Sie den 24-Stunden-Drucktest: Mindestens 90% Druckhaltezeit, keine Ausnahmen.
- Ätzende Scheuerbeanspruchung der Hülle verursacht die meisten Lochlecks, nicht Stichlöcher; verlangen Sie einen Scheuertest mit 10.000 Zyklen.
- Bezahlte Muster werden bei bestätigten Bestellungen erstattet; die Standardproduktionsvorlaufzeit beträgt 30–45 Tage.
Der letzte Schritt besteht darin, diese Tests in Ihren Vertrag aufzunehmen. Senden Sie Ihr Konzept für ein aufblasbares Zelt an Kelyland für eine kostenlose techniscal Bewertung — das Team kann Ihnen Kaltkammem-Drucktests, anti-abrasive Hüllenkonstruktion und Low-MOQ-Prototypenabläufe ab 50–100 Stück zeigen. Fordern Sie die QC-Prüfberichte zum Muster an, nicht nachdem der Container verschifft wurde.
Häufig gestellte Fragen
Sind aufblasbare Zelte bei windigen Bedingungen zuverlässig?
Ja, wenn die Luftträger korrekt unter Druck gesetzt und das Zelt vollständig abgespannt ist. Flexible Träger absorbieren Böen besser als starre Stangen, aber zu geringer Druck lässt die Hülsen scheuern und. Auf den vorgeschriebenen Druck aufpumpen und jeden Abspannpunkt abspannen, bevor man dem Zelt bei Wind vertraut.
Wie lange halten Luftzelte?
Ein TPU-Trägerzelt aus einer Fabrik, die einen 24-stündigen Druckhaltetest und einen 10.000-Zyklen-Hülsenabriebtest durchführt, kann 5–10 Jahre halten. Polyurethan- oder PVC-Träger mit schwachen Schweißnähten. Fragen Sie die Fabrik nach Testberichten, bevor Sie sich für eine Produktionsserie entscheiden.
Was führt dazu, dass ein aufblasbares Zelt über Nacht Luft verliert?
Ein Temperaturabfall ist die häufigste Ursache, nicht ein Leck. Der Luftdruck fällt um etwa 2 PSI, wenn die Temperatur von 20°C auf 0°C sinkt, daher wirken Reifen weich. Füllen Sie abends auf und erwarten Sie morgens Weichheit, bevor Sie einen Defekt vermuten.
Can you repair a punctured air beam in the field?
Small punctures can be patched with the included repair kit, but valve weld failures usually require factory re-welding. If the seam tape inside the sleeve is worn through, the beam needs replacement, not. Carry a spare beam for trips beyond easy replacement.
Should I order spare valves and a pump with my inflatable tent?
Yes, because valve assemblies are the highest-wear component and a factory-matched spare valve saves customs delays and cross-brand fit issues. Order an extra pump only if your beam system uses a non-standard. Match the spare valve SKU to your exact beam spec.

 English
  Español
  Deutsch
  Français
  Português do Brasil
  Русский
  العربية
  한국어
한국어  日本語
日本語