 Zum Inhalt springen
One centimeter of fabric sag traps two to three liters of rainwater overnight. The tent fly water pooling fix starts with geometry, not fabrics: a fly needs a 20° to 30° roof slope to shed rain, and anything flatter creates a belly that holds water. A $50K private-label order can pass Musterfreigabe looking perfect in a dry showroom, then collect water on its third night of real rain.
The failure usually traces back to setup order, not material spec. Factory assemblers set the ridge and mid-panel guy points before staking corners; most end users stake corners first and flatten the roof in the process. Once a flat belly forms, even factory-sealed PU tape rated at 1,500 mm can fail — water sits on the seam for hours and pushes through needle holes. That’s a pitch tension failure, not a tape defect.
Buyers who skip this distinction pay for it in warranty returns. The fix costs almost nothing at the design stage — mid-panel guy-out loops and 3 mm reflective cord with a 5–10 kg breaking strain add cents to the unit price, not dollars. Without them, a 1 cm sag collects 2 to 3 liters overnight. Seam leak complaints roll in, and the return rate on a first-season tent launch can erase whatever margin FOB pricing promised.
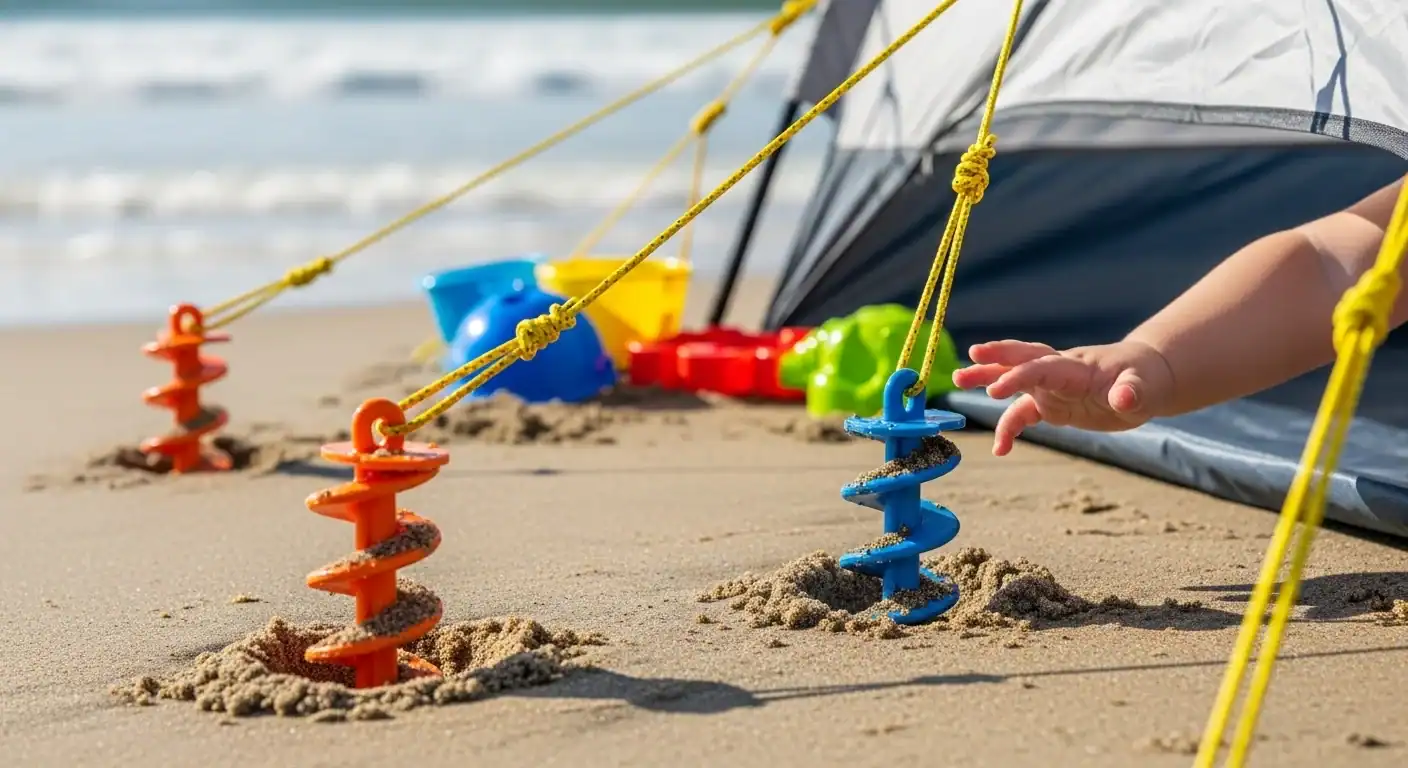
Why Water Pools on a Tent Fly
Pooling starts with pitch geometry.
Water pools on a tent fly when the membrane loses the slope built into its design. Staking corners first flattens the ridge and leaves a low belly where rain collects. The 20° to 30° roof slope needed for run-off disappears before the first drop falls.
Flat Roof Geometry and the 1 cm Sag Problem
Staking corners first is the fastest way to flatten a fly. Corner tension pulls the fabric outward instead of up, and the center panel sags. A 1 cm sag can trap 2 to 3 liters of rainwater overnight.
Pooled water adds weight and drags the panel lower. More sag captures more water. The fly becomes its own collection basin, and the seams sit submerged for hours.
Hydrostatic Pressure and Needle Holes
Each seam is a row of needle holes. Water standing on that seam creates hydrostatic pressure that pushes through the stitches over time. Fly fabric alone does not stop this once water has no run-off path.
Factory-sealed PU seam tape rated to 1,500 mm handles rain that sheds off the surface. It is not designed to sit under standing water with no slope and no drainage.
Missing Mid-Panel Guy-Out Points
A fly without mid-panel guy-out loops leaves a large unsupported membrane between the corners. Wet fabric stretches, and without a tie-out pulling the panel up, it sags into a low point.
Buyers auditing OEM spec sheets should check for mid-panel tie-out loops before committing to a private-label tent line. Their absence is a common root cause of pooling that no fabric spec can fix.
Seam Tape vs Pitch Tension
A 1,500 mm PU seam tape spec looks strong on paper. In the field, it leaks when the pitch is too loose to shed water. A seam leak in this condition is a pitch failure, not a tape defect.
At Kelyland’s partner factories, assembly uses a different order. Ridge and mid-panel guy points are set before corner stakes. For heavy rain, the tension sequence starts at the ridge, then mid-panel, then corners. Partner factories operate under ISO 9001:2015, with inspections covering stitching, seam taping, and hardware from prototype through pre-shipment.
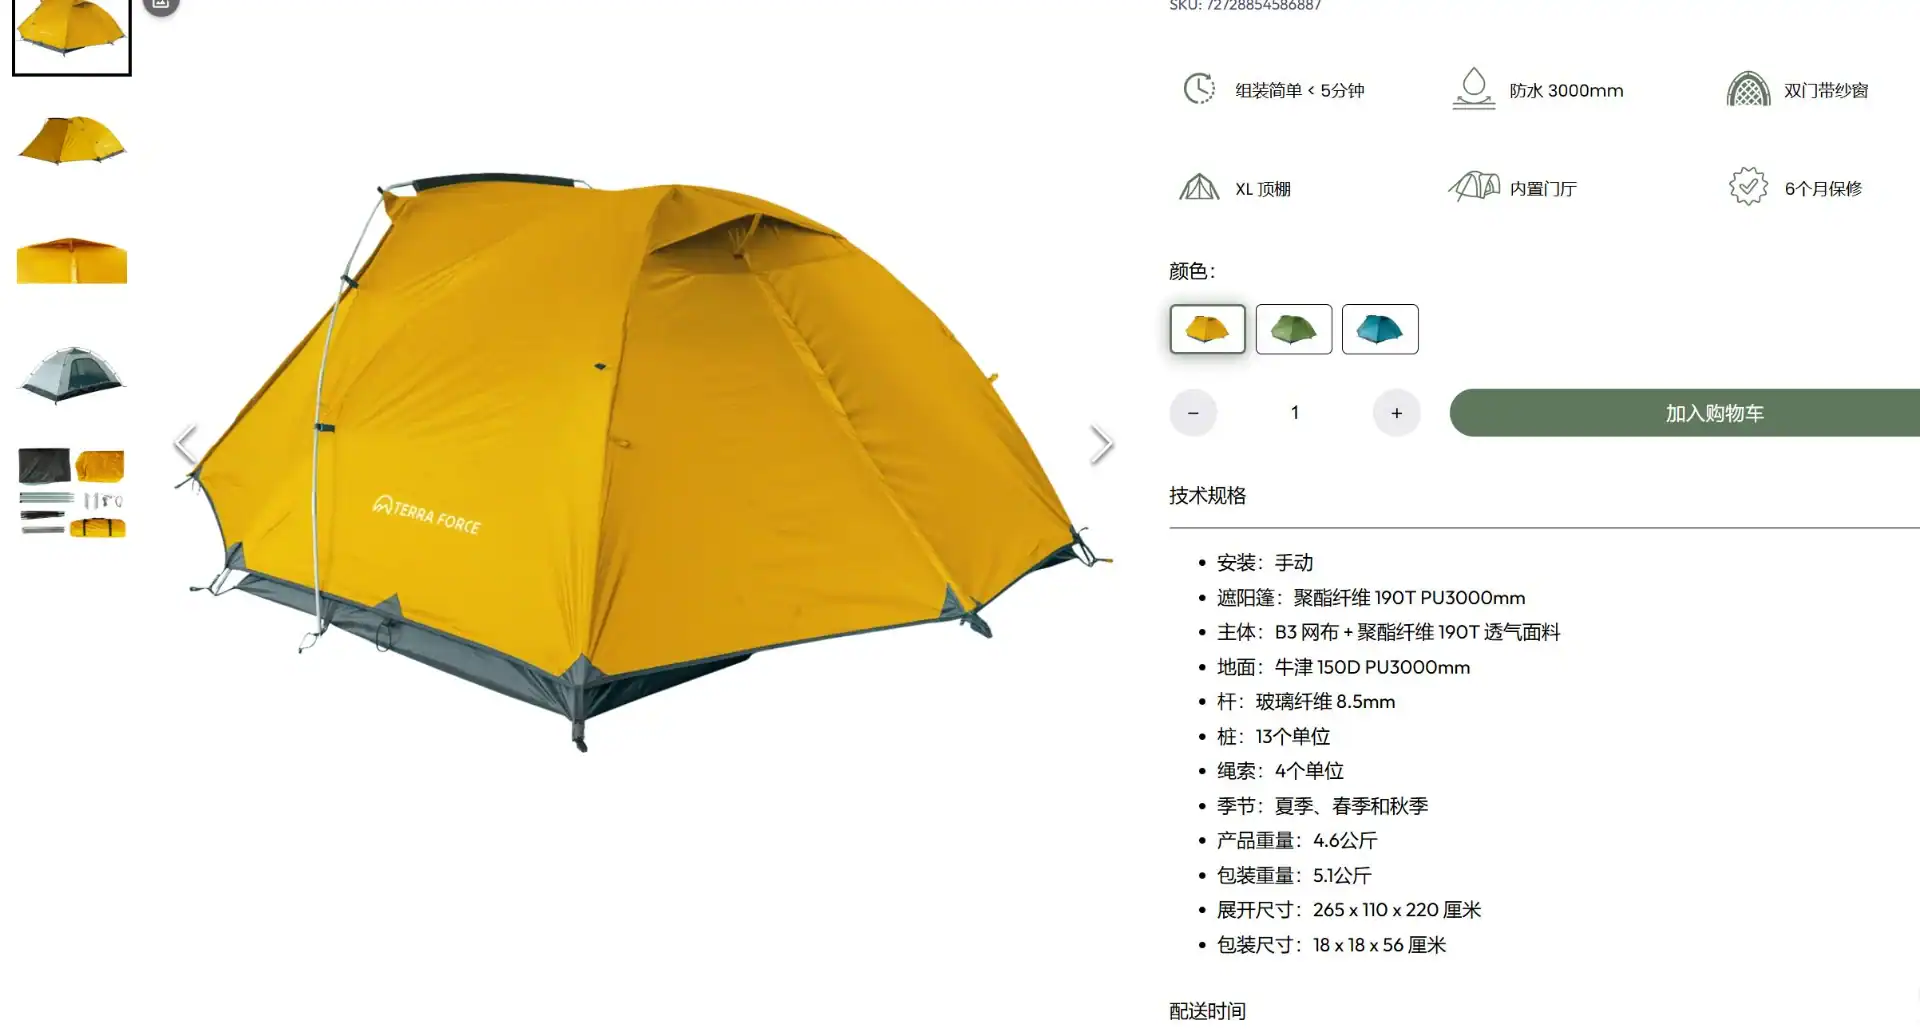
The 3-Point Tension Sequence for Rain Setup
The sequence is ridge → mid-panel → corners.
Most tent owners stake corners first. That single move flattens the fly, kills the 20°–30° roof slope, and creates the exact low point that pools water. Kelyland’s factory assemblers reverse the order: ridge and mid-panel guy points go in before any corner stake. That keeps the membrane taut and gives rain a continuous run-off path.
A pitch that looks fine when dry turns into a 2–3 liter pool overnight when the fabric sags by just 1 cm. This is why a seam leak is often a pitch failure, not a tape failure. Water sitting on a seam for hours can exceed what 1,500 mm PU seam tape handles in dynamic rain.
Ridge First: Establish the High Points
Set the ridge pole or trekking pole high point first. Then locate the mid-panel guy loops and tension those lines before touching the corners. This locks in the slope and creates a drip path. With corners already staked, the membrane cannot rise and the belly stays.
Step 1: Stake the Windward Corner
Drive the stake into the ground at a 20°–30° angle on the windward side. Pull partial tension only — enough to hold the leading edge against gusts, but not so much that it flattens the ridge. Leave slack for the mid-panel lift. Overtensioning this corner is the fastest way to kill the slope.
Step 2: Push Up the Mid-Panel with a Trekking Pole
Adjust a trekking pole to press the mid-panel upward from underneath. Kelyland’s adjustable poles come in 6061/7075 aluminum or 3K carbon fiber with tungsten steel tips, so the pole itself can handle wet ground and repeated force. Lifting the panel by even 1 cm restores the run-off angle and keeps water moving.
Step 3: Pull the Leeward Corner and Lock the Guy Lines
Only after the ridge and mid-panel are set should you tension the leeward corner. Pull it tight enough to remove visible low points, then lock the line with a taut-line hitch or trucker’s hitch. Use high-tensile 3 mm reflective guy cord rated at 5–10 kg breaking strain. Overtightening the windward corner first will make the belly worse.
Finish by walking around the fly. Look for any visible belly or dip where water could collect. The surface should shed water in one unbroken path to the edges. If any low point remains, re-tension the nearest mid-panel guy line before the next rain cell arrives.
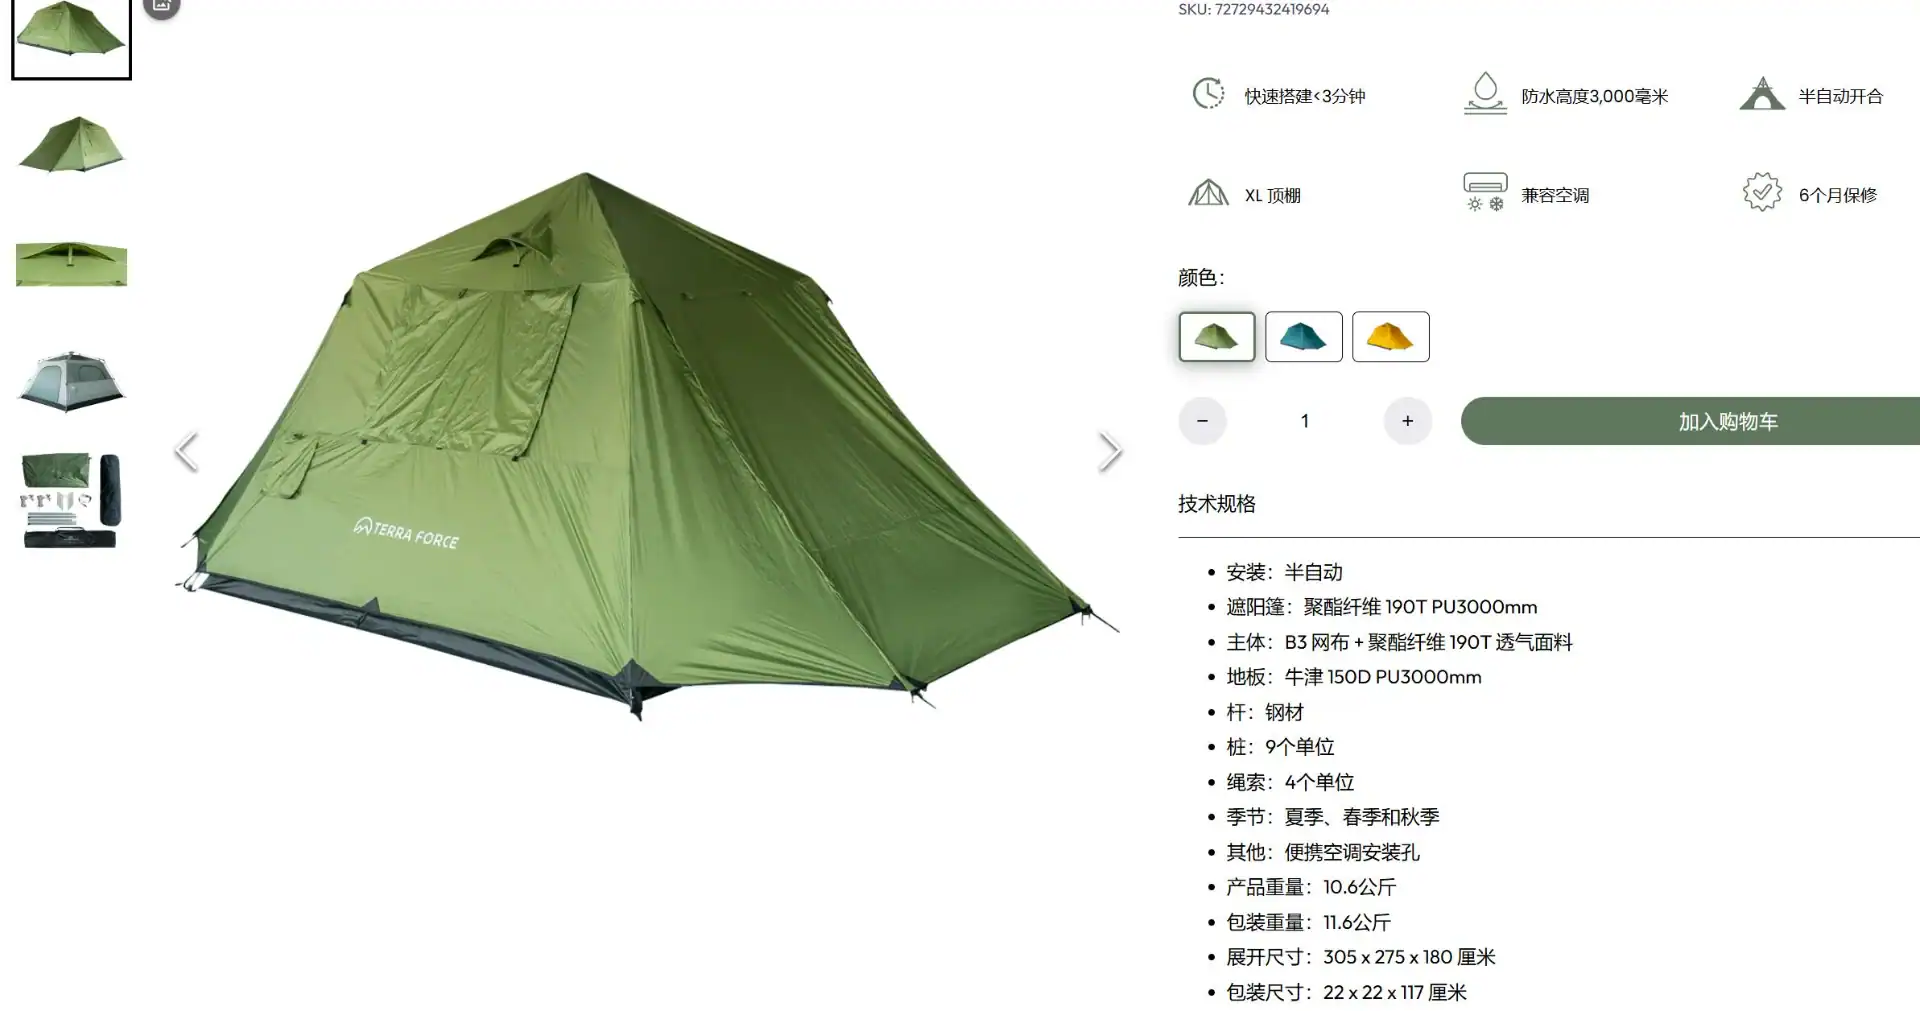
What to Look for When Buying a Rain-Ready Tent Fly
A tent fly that cannot shed water at 20°–30° will pool, no matter how much seam tape you spec.
The fix for tent fly water pooling starts at the spec sheet, not the campsite. A private-label fly needs 68D polyester ripstop with a 1,200–3,000 mm hydrostatic head, factory-sealed PU taped seams, and mid-panel guy-out loops. Without those three, the fly will belly under rain and drive your warranty returns up.
Start with the fabric. 68D polyester ripstop is the practical baseline because it resists tearing without the weight of heavier nylons. The hydrostatische Druckkopf tells you how much water pressure the coated fabric can hold back before leaking. 1,200 mm covers steady showers; 3,000 mm handles wind-driven downpours. Anything below 1,200 mm should not be marketed as rain-ready.
Seams Must Be Factory-Sealed and Checked
PU tape is the seam-sealing standard, but the application quality is what prevents leaks. Factory-sealed tape must be flat, with no bubbles or lifted edges. A 1,500 mm tape rating will still fail if the fly is pitched loose, because water sits on the seam for hours. That makes pitch tension the real first line of defense. Buyers should request seam-tape inspection records from the factory before approving bulk production.
Mid-Panel Guy-Out Loops and Hardware
Mid-panel guy-out loops are the single most overlooked hardware feature. A fly with only corner tie-outs leaves the middle of the panel unsupported. A 1 cm sag in that unsupported stretch can trap 2–3 liters of rainwater overnight. That weight stretches the fabric, lowers the slope further, and presses water into taped seams. This is exactly how “minor” pooling becomes a seam leak.
Rain-ready hardware also includes corner tie-outs, 3 mm reflective guy cord with a 5–10 kg breaking strain, and aluminum or nylon tensioners that will not loosen when wet. Reflective cord matters for visibility at night, but the breaking strain prevents sag under pooling weight.
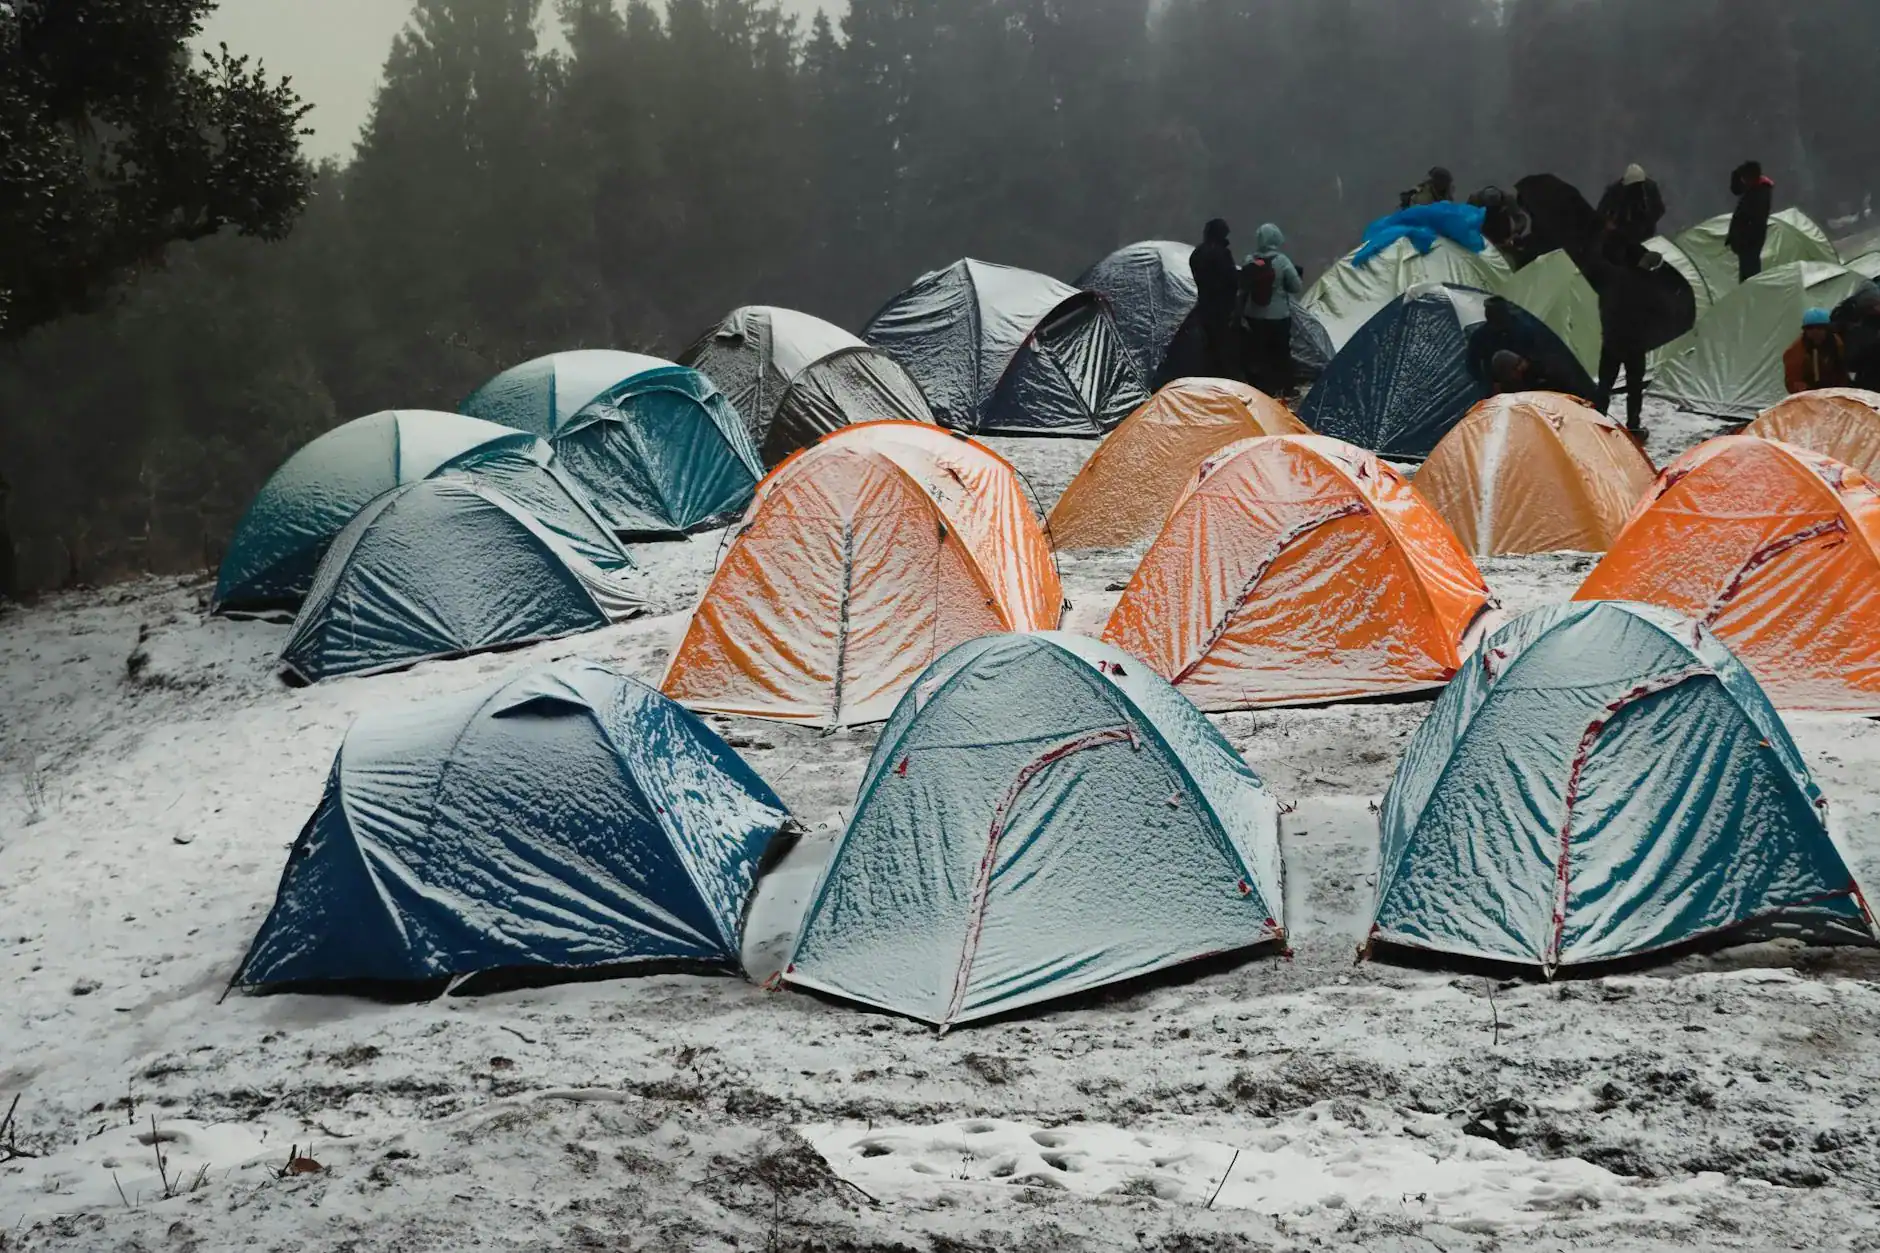
Quick Field Fixes When Water Starts Pooling
When water starts pooling mid-storm, the fastest fix is a high point under the belly — not another corner stake.
The rain is already on you and the fly is starting to belly. The instinct is to grab the nearest corner stake and yank. That is exactly the wrong move — pulling any corner flattens the ridge further, which deepens the pocket that is filling with water.
Push Up the Mid-Panel with a Trekking Pole
Ein adjustable trekking pole is the fastest temporary high point you own. Extend a 6061/7075 aluminum or 3K carbon fiber pole and seat the tip under the pooling panel, then push up until the membrane regains slope. A sag of just 1 cm can trap 2–3 liters of rainwater overnight — breaking that pocket restores the run-off path in seconds.
A sturdy stick, a paddle, or even a packed dry bag lashed to the ridge line works in a pinch. The goal is not a permanent fix. It is to get water moving off the fly before hydrostatic pressure drives it through needle holes and seam tape.
Tighten the Leeward Guy Line First
With the high point holding, move to the leeward side — the side sheltered from wind — and tension that guy line. This pulls the pooling panel away from standing water and locks in the slope you just created. Then clear leaves, pine needles, and debris blocking the drip path along the fly edge.
Skip the windward corner until last. Tightening it first pulls the membrane taut against the wind, which rotates the low point and makes the belly worse. The leeward line does the real work here.
Dry Seams Before Re-Pitching or Storing
Once the storm passes, wipe down the fly and run your fingers along every factory-sealed seam. PU tape rated to 1,500 mm fails when water sits on loose fabric for hours — and once the edge starts lifting, the seam is compromised. Dry the fly fully before storage to prevent mildew from colonizing the tape and fabric.
Für private-label brands, this field sequence belongs in the user manual. Kelyland’s 17 core strategic factories, most ISO 9001:2015 certified, run inspections on stitching and seam taping at every production stage — but no QC report fixes a fly pitched without mid-panel support. The factory builds the rain-ready baseline; the end user still has to pitch it right.
Schlussfolgerung
A fly that sheds water instead of pooling starts with a 20°–30° roof slope and the ridge-first tension sequence that preserves it. When the membrane stays taut, the 1,500 mm seam tape holds; when sag sets in, a 1 cm belly can trap 2–3 liters overnight and turn a field failure into a warranty return. Geometry and tension do the real work, and the spec sheet just needs to support them.
- Pitch ridge and mid-panel guy points before staking corners to maintain a 20°–30° slope.
- A 1 cm sag traps 2–3 liters of rainwater and forces seam leakage through needle holes.
- Spezifikation 68D polyester ripstop with 1,200–3,000 mm Wassersäule and sealed PU seam tape.
- Use 3 mm reflective guy cord rated at 5–10 kg breaking strain for the leeward lock.
Before your next OEM sample approval, compare the pattern geometry and hardware against these thresholds: mid-panel guy-out loops, 68D ripstop, and a measured roof slope above 20°. Browse Kelyland Outdoors’ tent and trekking pole options, and request the rain-simulation QC checklist with your next sample run so pooling defects surface before production, not after the first customer rain test.
Häufig gestellte Fragen
Why is my tent fly leaking at the seams?
Seams leak because water pools on loose fabric and sits over the seam tape. With a 20°–30° slope and ridge-first tensioning, water sheds before it reaches the seam. Check pitch angle first if seam leakage appears.
How much slope should a tent fly have?
A tent fly needs a 20°–30° roof slope. Anything flatter creates a flat belly that traps rainwater, especially when corner stakes are set first. Set ridge and mid-panel tension before corners.
Can you set up a tent fly without the inner tent?
Yes. Setting up the fly first protects the inner tent from rain. Use this method in steady rain to keep the inner dry.
Why does rain pool on my tent fly?
Rain pools because the fly membrane loses slope. Corner-first staking, missing mid-panel guy-outs, and loose leeward tension leave low spots that hold water. Pitch ridge-first and confirm mid-panel tie-outs on any OEM spec.
What is the best knot for tent fly guy lines?
A taut-line hitch or trucker’s hitch is best because it lets you adjust tension without untying. Pair it with high-tensile 3 mm reflective cord to keep the line from sagging in wet conditions. Re-tension the fly after it absorbs moisture.

 English
  Español
  Deutsch
  Français
  Português do Brasil
  Русский
  العربية
  한국어
한국어  日本語
日本語