 跳到内容
跳到内容 
Tent Fly First Setup: 7 Steps to Cut Rain Exposure is the first checkpoint buyers should lock before they approve a supplier, budget, or production slot. The seam-tape operator on a tent production line can predict the outcome of a tent fly first setup rain drill better than any salesperson. She watches the roll of 20mm polyurethane tape feed through the heat sealer, and she notices when the adhesive batch feels thinner or the roller pressure drops. That is the information a buyer never gets from a sales call.
Fly-first setup adds 60-90 seconds and cuts interior rain exposure by roughly 80%, but setup skill cannot repair a fly that was never taped right. The 7 steps below keep you dry tonight; the quality tolerance specs afterward tell you which factory will deliver that same dry night at scale. Both matter, and neither appears in a brochure.

Why Fly-First Beats Inner-First in a Downpour
Fly-first pitching cuts interior rain exposure by roughly 80% and costs only 60-90 seconds.
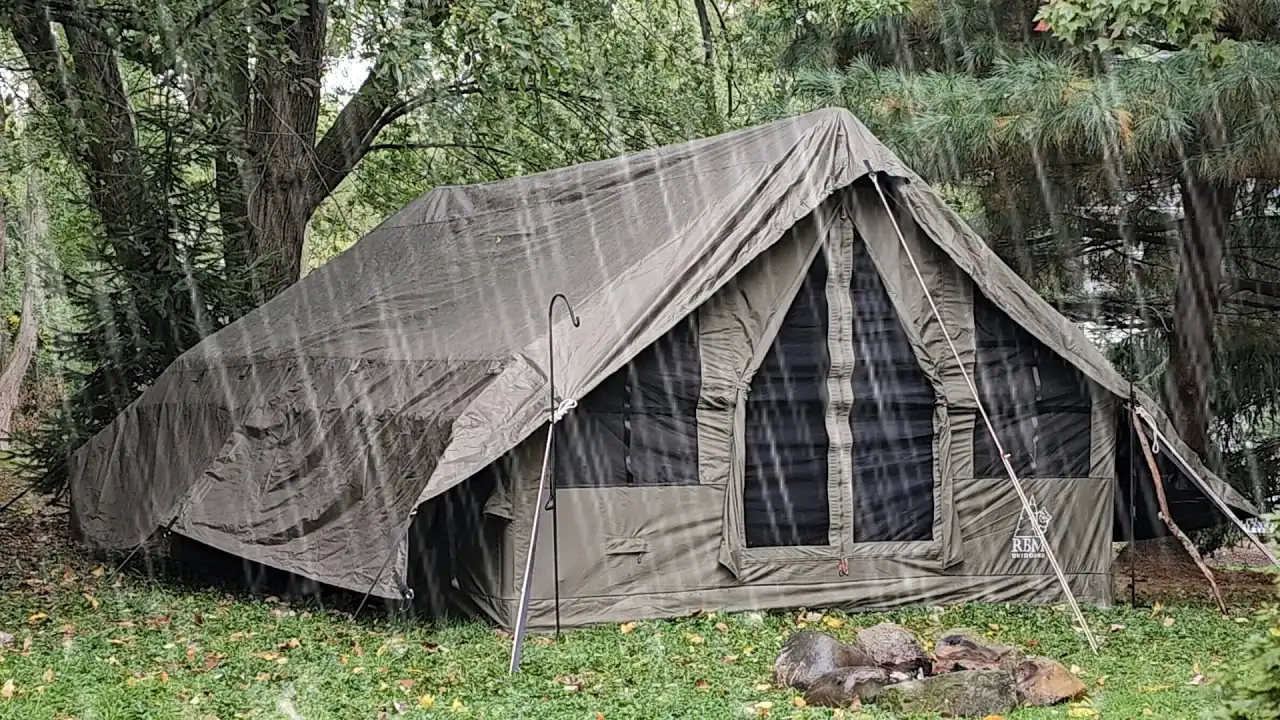
Watch what happens to an inner-first pitch when rain hits 10mm/hr. The inner walls wet out, rivulets run down the mesh, and water puddles at the door seam. Reach inside to grab a dry bag and your sleeve drags across wet fabric, soaking the bedding through contact. The tent body becomes the rain path instead of the barrier.
The Fly Is a Sacrificial Umbrella
Put the waterproof fly up first and you create a dry work zone. The inner tent clips in underneath, never exposed to the rain column. That sequence costs 60-90 extra seconds and cuts interior rain exposure by roughly 80%. A wet fly dries in minutes. A wet sleeping bag does not.
The tent factory in Ningbo that supplies Kelyland’s private-label program produces 800,000 units annually under CE, BSCI, and ISO 9001 certification. Their QC process runs inspections at every production stage, including stitching checks on fly seams. For a brand manager screening suppliers, that documented inspection trail separates a spec sheet from a rain-ready product.
Storm Mode: Stakes at 45 Degrees, Guylines Tensioned
Once the fly is up, water must be channeled off, not allowed to pool. Stake every corner at 45 degrees into firm soil, then tension the guylines until the fly is drum-tight. A sagging fly touches the inner tent, and capillary wicking pulls water through the contact point—the exact leak this method was designed to prevent.
- Stake angle: 45 degrees into firm soil, windward corner driven first so the fly cannot lift under gusts.
- Guyline tension: Radial pattern, taut enough that water beads and sheds instantly instead of pooling.
- Fly clearance: At least 15cm between fly and inner wall at the bottom to stop splashback and condensation wicking.
7-Step Fly-First Pitch Sequence
Fly-first adds 60-90 seconds but cuts interior rain exposure by roughly 80%.
The inner-first pitch works fine in fair weather. In a 10mm/hr downpour, it turns the inner tent into a catchment basin — rain runs down wet walls, puddles slide through the door gap, and damp hands soak the bedding before the fly ever goes on. Fly-first reverses that order so the waterproof layer is overhead before the inner floor touches anything wet.
The 7-Step Fly-First Sequence
- Step 1 — Choose a drainage-lite site: Pick slightly elevated ground, never a basin. A 15-20cm rise routes runoff around the fly; a depression collects water and turns the floor into a wading pool.
- Step 2 — Lay the footprint flat, tucked under: The footprint sits fully under the fly. Any overhang catches rain and channels it beneath the floor, soaking the bathtub floor seam from the outside.
- Step 3 — Stake the fly seams-up, windward first: Lay the fly seams-up so the smooth side takes the rain. Drive corner stakes at 45 degrees, starting windward, before inserting any pole.
- Step 4 — Insert poles or inflate air beams: Feed pole sections through sleeves or clips. On inflatable models, connect air beams and inflate once the fly is positioned over the structure. This is the protected 60-90 second window.
- Step 5 — Clip the inner tent underneath: Slide the inner tent under the raised fly and clip it to the poles. The floor stays dry because it never sees rain. Keep the inner tent bagged until this moment.
- Step 6 — Tension guylines for runoff: Tighten guylines radially so water beads and sheds. Hold the fly at least 15cm off the inner wall at the bottom to block splashback and capillary wicking.
- Step 7 — Point the door away from the weather: Orient the door downwind or away from the rain direction before final tensioning. A door sleeve facing the weather lets water in every time someone exits.
The sequence is only as good as the fly itself. A factory that skips double-taped ridge seams saves roughly $0.04/meter — and that hidden cost decision produces most rain failures in the field. Fly-first setup cannot fix a bad fly; it only exposes the defect faster, which is why the same checklist should guide OEM sourcing decisions.
What Brand Managers Should Verify
A tent that survives this sequence in the field was built with a 3000mm PU fly, 20mm seam tape over every stitch line, and a 5000mm PU floor with 15cm bathtub walls. Those are the specs to put in an RFQ. The partner tent factory behind Kelyland’s sourcing network in Ningbo produces 800,000 units annually with CE, BSCI, and ISO 9001 certifications — and still verifies seam-tape application at line level, because the tape, not the fabric, is what keeps rain out.
Seam Tape, PU Coating, and the Physics of Wet Stitches
A 3000mm PU fly only works if every stitch line is sealed.
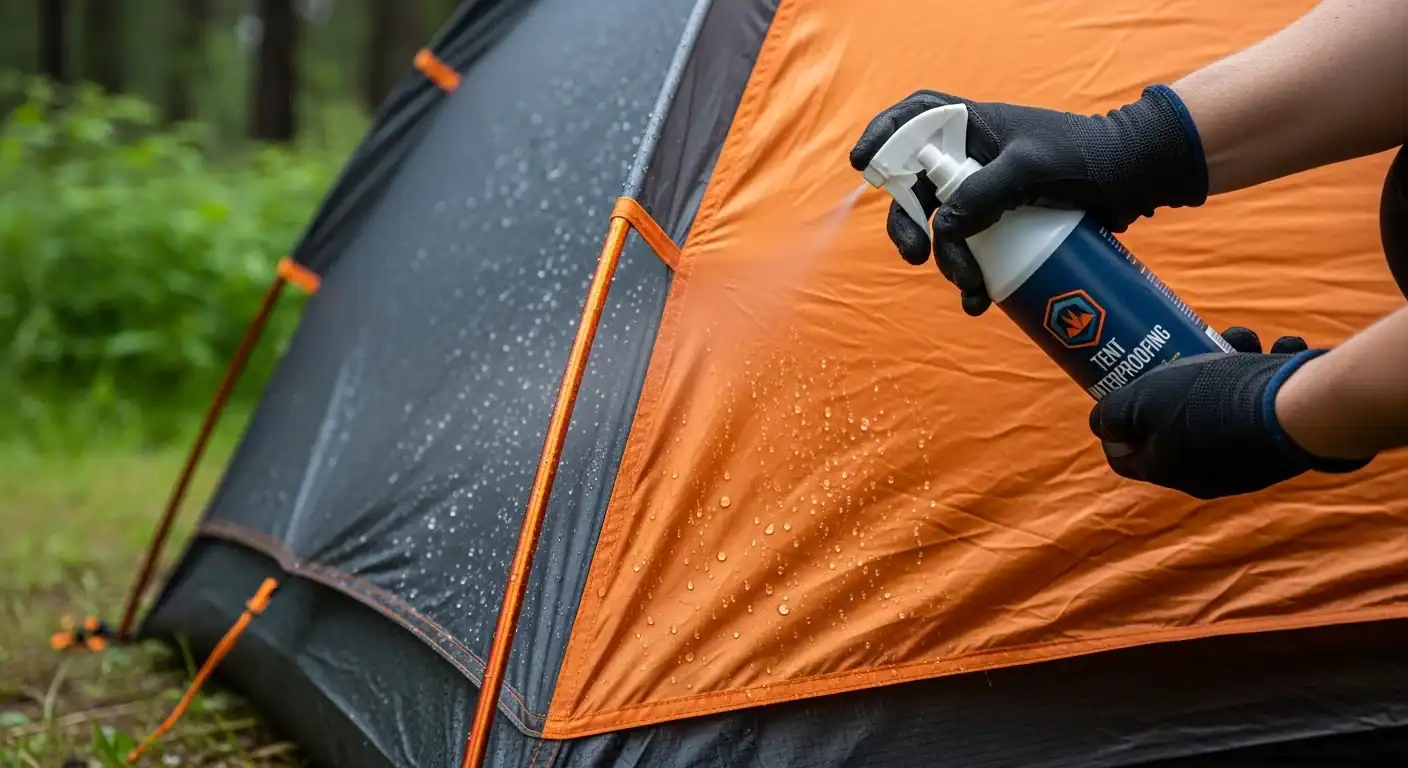
Every needle stroke punctures the PU coating. The fabric face resists water, but those micro-holes along the stitches become the primary leak path in a downpour. A 3000mm 耐水圧定格 on the fly means nothing if the seam tape is missing or poorly applied.
Why Needle Holes Leak Through 3000mm PU Fabric
In a 10mm/hr rain, water pressure and capillary action force moisture through the stitch holes. The fabric itself holds back the column of water, but the needle holes act like a bundle of tiny straws. This is why a tent can have a flawless 3000mm PU coating and still soak the bedding.
20mm Seam Tape: The Only Seal That Matters
Factory-applied 20mm polyurethane tape, heat-sealed over every stitch line, is what turns a coated fly into a waterproof shelter. On the ridge seam, the highest-stress leak point, double-sided taping makes the difference between a tent that survives a season and one that fails on the third trip. Premium builds tape both sides of the seam.
Single-sided taping covers the outside of the ridge, but the stitch holes still wick moisture from the underside. Double-sided taping seals both entry and exit points. For a private-label tent that must pass online returns scrutiny, 3000mm PU fly and 5000mm PU floor with double-taped seams is the defensible spec.
The $0.04/meter Cost Gap in Ridge Seams
Brands that skip double-taped ridge seams save roughly $0.04 per meter. That single hidden cost decision accounts for most waterproof tent failures in the field. Fly-first setup cannot fix a bad fly; it simply exposes the defect faster because the fly is the first layer tested in rain.
Bathtub Floor and 15cm Wall Height Threshold
A 5000mm 静水圧ヘッド floor with 15cm bathtub walls stops ground splash from wicking into bedding. Factory inspection must confirm the floor seams are taped on the inside, where pooled water sits during prolonged rain. The same 20mm tape standard applies to the floor perimeter.
What Factory QC Should Verify
Check that the ridge seam tape is centered over the stitch line, not shifted to one side. Peel a corner and confirm the adhesive has melted into the PU coating rather than sitting on top. A tape that lifts with light pressure will fail in the field.
At Kelyland’s Ningbo tent factory, which produces 800,000 units annually under ISO 9001, seam-tape application is checked at every production stage. Buyers should ask for the SKU-level seam-tape inspection record before approving a pre-production sample.

Factory Checks Before You Buy a Rain-Ready Tent
Rain-ready means the seam tape, coating, and pole gauge survive inspection.
A 3000mm PU fly can pass a fabric test and still leak in a storm. The failure sits at the stitch line, not the face fabric. Fly-first setup exposes that defect faster because the fly takes the first hit. For a private-label brand, that means returns, chargebacks, and a category manager asking why the defect rate target blew past 0.5%.
Seam Taping on Both Sides of Fly and Floor
Every needle stitch punctures the PU coating, creating micro-holes that water pushes through under 10mm/hr rain. The only reliable seal is 20mm seam tape, heat-sealed over the stitch line. On the fly, the ridge seam gets the longest hydrostatic exposure. On the floor, pooled water presses against the seams for hours. The defensible spec is tape on both sides of both.
Do not accept a generic ISO certificate as proof. ISO 9001:2015 confirms the quality management system exists, not that this SKU’s ridge seam was taped. Ask for the factory’s seam-tape QC inspection record and the SKU-level test report. Kelyland’s tent factory in Ningbo, Zhejiang, runs 800,000 units annually and holds CE, BSCI, and ISO 9001 certifications, with inspection reports available at every production stage.
PU vs Silicone Coating: Which Leaks Less
PU wins for private-label rain-ready tents because it accepts heat-sealed tape cleanly and consistently. Silicone coatings age better and resist UV, but they do not tape well; they require liquid seam sealer, which is labor-intensive and easy to apply unevenly. A 3000mm PU fly paired with a 5000mm PU floor is a defensible specification that stands up to rain-chamber testing and marketplace return scrutiny.
Pole Gauge and Fly Overhang
- 8.5mm 7001 aluminum: Holds fly tension better than 9.5mm fiberglass when rain loads the fabric. Request the pole spec in the RFQ and measure the gauge on the pre-production sample; a downgrade shows up as sagging and water pooling.
- 15cm fly overhang: The fly must hang at least 15cm below the inner tent’s bottom edge. Less overhang lets wind-driven rain reach the zipper or sidewall, and splashback wets the inner floor.
- Webbing-reinforced corner loops: Stake loops take high tension in wet ground. A single bartack can tear out. Reinforced webbing loops, stitched into the fly corner, survive 45-degree stake angles and repeated use.
Add these checks to the pre-shipment inspection along with the QC documentation. The factory that double-tapes seams, specifies 8.5mm 7001 aluminum, and reinforces corner loops is the one that will hit your target defect rate. Fly-first setup cannot fix a bad fly; it only reveals it earlier.
結論
Fly-first pitching cuts interior rain exposure by roughly 80% and adds only 60-90 seconds to the setup. That same sequence works as a factory check when you inspect a sample: 3000mm PU fly, 5000mm PU floor, 15cm bathtub walls, and seam tape on every stitch line. A tent that passes those points is worth a real rain test; one that doesn’t will leak at the needle holes, not the face fabric.
- Can the supplier show 20mm seam tape on both sides of every ridge seam?
- Will the sample approval confirm 5000mm PU floor, 15cm bathtub walls, and inside taped seams?
- Is the QC sheet checked against 8.5mm 7001 aluminum poles and a 3000mm PU fly?
Before you commit, run those three questions past any candidate factory and request the seam-tape QC record during sample approval. When you’re ready, send Kelyland your target fly coating, floor PU rating, packed size, and quality tolerance for a quote that includes.
よくある質問
Should the rain fly go over or under the tent?
The rain fly always goes over the inner tent in fly-first setup. Storm mode is the only exception, with the fly pitched lower and staked tighter to block wind-driven rain. Reserve storm mode for high wind, not normal dry weather.
How do you set up a tent in the rain without getting the inside wet?
Use the fly-first sequence: lay the footprint, stake the fly seams-up, raise poles or inflate beams, then clip the inner tent beneath. Keep a sealed bathtub floor and a tucked. Practice this once at home before you need it in a downpour.
Why does my tent leak through the stitches?
Every needle stitch punctures the PU coating, and those micro-holes are the primary leak path in heavy rain. Factory-applied 20mm seam tape over every stitch line is the only reliable seal. Inspect taping before trusting a tent in a storm.
How to put a rainfly on by yourself?
Use the fly-first sequence: stake one windward corner, raise the pole structure, then fold the fly over the frame. This creates a dry work zone so you can clip. Anchor the windward corner first and keep the fly taut as you go.
How do you keep a tent dry inside when it rains?
Keep vents open, keep gear off the walls, tuck the footprint fully under the floor, and keep guylines at 45 degrees. These habits stop condensation, splashback, and fabric contact from soaking. Check drip lines after the first heavy rain and adjust stakes.

 English
  Español
  Deutsch
  Français
  Português do Brasil
  Русский
  العربية
  한국어
한국어  日本語
日本語