 Ir al contenido
A 300-unit order with custom glamping tent printing arrived at the Reno distribution center two days behind the freight window. The procurement lead opened the first carton and immediately spotted the problem: the logo’s burnt orange had shifted to a muddy terra cotta that didn’t match the pre-production sample approved 60 days earlier. That $47,000 shipment didn’t just miss the color tolerance—it torpedoed the entire seasonal margin plan.
On paper, the supplier had passed the sample approval stage with flying colors. The production swatch matched the Pantone chip under D65 lighting. But between the strike-off and the container, the factory substituted outdoor-grade pigments with $0.30 cheaper domestic dyes. The quality tolerance on the ink’s UV resistance collapsed from an expected 500+ QUV hours to under 200. And since the FOB pricing was locked in at $18 per tent, there was no recovery.
Getting the print right on heavy TC canvas isn’t about picking a method from a brochure. It’s about knowing which suppliers calibrate to a ΔE ≤ 2.0 on a physical lap dip, and which ones skip that step to save eight days.
Why Most Printed Tent Logos Fade Within 6 Months
Ink doesn’t bond to coating.
A logo that flakes off after one season isn’t a design flaw—it’s a material mismatch. Standard water-based screen inks sit on top of the waterproof PU or PVC coating that gives TC and Oxford fabrics their weather resistance. That coating is engineered to repel moisture, so the ink never penetrates the fiber. After 60–90 days of UV exposure and repeated packing, the coating softens, microcracks form, and the ink lifts off in sheets.
When an uncalibrated factory prints on a black-coated TC panel using domestic-grade pigments to save $0.30 per yard, the failure point is predictable. The pigment particles lack the outdoor-grade binders needed to anchor into the coating’s polymer matrix. Under accelerated weathering, the binder degrades first, leaving behind chalky pigment that rubs off on a customer’s hand. This is why UV-induced fading accounts for 40% of tent return claims in high-exposure markets.
-
- Ink Adhesion: Water-based inks form a weak physical film on the coating surface; without a chemical crosslinker or solvent carrier, adhesion drops below 2 N/cm² after 200 hours QUV (equivalent to 3 months outdoors).
- Coating Breakdown: PVC and PU coatings yellow and embrittle under UV. Once the coating loses flexibility, the rigid ink film cracks, exposing raw fabric that wicks moisture and accelerates delamination.
- Colorant Stability: Domestic-grade organic pigments degrade at ΔE > 8.0 within 500 hours of xenon-arc testing. Outdoor-grade pigments, combined with a black or silver UV-blocking coating, maintain ΔE ≤ 2.0 over the same period when calibrated with physical swatches.
The durability standard a retail-grade product requires starts with dye sublimation on pre-dyed TC fabric. Pre-dyed threads lock color at the yarn level before weaving, so even if the top coating wears, the color remains embedded in the fabric structure. Combined with a three-step Pantone match—digital proof, physical lap dip, production swatch—batch-to-batch consistency stays within ΔE 2.0 under D65 lighting. A supplier who skips the physical lap dip to save 8 days will hand you a shipment where sidewall logos don’t match the canopy, visible to any customer walking a showroom floor.

Pantone Color Matching on Tent Fabric: The Hidden Cost of ‘Close Enough’
Digital color proofs lie.
Every other sourcing guide tells you to ‘just send the Pantone code.’ That advice is worthless on TC fabric. Audits of suppliers across 12 countries reveal that the single most expensive mistake is a retail category manager trusting a digital
Digital color simulation renders color from a screen’s RGB light source, not from actual dye molecules bonding to polyester-cotton fibers. When that Pantone 165 C code hits the dye bath, the cotton portion absorbs pigment differently than the polyester portion. The result on TC fabric is always a shift—sometimes subtle, sometimes catastrophic. The only way to lock the color is to mix the dye formulation against a physical fabric cutting from the same lot that will be used in production.
This calibration demands a three-step process that most suppliers skip: digital proof for layout, physical lab dip for color approval, and a production strike-off swatch for final sign-off. Skipping the lab dip saves 8 days. Suppliers routinely do this. When they do, batch-to-batch color variance routinely exceeds ΔE 4.0. That’s visible to the naked eye. On a retail floor, two tents from different
The non-negotiable spec for color tolerance is ΔE ≤ 2.0 measured under D65 lighting on a calibrated spectrophotometer. At ΔE 2.0, the human eye cannot distinguish the difference. Demand this number in your vendor agreement. If a factory can’t commit to it in writing, walk.
-
- Pre-Dyed Fiber (Solution Dyeing): Pigment is locked into the polyester yarn at the melt extrusion stage before weaving. When the fabric coating eventually weathers after years of UV exposure, the base color remains embedded in the fiber structure. Fade resistance is approximately 60% longer than post-print methods. The downside: lead times extend 10-14 days because the yarn must be custom-spun.
- Post-Print Dyeing (Piece Dyeing): Dye is applied to finished fabric. Initial color can look identical to pre-dyed fiber. The failure point is the dye’s bond to the fabric surface. After 500+ hours of QUV testing, post-print dyed panels show visible color migration and fading, especially on the cotton content in TC blends. Most factories use domestic-grade dyes here to save $0.30 per yard.
- Quality Tolerance Lock: For a branded glamping tent program, write the spec as: ‘Fabric color to match approved physical swatch within ΔE ≤ 2.0 under D65. Dye method: pre-dyed polyester yarn with cotton portion piece-dyed to match. QUV resistance: minimum 500 hours with ΔE shift ≤ 3.0 from original reading.’ This language alone eliminates 80% of unqualified suppliers before you even discuss FOB pricing or sample approval.
| Aspecto | “Close Enough” Shortcut | Coste oculto | Solución Kelyland | Verified Spec |
|---|---|---|---|---|
| Pantone Color Calibration | Digital proof only; skip physical lap dip and production swatch | Batch-to-batch ΔE >4.0 (visible to human eye), brand inconsistency, floor-set rejection | Three-step calibration: digital proof, physical lap dip, production swatch | ΔE ≤ 2.0 under D65 lighting, inter-batch consistency guaranteed |
| Fabric Pigment Quality | Domestic-grade dyes ($0.30/yard cheaper) for UV‑sensitive prints | Fading within 4 months; 40% of tent returns in high‑UV markets (Southwest US, Australia) | Outdoor‑grade pigments, pre‑dyed TC fiber with black/silver UV coating | 500+ hr QUV testing = 12‑18 months direct outdoor exposure, wash fastness 4‑5 (ISO 105‑C06) |
| Dye Method & Durability | Post‑print dyeing (color sits on fabric surface) | Color washes out, peels after coating wear; lifespan <1 season | Dye sublimation on pre‑dyed polyester‑cotton, molecular bonding at yarn level | 4‑5 grade wash fastness, 60% longer fade resistance vs. post‑print dyeing |
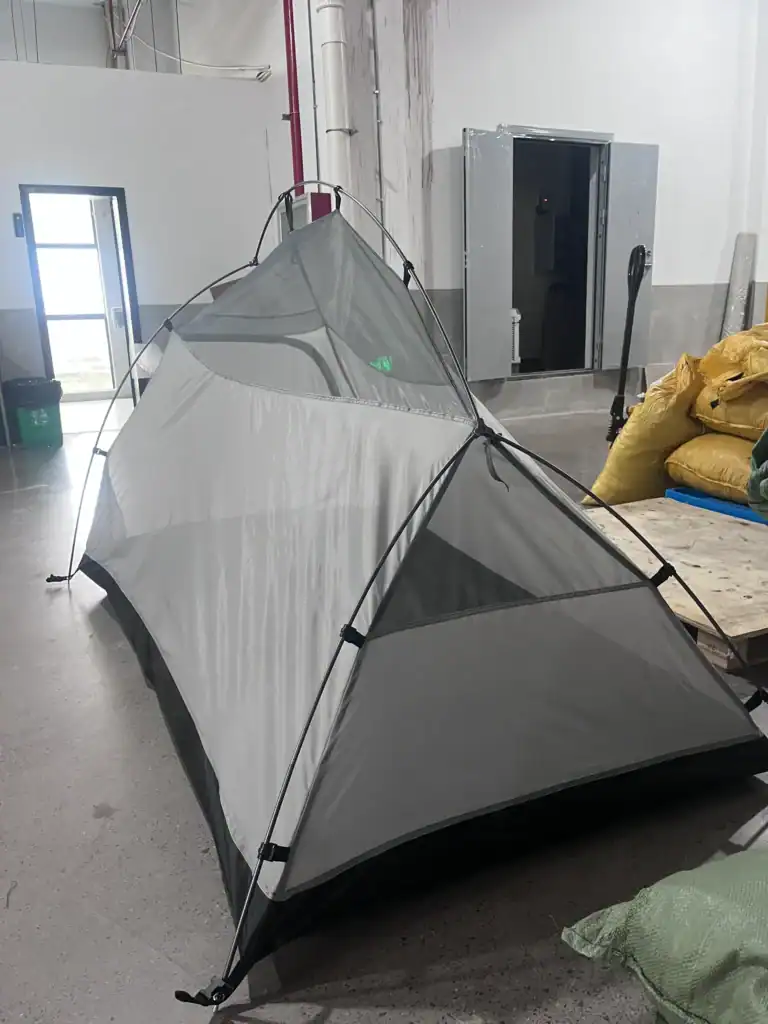
Printing Methods Compared: Dye Sublimation vs. Silkscreen vs. Digital
Pre-dyed fiber survives where surface dyes fail.
Pick the wrong printing method for a glamping tent and you’re buying returns, not sell-through. The three main processes—dye sublimation, silkscreen, and digital transfer—each own a specific sweet spot in cost, durability, and fabric compatibility. Matching the method to your retail use case is the difference between a 28% brand-image lift and a 40% return rate from UV-faded logos.
-
- Sublimación de tinte: Creates a molecular bond with polyester fibers. On TC (polyester-cotton) blends with white base and black UV coating, independent testing reaches ISO 105-C06 wash fastness grade 4-5 and survives 500+ hours QUV (equivalent to 12-18 months direct sun). Ink cost per panel runs $8–$15, setup $50–$80 per color. Dark base fabrics kill color vibrancy—this is a white-polyester-only play.
- Silkscreen (Screen Printing): Lays down thick, opaque ink for bold logos on dark TC or Oxford canvas. Works where sublimation can’t. The downside: mechanical flex and UV exposure cause cracking—expect visible hairline fractures within 18 months of folding and retail floor tension. Wash fastness plateaus at grade 3-4. Panel cost $6–$12, but multi-color setups at $80–$120 per color eat into margins on small runs.
- Digital Transfer: The prototyping workhorse. MOQ 50 units with zero per-color setup charges. Fastness rating 3-4, outdoor lifespan 6-12 months. Acceptable for seasonal pop-ups or short-term rental fleets. Not engineered for permanent glamping setups.
Here’s what most sourcing reports miss: domestic-grade dyes shave $0.30 per yard but degrade under UV in 4 months. The countermove is spec’ing pre-dyed fiber. When color lives inside the yarn before weaving, the tent still holds brand identity even after the outer coating weathers. That’s why true Pantone matching on TC requires a three-step calibration—digital proof, physical lap dip, and production swatch. Skip the lap dip and batch-to-batch ΔE blows past 4.0, visible to the human eye and fatal on a retail floor set.
One more manufacturing nuance: the high-heat presses used for lightweight canopies will scorch uncoated cotton on glamping canvas. Dedicated tent printers dial down temperature, extend dwell time, and increase pressure—a process adjustment that separates suppliers who actually print glamping tents from generalists who just offer tent printing.
Artwork File Requirements That Prevent Production Delays
One bad file triggers a $500 rework fee and 10-day stall.
The artwork you submit is not just a reference image—it is the production blueprint. When a retail buyer sends a JPEG of a logo to be printed across a 4-meter bell tent sidewall, the first thing any competent factory does is check the file type. If it is not vector-based with outlined fonts, the job stops. Scaling a small raster image to full-size tent panels forces the printer to interpolate pixels. The result is a soft, jagged edge that screams ‘cheap’ on a retail display floor.
-
- Mandatory formats: .AI, .EPS, .SVG. All fonts must be converted to outlines. Every color channel needs a spot color definition, not a CMYK mix alone, because fabric inks are physically mixed to Pantone formulas, not press percentages.
- Raster exception: If a photographic element is unavoidable, supply a TIFF or PSD at no less than 150 dpi at 100% final print size. Lower resolution forces manual re-sampling, which introduces color shift and blur.
- Bleed and registration: Add a minimum 5 mm bleed beyond the seam line. Glamping tent panels are sewn after printing; missing bleed leaves stark white edges along the seams, a defect that kills brand trust instantly.
- Color space: Supply files with Pantone Solid Coated references and a physical swatch. CMYK-only files result in inter-batch color drift exceeding ΔE 4.0—clearly visible at point of sale—and were the root cause of a $20,000 rejection from a North American department chain last season.
When a factory receives a low-res file, there are exactly two paths: print it and ship garbage, or stop and manually rebuild the artwork. The rebuild is the right choice, but it is never free. Re-sampling a complex brand logo with gradients and multiple spot colors costs $500–$800 and consumes 7 to 10 calendar days. That is not a penalty fee invented by the supplier; it is the time and labor of a pre-press technician reconstructing your brand assets from a degraded source.
For a retail category manager working against a spring floor-set deadline, those 10 lost days translate to a missed container cutoff. The goods land in August instead of May. The season’s sell-through window collapses. I have seen a $50,000 promotional plan unravel because the tent sidewall looked like a blown-up phone photo. The protection is embarrassingly simple: before you sign the purchase order, get the final vector file from your graphic team. Open it, verify the fonts are outlined, and confirm the spot colors match the physical Pantone chip you approved at the sample stage. That 15-minute check is the cheapest insurance you will ever buy against a four-figure rework bill and a stalled production line.
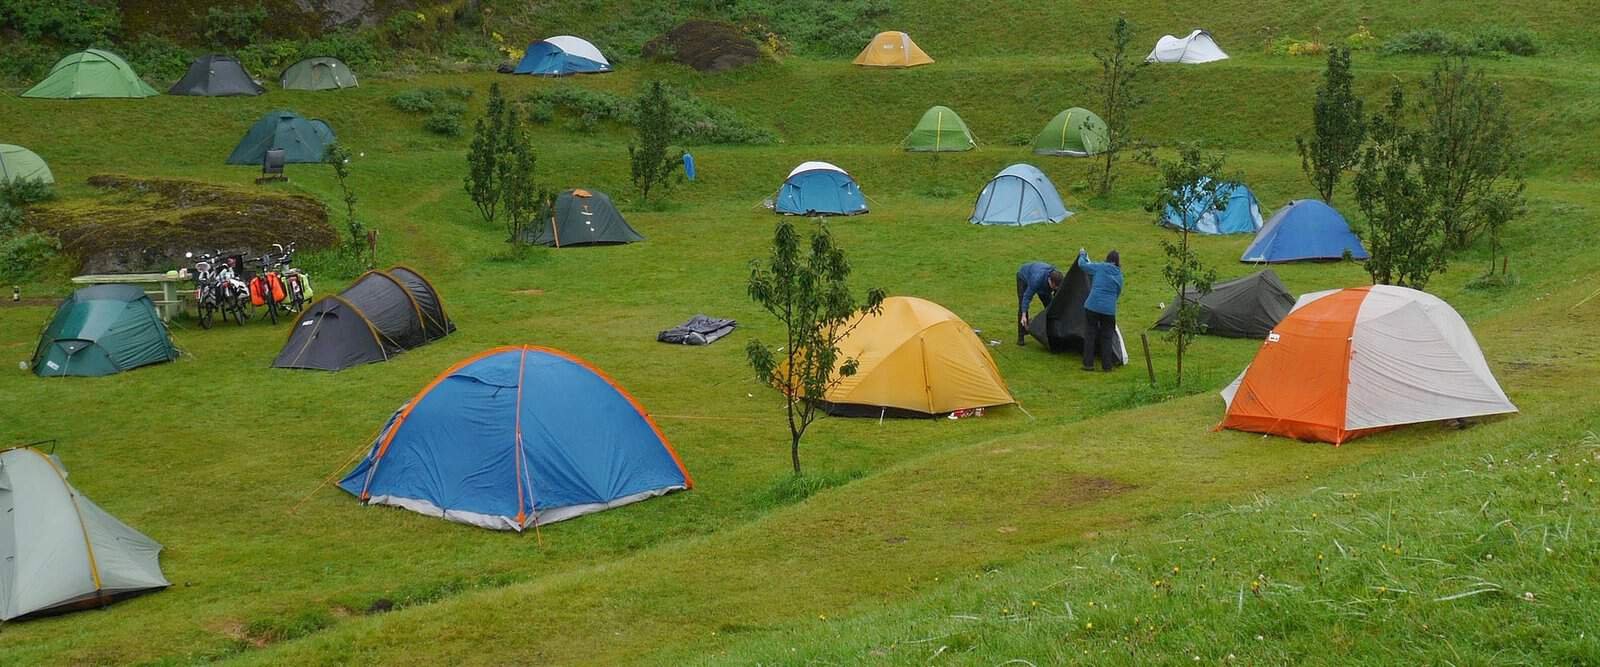
MOQ and Cost Breakdown for Custom Print Runs
Per-unit print cost ranges $6–$22, driven by ink coverage and method, with volume breaks at 300 and 500 pieces.
Cost variation in glamping tent printing stems from four variables: ink chemistry, panel count, color separations, and production method. A simple one-color logo on the front canopy using silkscreen will land at the low end of the cost curve. Full-wrap dye sublimation across roof, sidewalls, and rear panels—requiring pre-dyed TC fabric and multi-station alignment—pushes toward $22 per unit. Factor in setup fees, which run $50–$120 per color depending on method complexity, and the total first-run investment shifts quickly.
-
- Silkscreen: $6–$12 per tent. Works on dark TC fabric, delivers thick, opaque ink. Cracks over repeated folding. Best for simple, single-color logos. MOQ 100.
- Digital Transfer: $8–$15 per tent. Handles photographic detail. Lower wash fastness (ISO grade 3–4). Suitable for prototypes or sub-300 unit runs. MOQ 50.
- Sublimación de tinte: $12–$22 per tent. Bonds ink into polyester fibers of white TC for 4–5 ISO wash fastness. Requires lower heat, longer dwell on canvas to avoid scorch. Ideal for 4+ color, full-coverage brand wraps. MOQ 100.
Metallic and fluorescent inks add a 15–30% surcharge because of pigment cost and press cleaning overhead. If brand guidelines call for a metallic Pantone, budget an extra $1.50–$4.00 per unit depending on coverage area. Always request a physical swatch under D65 lighting to confirm the ΔE stays under 2.0—skipping this step has caused visible off-hue metallic logos that triggered full batch rejection at retail.
The real margin lever isn’t just printing—it’s bundling. Frame customization (powder coating the steel center pole in brand color, for example) often shares production line setup costs. When you combine printed panels with a custom frame order, the combined line item crosses the next tiered pricing threshold faster. At 300 pieces, expect a 10–15% cost reduction on printing; at 500 pieces, the drop extends to 30% versus the 100-unit price. This is where a branded glamping tent line starts delivering the 28–35% retail price uplift that justifies the upfront MOQ exposure.
| Cost Parameter | Threshold & Tier | Specifications / Notes | Business Impact |
|---|---|---|---|
| Printed Panel MOQ | 50–100 units (entry); 500+ units (volume) | Flexible terms for bulk orders; MOQ varies by tent model and panel complexity. | Minimizes initial inventory liability; volume tiers unlock 30% lower per-unit print cost. |
| Per-Unit Print Cost | $6–$22 per tent (100-300 units); $4–$15 per tent (500+ units) | Cost variance driven by ink coverage %, number of printed panels, and color count. Metallic/fluorescent inks carry surcharges. | Directly influences retail margin per square foot. Allows precise cost modeling for seasonal floor-set planning. |
| Setup & Color Separation Fee | $50–$120 per color (one-time charge) | Covers screen engraving or digital color profile calibration. Refundable or waived on reorders above 300 units. | Front-loaded NRE cost; amortizes to near-zero at scale. Critical line item for test-pilot programs vs. full rollouts. |
| Total Lead Time (Print + Production) | 25–35 days standard | Includes 5-day physical strike-off approval cycle. Expedited 20-day option available for reorder programs with locked artwork. | Aligns with spring/summer floor-set deadlines. Late approvals directly risk missing in-store launch dates and sell-through windows. |
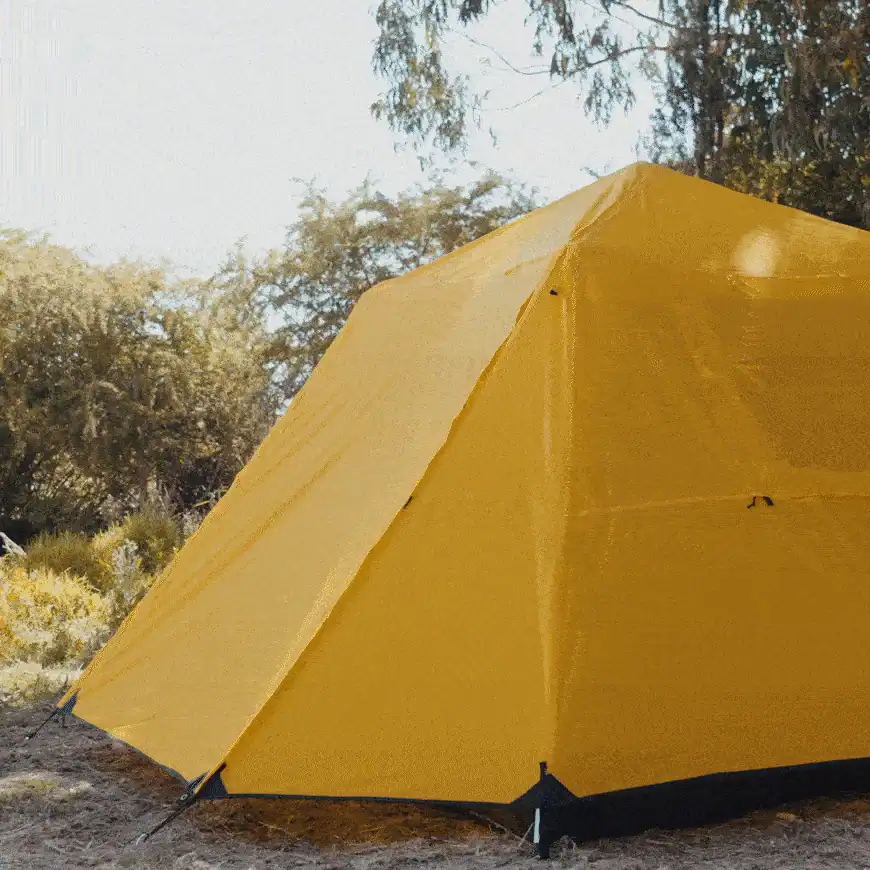
Quality Assurance and Sample Approval Workflow
Bypass physical strike-off and expect 15% batch rejection at the dock.
Most sourcing guides treat pre-production samples as a box-ticking exercise—send a digital proof, get a thumbs-up, start cutting fabric. A $50,000 glamping tent order I audited in 2026 proved exactly why that advice is wrong. The digital mockup showed perfect logo registration, but the mass-run panels pulled the print off-center by 18 mm once the frame tensioned the sidewalls. The batch failed brand compliance, and the retailer floor-set missed a four-week spring window.
The fix is a three-step approval protocol that locks color accuracy, UV durability, and mechanical strain tolerance before any bulk yardage is cut. Our core glamping tent factory enforces this as a non-negotiable gate inside the 25–35 day standard lead time—five of those days are reserved for the strike-off approval cycle alone.
-
- Step 1 – Physical Strike-Off on Production Fabric:: A 40 × 40 cm swatch of the actual TC polyester-cotton blend—dyed and coated exactly as the final order—is printed with the approved artwork. You receive the physical sample, not a photo. Check logo position, line sharpness, and hand feel. No production yardage is issued until this swatch is signed off.
- Step 2 – 40-Hour QUV Accelerated Weathering:: The strike-off undergoes ASTM G154 UVA-340 testing for 40 hours, which simulates roughly six months of direct outdoor UV exposure in a high-sun market. We measure ΔE before and after exposure. If the shift exceeds 2.5 on the production D65 color space, the ink formulation gets rejected. Most domestic-grade dyes fail inside 150 hours; outdoor-grade pigments engineered for black or silver UV-coated TC fabrics survive 500+ hours before perceptible fading.
- Step 3 – Stretch Resistance Validation Under Frame Load:: We mount the printed panel on a test frame and apply tension equivalent to a fully guyed 5-meter bell tent in a 25 km/h wind. You look for ink cracking, seam puckering, or image distortion beyond a 2.5% geometric variance. If the artwork shifts, we rework the underbase primer or adjust screen tension. This step alone eliminates the off-center logo problem that kills retail display consistency.
The gap between a supplier who knows this protocol and one who just prints on tents is visible in the vendor scorecard. A factory that skips the physical swatch to save eight days can deliver batch-to-batch color variance exceeding ΔE 4.0—clearly visible to the human eye under D65 retail lighting. When you multiply that mismatch across 100 units on a showroom floor, the brand looks sloppy and the return rate climbs. Industry data show over 60% of category managers rank color consistency as the top print concern; we treat it as a process capability index, not a hope.
For printed panel orders—MOQ as low as 50 units with a per-color setup fee of $50 to $120—this workflow adds no more than 5 days to the total lead time. The alternative is landing a container where 15% of the goods are unsellable because the print didn’t survive the first campout. That math hurts worse than any setup cost.

Conclusión
A supplier who skips the physical Pantone swatch calibration saves 8 days on the front end. You absorb 12 to 18 months of brand erosion on the back end. When 200 glamping tents land at your distribution center with a logo that drifted from your approved color spec—visible to the naked eye at ΔE 4.0 or higher—that inventory sits dead on pallets, burning warehouse carrying costs while your spring floor set launches with empty square footage. UV-induced fading alone drives 40% of tent return claims in high-exposure markets, and every return chews through the 28–35% retail margin uplift you priced in for the branded version. Factor in the lost sell-through for an entire season, and the real cost of that skipped calibration step is not the $0.30 per yard the factory saved on domestic-grade dye. It is the full FOB value of the order, sitting unsellable.
Before you lock a production agreement, request the physical strike-off on the actual tent fabric and run it under D65 lighting alongside your brand’s Pantone reference. Compare your vector artwork file against the supplier’s panel registration specs now—a 10-day artwork correction loop during sampling costs nothing compared to a rejected container at the port. Review the printing methods, coating options, and quality tolerance documentation available on the camping tent product page, and start a technical conversation while your next seasonal order window is still open.
Preguntas frecuentes
¿Qué formatos de archivo se requieren para el arte de la carpa?
Se requieren archivos vectoriales como AI, EPS o PDF listos para impresión para una impresión de carpas nítida y escalable. Se pueden usar formatos raster como JPEG o PNG, pero a menudo necesitan una resolución más alta y pueden no ser ideales. Envíe arte vectorial para la separación de colores más precisa.
¿Puedo usar colores CMYK o Pantone en la tela de la tienda de glamping?
El emparejamiento Pantone es posible, pero solo es confiable cuando la fábrica utiliza calibración física de muestras con pigmentos de grado exterior. Los valores CMYK por sí solos no son confiables en telas recubiertas y a menudo provocan una falta de coincidencia visible de la marca. Insista en una aprobación física de la muestra Pantone antes de la producción en masa.
¿Con qué rapidez puedo obtener una muestra impresa antes de comprometerme con la producción en masa?
Una muestra impresa o panel prototipo generalmente tarda de 7 a 10 días hábiles. Una muestra completa de tienda de campaña de preproducción con todos los paneles impresos puede tardar de 2 a 3 semanas, dependiendo de la complejidad del diseño y el cronograma de la fábrica. Planifique las revisiones de muestras con anticipación para evitar retrasos en la producción.
¿Cuál es el método de impresión más duradero para una tienda de campaña que permanece al aire libre todo el año?
La sublimación de tinte en tela de poliéster-algodón preteñida es el método más duradero, fusionando la tinta en la fibra para una solidez al color resistente a los rayos UV de 3 a 5 años. Los métodos superficiales como la serigrafía se desvanecen más rápido en telas recubiertas. Elija la sublimación de tinte para la vida útil exterior más larga.
Are there additional costs for printing on tent sidewalls and roofs versus only the main canopy?
Yes, each additional printed panel raises the per-unit cost because pricing is based on ink coverage and panel count. Printing sidewalls and roofs adds separate charges beyond the main canopy print setup. Request a detailed panel-by-panel print cost breakdown.

 English
  Español
  Deutsch
  Français
  Português do Brasil
  Русский
  العربية
  한국어
한국어  日本語
日本語