 Ir al contenido
The trekking pole lock failure fix that matters most began with a $50,000 order: the pre-production sample locked clean, the mass production run didn’t. Lower sections slipped on the first rocky descent, and the buyer was left with a container of poles that failed the most basic field test. That gap between sample approval and shipment is where quality tolerance and el precio FOB collide.
Most lock failures are field-induced—grit, overtightening, cold, or corrosion—but the brand’s exposure starts upstream. A lock chosen on price instead of test data fails in the one place you cannot defend: the customer’s hands. The practical fix is not a trailside hack; it is a spec decision made before the PO goes out.
Industry service data puts lock-related warranty returns at 15–20%, a number most brands never see broken out by component. Factories that tighten the lock spec at approval, run corrosion tests, and document cycle counts cut that exposure dramatically. That is the benchmark worth writing into your next supplier call.

Anatomy of a Trekking Pole Lock: Two Systems, One Job
A lock is only as good as the friction it generates and the torque it survives.
Every trekking pole lock does one job: clamp the lower shaft tight enough to hold body weight without slipping. The two dominant designs approach it differently. The external flick-lock clamps from outside the shaft. The internal twist-lock compresses from within. Both fail when clamping surfaces lose grip — and both can be specified to avoid that failure.
External Flick-Lock: Cam Lever and Steel Bolt
The flick-lock’s cam lever — cast in aluminum or zinc — pivots on a steel bolt. Closing it pinches a split collar around the inner shaft, and the cam geometry multiplies hand force. The bolt takes the shear load. Zinc levers bend under trail abuse; aluminum levers with 304 stainless fasteners hold geometry. On a 3K carbon shaft, cranking the lever past firm crushes the tube.
Internal Twist-Lock: Threaded Collar and Expanding Wedge
A twist-lock works on internal compression. The threaded collar drives an expanding wedge against the inner shaft as it rotates. Less external hardware means less to snag, and the grip surface stays cleaner. The wedge and threads are the wear points. A cracked polymer wedge or corroded thread turns a smooth quarter-turn lock into a mid-descent slip. Specify fiber-reinforced nylon wedges for winter-rated poles.
Clamping Physics: Friction, Surface Area, and Torque
Both systems live on friction. The coefficient of friction between collar and shaft determines grip — not surface area. Torque converts into the normal force pressing those surfaces together. Twist-locks need only 3–5 Nm, about a quarter turn past finger-tight, to hold a 100 kg load. Flick-locks close with no more than 5 kg of lever pressure. Exceed that and threads strip or the lever bends.
-
- Flick-Lock Force Path: Cam lever → steel bolt → split collar → inner shaft. Clamps from outside; the steel bolt carries shear load.
- Twist-Lock Force Path: Threaded collar → expanding wedge → inner shaft. Compresses from inside; wedge and threads absorb the wear.
- Factory Validation: Kelyland’s Ningbo trekking pole partner (3M units/yr, ISO 9001) puts lock mechanisms through 500-cycle compression and 24-hour salt-spray testing.

Root Cause #1: Grit and Sand Jamming the Wedge
Trail dust is the #1 lock killer.
Trail dust doesn’t need a storm to get inside. Every collapse of a telescoping section acts like a small pump, sucking airborne grit past the lock collar and pulling it between the inner and outer shafts. Once that grit migrates to the grip surface, the lock mechanism starts working against a layer of sandpaper.
What micro-particles do to the grip
The lock holds because friction clamps the inner shaft. Sand sits between those two surfaces, scoring the aluminum or carbon fiber every time you adjust the pole. The first sign isn’t a visible scuff; it’s a gritty sound when the cam lever closes. Load capacity drops silently from that point.
Kelyland’s lock mechanisms undergo 500-cycle compression testing before production is approved, but that test runs on clean shafts. Trail grit is the field variable no lab test can fully simulate. Once the surface is scratched, the lock may still hold in a static test and still slip under a loaded side step.
Field cleaning that works
Don’t wait for the lock to fail before cleaning. A quick wipe after each dusty hike removes the abrasive before it does permanent damage. In the field, this takes less than two minutes.
-
- Alcohol wipe: Open the lock, slide the sections fully apart, and wipe the entire inner shaft with 70% isopropyl alcohol. This dissolves trail grime and leaves no oily residue.
- Soft brush: Use a toothbrush or nylon brush to sweep grit out of the cam lever and collar threads. Pressurized air on the joint helps dislodge particles packed into the lock assembly.
- Dry re-assembly: Re-lock the sections only after the shaft is dry. Moisture plus mineral dust forms a paste that accelerates scoring on aluminum and 3K carbon fiber shafts.
If a lock already sounds gritty, clean it before tightening further. More torque on a contaminated surface doesn’t fix the grip; it grinds the particles deeper into the shaft and turns a $0.50 lock replacement into an $18–$25 shaft replacement.

Root Cause #2: Overtightening and Stripped Threads
Overtightening turns a $0.20 lock assembly problem into a $25 shaft replacement.
When a pole slips mid-hike, the instinct is to twist the collar or press the cam lever harder. That instinct is one of the most common causes of trekking pole lock failure. The components are designed to clamp within a specific torque range, not at maximum force. Exceed it, and you strip collar threads, deform the expanding wedge, or bend the cam lever until it can’t release cleanly.
Torque Limits Matter More Than Grip Strength
Twist-locks should be turned only a quarter turn past finger-tight. That’s enough to compress the internal wedge against the inner shaft. Crank further and the threaded collar becomes the weakest link. A stuck or stripped collar turns a functioning pole into a single-length stick.
Flick-locks are easier to judge. Close the lever until it seats with a firm, even click. That click should come with no more than 5 kg of lever pressure. If the lever feels like it needs a serious push, stop. You’re bending the cam or the bolt, not making the lock stronger.
Kelyland’s adjustable trekking poles use 6061/7075 aluminum or 3K carbon fiber shafts, and the locking hardware on sample batches must pass 500-cycle compression testing before production approval. That testing assumes correct user torque. No factory test can save a bolt that’s been over-torqued into plastic deformation.
Sourcing Takeaway
Ask suppliers how their lock is adjusted at the factory and include a torque instruction card in the packaging. A replacement lock assembly costs $0.20–$1.20 in Kelyland’s supply chain; a carbon fiber shaft replacement runs $18–$25. Educating users on correct locking torque is the cheapest warranty reduction you’ll ever buy.

Root Cause #3: Cold-Weather Brittleness and Cracked Components
Plastic cam housings shatter at -20°C under side impact.
Cold-weather lock failure has a different signature than grit or corrosion. The plastic cam housing or polymer wedge in a flick-lock doesn’t wear out — it embrittles. At -20°C, standard acetal and unfilled nylon lose much of their impact resistance. Load the pole, clip a rock, and the housing cracks clean across the lever boss.
The loaded-bump failure mode
The failure buyers miss is lateral impact, not compression. A hiker plants the pole, shifts weight, and catches a boulder with the side of the lock. By the time the housing cracks, the damage is done. Hairline fractures appear on the lever boss, then fail completely on the next steep descent. This generates a large share of winter warranty claims.
-
- Spec — Aluminum cam housing: Anodized 6061 aluminum retains impact strength at -20°C. Heavier than plastic, but this part takes the hardest trail abuse.
- Spec — Fiber-reinforced nylon: Glass-filled nylon wedges hold their toughness at low temperature in a way unfilled polymer does not.
- Test — Cold chamber actuation: Kelyland’s factory cycles lock designs through -30°C cold chamber actuation before production approval.
- Risk — Painted steel parts: Powder-coated steel chips in cold weather, exposing bare metal to snowmelt and triggering corrosion-driven seizure.
For winter-rated poles, specify aluminum or fiber-reinforced nylon lock components in the OEM contract. Demand the cold chamber test report — not a snapshot, the full cycle data. Kelyland runs 500-cycle compression testing, 24-hour salt-spray, and -30°C cold chamber actuation on every lock design before mass production. A supplier that can’t show that data is pricing your warranty risk into the unit cost.
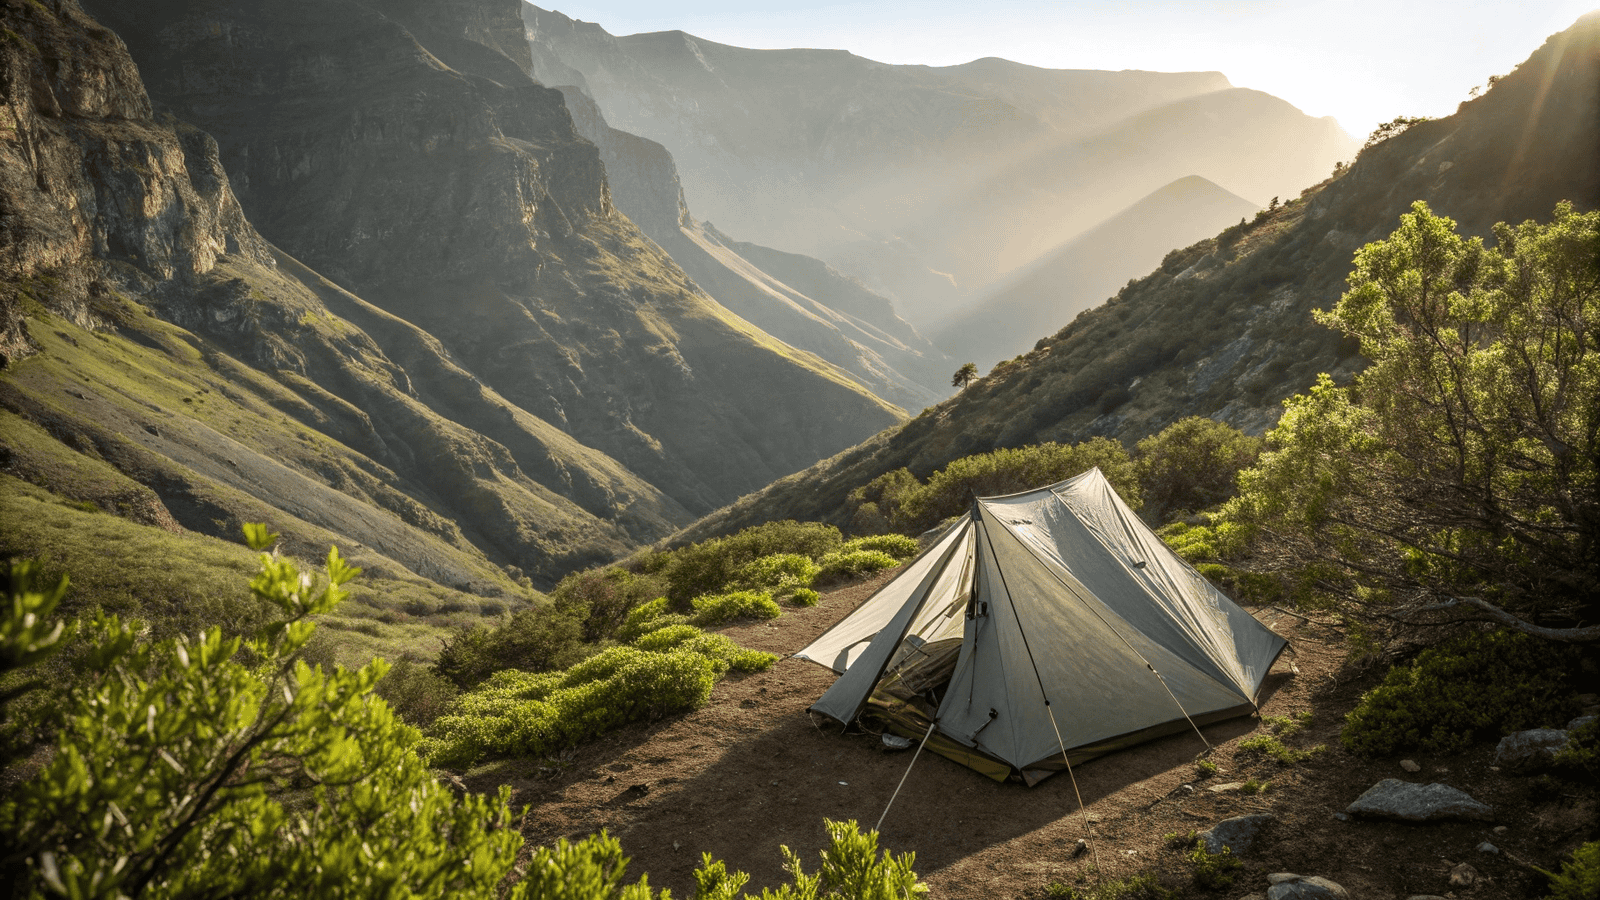
Root Cause #4: Rust and Corrosion After Wet-Soak Hikes
Rust expands.
Rain, stream crossings, and sweat all take the same path into a trekking pole lock. The moisture settles on the bolt, spring, and collar threads, then sits there for days. On wet-soak hikes, that trapped water mixes with salt from sweat and trail grit — and that combination corrodes hardware far faster than plain rain.
A standard zinc-plated steel bolt or uncoated spring begins oxidizing within weeks of repeated wet use. Rust takes up more volume than the steel it replaces, so it binds the cam lever and locks the wedge in place. The lever either won’t open or won’t close — and hikers who force it end up with stripped threads or a bent lever arm.
The 24-Hour Salt-Spray Gate
The test that separates a lock you can trust from one that seizes mid-traverse is the 24-hour salt-spray test per ASTM B117. Kelyland runs every lock mechanism through this test before approving production. The passing spec uses 304 ASTM stainless steel fasteners and anodized aluminum collars instead of painted steel hardware.
-
- Painted steel collars: Cheaper to make, but the coating chips at contact edges. Once base metal is exposed, rust drives into the joint and seizes the cam lever — the #1 long-term failure on budget poles.
- Anodized aluminum collars: The anodic layer is part of the metal, so it doesn’t chip off under load. Paired with 304 stainless fasteners, the lock passes ASTM B117 salt-spray without corrosion seizure.
Internal QC comparison at Kelyland shows anodized aluminum collars reduce corrosion-related field failures by up to 30% versus painted steel. The trekking pole line runs through an ISO 9001-certified factory in Ningbo with a 3-million-unit annual capacity, so the spec holds at production scale. That’s the real trekking pole lock corrosion prevention: a PO line item, not a maintenance checklist.
Step-by-Step Fix: External Flick-Lock Failure
Most flick-lock failures come from a loose cam bolt — the fix takes 10 minutes, not a new pole.
External flick-lock failure is rarely a broken mechanism. It’s a cam lever bolt that backed out under load, or a shaft surface coated in micro-grit that killed the clamping friction. Both are field-fixable in under ten minutes with a 4mm Allen key and isopropyl alcohol.
Clean the Shaft — Grit Is the Real Culprit
Remove the pole section and wipe the shaft with isopropyl alcohol on a lint-free cloth. Trail dust compresses into the clamping zone, scoring the shaft surface and silently reducing grip. If the lock sounded gritty when it slipped, cleaning alone may restore full clamping force.
Loosen the Cam Bolt, Reposition the Lever
Loosen the cam lever bolt with a 4mm Allen key — just enough to free the lever, not remove it. Reposition the lever so it closes at a flat, even angle against the collar. Re-tighten in small increments, testing the lever closure after each turn.
Torque matters. Flick-locks should never require more than 5 kg of lever pressure to close. If you’re slamming the lever with body weight, you’re bending the cam or stripping the bolt threads.
Test With Body Weight, Then Inspect the Bolt
Set the pole to hiking length and lean your full weight onto the lock — 100 kg vertical load is the pass standard. If it holds, the fix worked. If it still slips, remove the bolt and check the threads for stripping. A stripped bolt can’t be corrected by tightening. Replace it.
Replacement lock assemblies cost $0.20–$1.20 per unit. For B2B buyers stocking warranty parts, that’s cheap. The smarter move is preventing the failure at spec stage. Kelyland builds trekking pole locks with 304 ASTM stainless steel fasteners and anodized aluminum collars — hardware that passes the ASTM B117 24-hour salt-spray test. That eliminates rust and seizure entirely, which is the difference between a pole that survives one wet season and one that survives a decade.
Step-by-Step Fix: Internal Twist-Lock Failure
Most twist-lock slips trace to grit, not design.
The twist-lock is a threaded collar that presses an expanding wedge against the inner shaft. When it slips, the instinct is to torque it harder. That’s the wrong fix. Over-tightening strips the collar threads or cracks the wedge — and then no amount of twisting will hold.
Disassemble and inspect the wedge
Unscrew the collar completely and pull the wedge out of the shaft. Check the contact face for chips, hairline cracks, or flat spots worn into the grip surface. A wedge that has lost its edge won’t clamp evenly, which means the pole will keep collapsing regardless of collar torque.
Clean, lubricate, and torque correctly
Clean the wedge and the inner shaft with isopropyl alcohol and a lint-free cloth. Trail grit is the leading cause of wedge slippage — micro-sand grinds into the grip surface and reduces friction exactly where the load transfers.
-
- Teflon anti-seize grease: Aplique una capa fina a las roscas del collar. Esto evita el agarrotamiento de las roscas, de modo que un cuarto de vuelta proporciona toda la fuerza de sujeción sin atascarse.
- Especificación de torsión: Un cierre giratorio solo necesita 3–5 Nm, o un cuarto de vuelta después del apriete manual, para sostener una carga vertical de 100 kg. Más allá de eso, se está comprimiendo la cuña más allá de su rango diseñado.
Vuelva a ensamblar y bloquee con un cuarto de vuelta después del apriete manual. Pruebe con todo el peso corporal antes de confiar en ello en el sendero. Si el bastón aún se hunde, la cuña o las roscas del collar están desgastadas más allá de lo especificado: reemplace el conjunto de bloqueo en lugar de forzarlo.
Los conjuntos de bloqueo de repuesto cuestan entre $0.20 y $1.20 por unidad a volumen de OEM. Almacenarlos convierte una reclamación de garantía en una pieza enviada por correo en lugar de un reemplazo completo del bastón. Los bastones de Kelyland especifican sujetadores de acero inoxidable 304 y collares de aluminio anodizado: la combinación que elimina el agarrotamiento por oxidación, el modo de fallo detrás de la mayoría de los fallos de bloqueo en climas fríos. Exija esa especificación a cualquier proveedor.
How Kelyland Tests Lock Mechanisms Before Production
La mayoría de las fábricas omiten la prueba de niebla salina.
Pruebas de bloqueo previas a la producción es donde los programas de bastones de senderismo de marca privada tienen éxito o fracasan. El protocolo de control de calidad de Kelyland somete cada lote de muestras a cuatro filtros antes de aprobar la producción en masa, con informes por lote en lugar de resúmenes reciclados de pedidos anteriores.
Los cuatro filtros que todo bloqueo debe superar
-
- Prueba de compresión de 500 ciclos: Cada bloqueo se abre y cierra 500 veces bajo carga. La prueba expone el desgaste de la leva, la deformación de la cuña y el rayado del eje antes de que exista una sola unidad de producción. Si la fuerza de retención cae en el ciclo 400, el diseño se revisa, no se envía.
- Niebla salina de 24 horas (ASTM B117): El conjunto permanece en niebla salina continua durante 24 horas. Los sujetadores de acero inoxidable 304 y los collares de aluminio anodizado no deben mostrar óxido ni agarrotamiento. Este es el muro que detiene los fallos de bloqueo en senderos costeros y carreteras de invierno donde la sal está en todas partes.
- Accionamiento en cámara fría a -30°C: Los bloqueos deben abrirse y cerrarse correctamente a -30°C. Las cuñas de polímero que se vuelven quebradizas en frío extremo fallan aquí, por eso Kelyland especifica aluminio o nailon reforzado con fibra para los componentes de bastones clasificados para invierno.
- Retención de carga estática de 100 kg: Cada lote de muestras se bloquea bajo una carga vertical de 100 kg y debe mantenerse sin deslizarse durante todo el período de mantenimiento. Un eje que se desliza hacia abajo hace que el lote falle de inmediato.
El programa de bastones de trekking se opera a través de una fábrica socia en Ningbo, Zhejiang, certificada ISO 9001, con una producción anual de 3,000,000 de unidades. Los informes de inspección de lotes, incluidos los registros de ciclos y las fotos de corrosión, están disponibles para los compradores a solicitud antes de firmar la orden de compra.
Una fábrica que realiza estas pruebas comparte la documentación sin dudarlo. Una que no lo hace habla de ‘control de calidad’ en términos generales y cambia de tema. Las comparaciones internas de control de calidad muestran que los collares de aluminio anodizado reducen las fallas de campo relacionadas con la corrosión hasta en un 30 % en comparación con el acero pintado, una especificación que cuesta centavos por bastón y previene reclamos de garantía durante años.

Conclusión
La falla del bloqueo es un problema causado por el campo, no un misterio. La solución está en su especificación de abastecimiento: herrajes de acero inoxidable, collares de aluminio anodizado y un certificado de niebla salina de 24 horas antes de emitir la orden de compra.
-
- Las devoluciones por garantía debido a fallas de bloqueo pueden alcanzar el 15 %–20 % de las ventas de bastones de trekking.
- Los collares de aluminio anodizado reducen las fallas de campo relacionadas con la corrosión hasta en un 30 %.
- Reemplazar un conjunto de bloqueo cuesta $0.20–$1.20, mucho menos que un eje de carbono de $18–$25.
- Exija informes de niebla salina ASTM B117 y sujetadores de acero inoxidable a cualquier proveedor.
Antes de comprometerse con una fábrica, revise las especificaciones del mecanismo de bloqueo comparándolas con los senderos que realmente recorren sus clientes. Para una producción de marca privada, solicite muestras de preproducción de la línea de bastones de trekking de Kelyland y someta el bloqueo de palanca o de torsión a una prueba de carga de 100 kg usted mismo. Ese plazo de entrega de 30 a 45 días le da margen para verificar el herraje antes de que su marca esté en el eje.
Preguntas frecuentes
¿Cómo arreglar bastones de trekking que no permanecen bloqueados?
Comience limpiando la junta: la suciedad del camino es la causa principal del deslizamiento del seguro. Limpie el eje con una toallita de alcohol y un cepillo suave, luego restablezca el seguro a su estado normal. Si todavía se desliza, inspeccione las roscas y la cuña para detectar desgaste.
¿Cómo puedes evitar que fallen los mecanismos de bloqueo de los bastones de trekking?
Evite fallas de bloqueo manteniendo limpias las juntas telescópicas y cerrando los bloqueos solo con presión moderada. Un bloqueo de giro necesita un cuarto de vuelta más allá del ajuste manual, y un bloqueo de presión debe cerrarse sin más. Para líneas de productos para clima frío, especifique piezas de bloqueo de metal o nailon reforzado con fibra.
¿Cuáles son los consejos comunes de reparación de bastones de trekking por cuenta propia?
Las reparaciones comunes de bricolaje son limpiar la suciedad de la junta, reemplazar un collar desgastado y reasentar una palanca de leva doblada. Compruebe si la cuña expansiva tiene grietas antes de volver a montar un cierre giratorio. Si el eje o la carcasa están agrietados, reemplace el palo en su lugar.
Why do trekking poles keep collapsing even after tightening?
Collapsing after tightening usually means the lock is overtightened, so threads strip or the cam lever bends instead of adding grip. Grit on the shaft can also reduce friction. Stop using the pole and inspect the threads, wedge, and shaft for damage.
Is it better to repair or replace a trekking pole with a broken lock?
Repair the lock if the damage is limited to a stripped collar, bent cam, or cracked wedge. Replace the pole if the shaft or cam housing is cracked—especially on carbon fiber, where a. When in doubt, replace before the next loaded hike.

 English
  Español
  Deutsch
  Français
  Português do Brasil
  Русский
  العربية
  한국어
한국어  日本語
日本語