
インフレータブルテントのバルブ漏れ修理は、まず間違った容疑者から始めることがほとんどです。現場のガイドはまず バルブコアとOリング, を疑いますが、これらの部品で漏れの約80%(80/%)は解決します。しかし、$50K件の注文を失った買い手は、真の犯人がバルブフランジ周りの HF溶接. 部分にあることを見出しました。生産前サンプルはすべての検査に合格しましたが、量産品は3回の折りたたみサイクル後に漏れが発生しました。溶接幅がサンプル承認時の仕様である20 mmに対して18 mmしかなかったためです。この品質許容差の隙間は、交換用コアでは解決できません。.
現場修理と工場QCは全く異なる問題です。5ステップの手順は、異物・乾燥したOリング・緩んだコアによって引き起こされる80/%の漏れに対応します。一方、RFQ仕様——フランジ溶接幅の最低20 mm、圧力低下ゼロの100サイクル折りたたみテスト、バッチごとの減圧テストレポート——は、再発する溶接欠陥が倉庫に届く前に阻止します。外観検査では微細なクラックは見逃されます。テストデータを要求してください。.
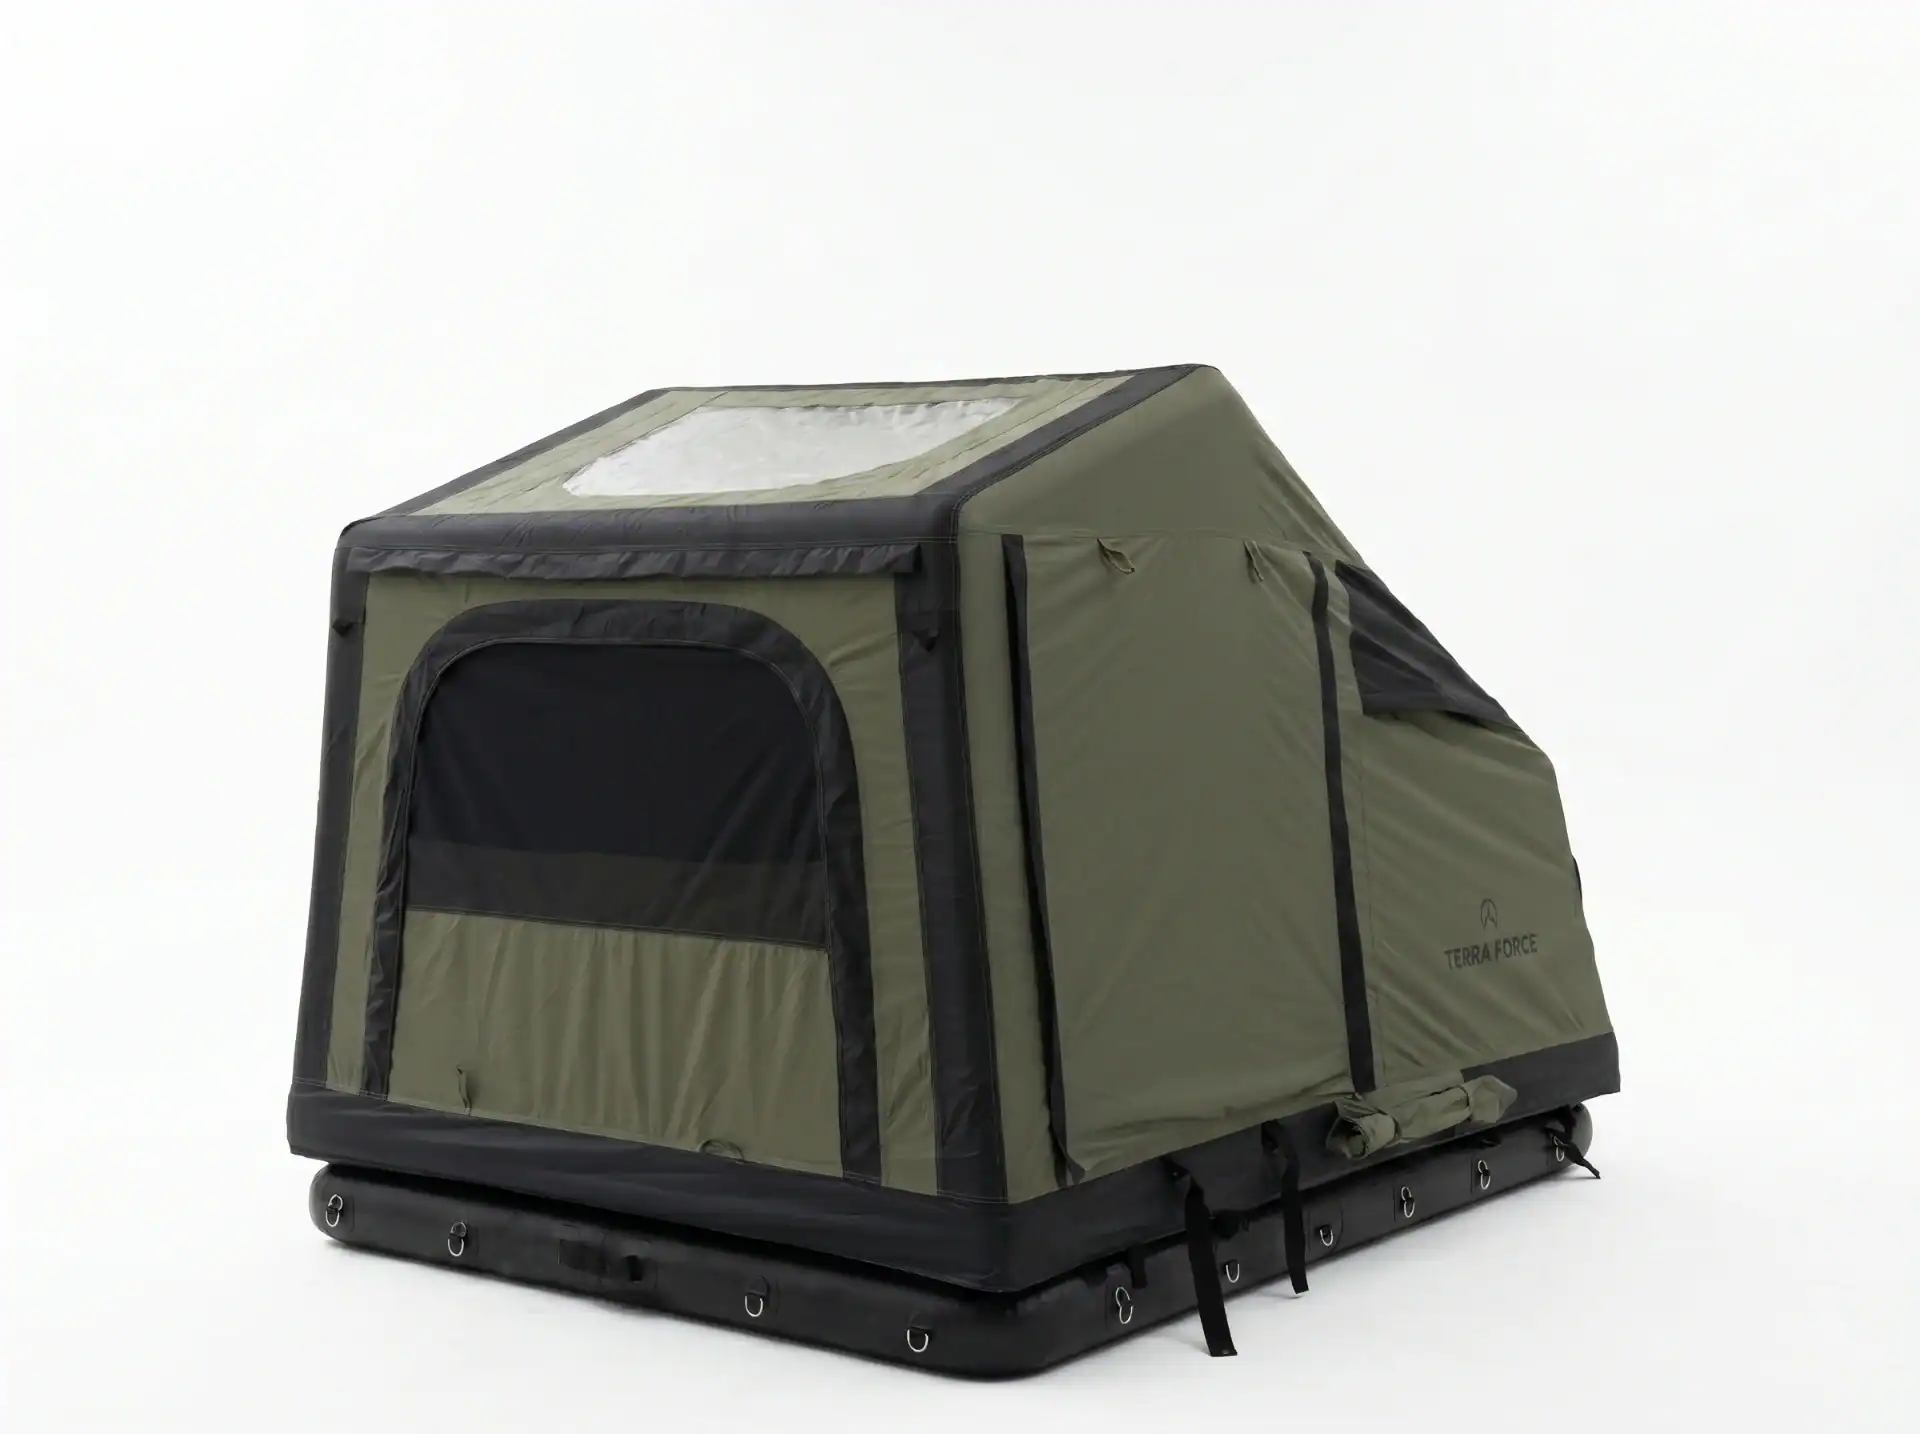
インフレータブルテントバルブの漏れ:溶接・Oリング・ねじれ故障の原因
現場でのバルブ漏れの80/%は、Oリングの清掃または交換で解決できます。.
バルブで空気が抜けるインフレータブルテントは、通常、バルブコアの故障ではありません。フィールド漏れの約80/%は、Oリングの清掃または交換で解決します。残りの20/%は バルブフランジ周りの高周波(HF)溶接 に生じた微細なクラックに起因することが多く、この欠陥は外観検査で見逃されやすいです。.
真の犯人:HF溶接部の微細クラック
テントを Stuff sack に収納する際に生じるバルブフランジの鋭い折り目により、HF 溶接部にストレスがかかりヘアラインクラックが発生します。これらのクラックはゆっくりと漏れが生じ、設営を繰り返すごとに悪化します。これらを特定するには単純な視覚チェックでは不十分で、定格作業圧力の 1.5 倍を用いた石けんテストが必要です。.
これは現場での摩耗によるものではなく工場不良です。Kelyland の寧波にあるコアテント工場では、フランジ溶接幅の最低基準を 20 mm とし、出荷前に 0 回圧力低下での 100 回の折りたたみテストをクリアしています。こうした仕様を公表しているコンシューマーブランドは稀ですが、これがバルブが収納、輸送、繰り返し設営に耐えられるかどうかを決定します。.
バルブコアの故障:異物、Oリング、ねじの損傷
砂や異物がワンウェイコアを妨害し、Oリングが乾燥してひび割れ、ポンプホースのねじが交差らせんによる損傷でなめられます。それぞれの故障は異なる漏れの兆候を示します。新しいバルブを発注する前に、イソプロピルアルコールでシートを清掃し Oリングを交換してください — このたった一つの工程で、多くの不規則な漏れは解消します。.
バルブタイプの比較: Halkey-Roberts vs Bayonet vs Screw-In
-
- Halkey-Roberts Oリングの摩耗またはコア周辺の異物。現場対応可能 — コアまたは Oリングを清掃・交換します。.
- バヨネットタイプ 割れたカラーまたは緩んだロック fit。カラーが intact な場合はコアを交換し、割れたカラーの場合はフランジ修理が必要です。.
- スクリューインタイプ ポンプホースのねじの損傷。フランジ溶接が健全であれば対応可能ですが、そうでなければビームを工場に戻す必要があります。.
これらの故障を見極めることはアフターセールスの対応ルートにおいて重要です。サプライチェーンマネージャーは現場へ Oリングとコアを送付し、80% の苦情を解決できます。割れたフランジや層間剥離したカラーは工場の HF 溶接が必要で、現場キットでは維持できません。.
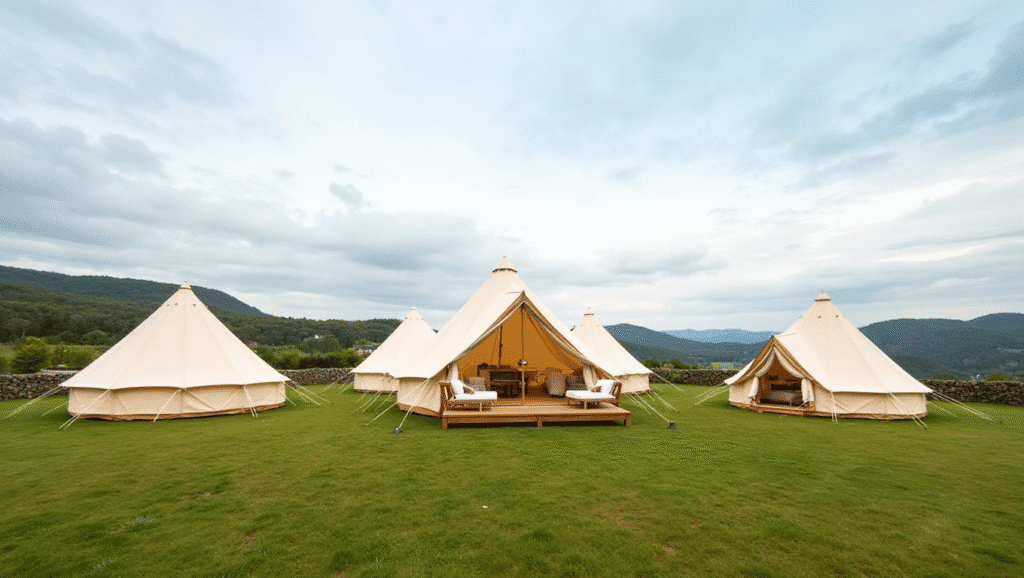
インフレータブルテントバルブの修理方法:5ステップの現場手順
Oリングの交換でバルブ漏れの 80% が解消します。.
インフレータブルテントのバルブ漏れの大部分は、バルブコアの故障ではありません。ワンウェイコアの背後に砂が入り込んだり、Oリングが乾燥したり、あるいは保管時の鋭い折りたたみによりバルブフランジ周辺の HF 溶接にヘアラインクラックが入ったりします。修理方法はそれぞれ異なります。Halkey-Roberts と bayonet スタイルのバルブは同じ 現場修理経路を共有します.
フィールド修理の5ステップ
-
- ステップ1:完全に空気抜きし、ビームを隔離する。 何かをする前に必ず全ての空気を抜いてください。バルブシートに閉じ込められた空気がねじれ、コアの取り外しを困難にします。マルチビームテントの場合、漏れのあるバルブに印を付けて、間違ったビームをテストしないようにしてください。.
- ステップ2:バルブコアを取り外し、フランジ溶接部を検査する。 バルブツールまたはニッパでコアを逆回しして外します。明るい光の下で、縁から放射状に広がるヒビが入っていないかフランジ溶接部を確認してください。フランジ溶接部に亀裂がある場合、新しいOリングは保持できません。修理を中止し、ビームの交換を計画してください。.
- ステップ3:イソプロピルアルコールでバルブシートを清掃する。 レンズクロスに含ませた99%イソプロピルアルコールでシートを拭き、砂や油分、古いシーラントを除去します。組み立て前に完全に乾燥させてください。クリーンなシートは、間欠的な漏れの最もお手軽な修理方法です。.
- ステップ4:Oリングを交換またはグリスアップし、締め付けすぎに注意する。 そのバルブモデル専用のOリングに交換するか、古いリングが形を維持している場合はシリコングリスを薄く塗布します。コアをしっかりと座らせます。締め付けすぎるとねじ山を損傷し、$2の修理が$40の問題に発展します。.
- ステップ5:80%まで再 inflate し、石鹸水テストを行う。 動作圧力の約80%まで.inflate し、バルブ周囲に石鹸水をブラシで塗ります。気泡が発生した箇所が漏れの特定位置です。フランジ溶接部分で気泡が発生した場合は即座に中止してください。フィールド用のシーラントでは、失敗したHF溶接は修理できません。.
接着リング修理:24時間の原則
緩んだリングは、フランジ溶接部自体が健全であれば接着剤で修復できる場合があります。ここで多くのオーナーが犯す間違いは、早々に.inflate してしまうことです。加圧された空気が未硬化の接着面に浸入し、接着剤を分離させて修理は数時間で失敗します。24時間待ってから、同じ石鹸水テストを実行し、信頼できる状態になってから使用してください。.
Kelyland Outdoorsの提携工場では、出荷前にすべてのインフレータブルテントバルブを定格動作圧力の1.5倍で石鹸水テストし、ISO 9001:2015品質システムによって各生産工程での検査結果を文書化しています。このQCレベルが、フィールドでのOリング交換が期待通りに機能する理由です。これがない場合、実際の故障モードであるフランジ溶接部の亀裂がお客様の元に届いてしまいます。.
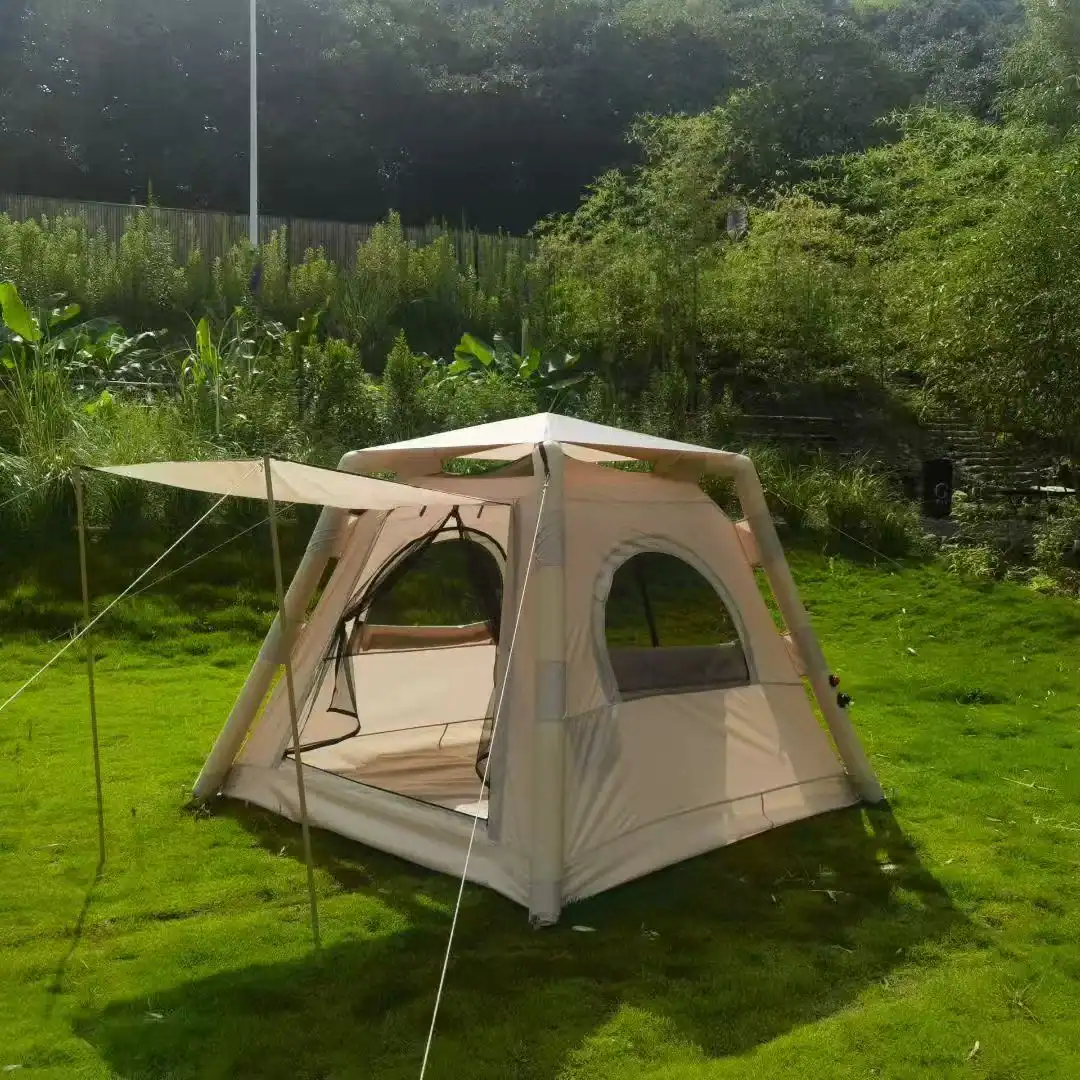
バルブ交換:切断・HF溶接・工場送りが必要なケース
フランジ溶接部の亀裂は、フィールドでは修理できません。.
バルブフランジから放射状に伸びるヘアラインクラック、カラー周辺の生地剥離、あるいはビーム内部で自由に回転するカラーは、いずれも同じ結論を示しています:エアビーム構造が損なわれているということです。Oリングの交換やバルブコアの新品化ではこれらの漏れを止められないのは、故障箇所がバルブ機構ではなく溶接部そのものにあるからです。.
現場修理 vs バルブコア交換 vs 工場HF溶接
-
-
- Oリング清掃・交換: フランジ溶接部に健全性が保たれている場合、フィールドでの漏れの約80%を解決します。適切に sizing されたOリングは長年にわたって機能します。.
- バルブコア交換: Works for a damaged core or stripped threads, but only if the collar weld still holds pressure. Verify with a soap test before relying on it.
- Factory HF weld: Required for a cracked flange, delamination, or a spinning collar. This means cutting out the old flange, welding a new one, and pressure-testing the beam.
-
When the flange weld fails, the only lasting fix is to cut the old valve assembly out, weld a new flange into the beam film, and run a pressure-decay test. A visual inspection will not catch the micro-cracks that caused the leak — they open under pressure and close when deflated. This is why a factory QC soap-test at 1.5x rated working pressure is not a luxury; it is the acceptance threshold.
RFQ Specs to Prevent Recurrence
-
- Weld width: Specify a minimum 20 mm flange weld width. Narrower welds crack when the tent is folded into its carry bag.
- Fold test: Require a 100-cycle fold test with zero pressure drop. This simulates storage, shipping, and repeated setup.
- QC evidence: Demand a pressure-decay test report per batch, not a visual check. The report proves every valve held pressure before packing.
Kelyland Outdoors coordinates production across 17 core strategic factories and over 200 manufacturing partners, most holding ISO 9001:2015 certification. Write the 20 mm weld width, 100-cycle fold test, and 1.5x pressure soap-test into the OEM/ODM agreement before sample approval, and valve leaks stop being an after-sales issue.
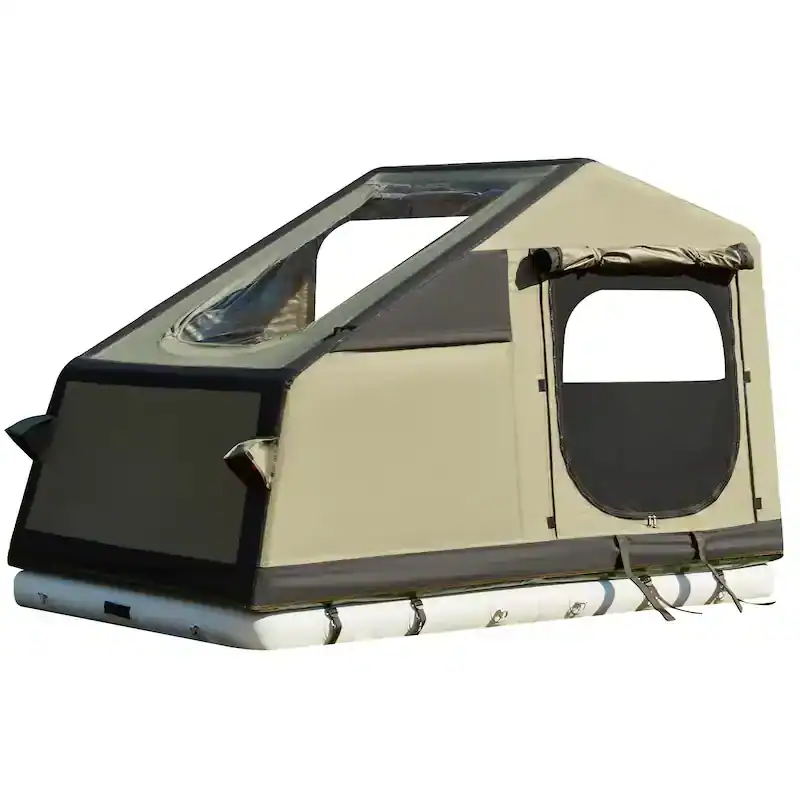
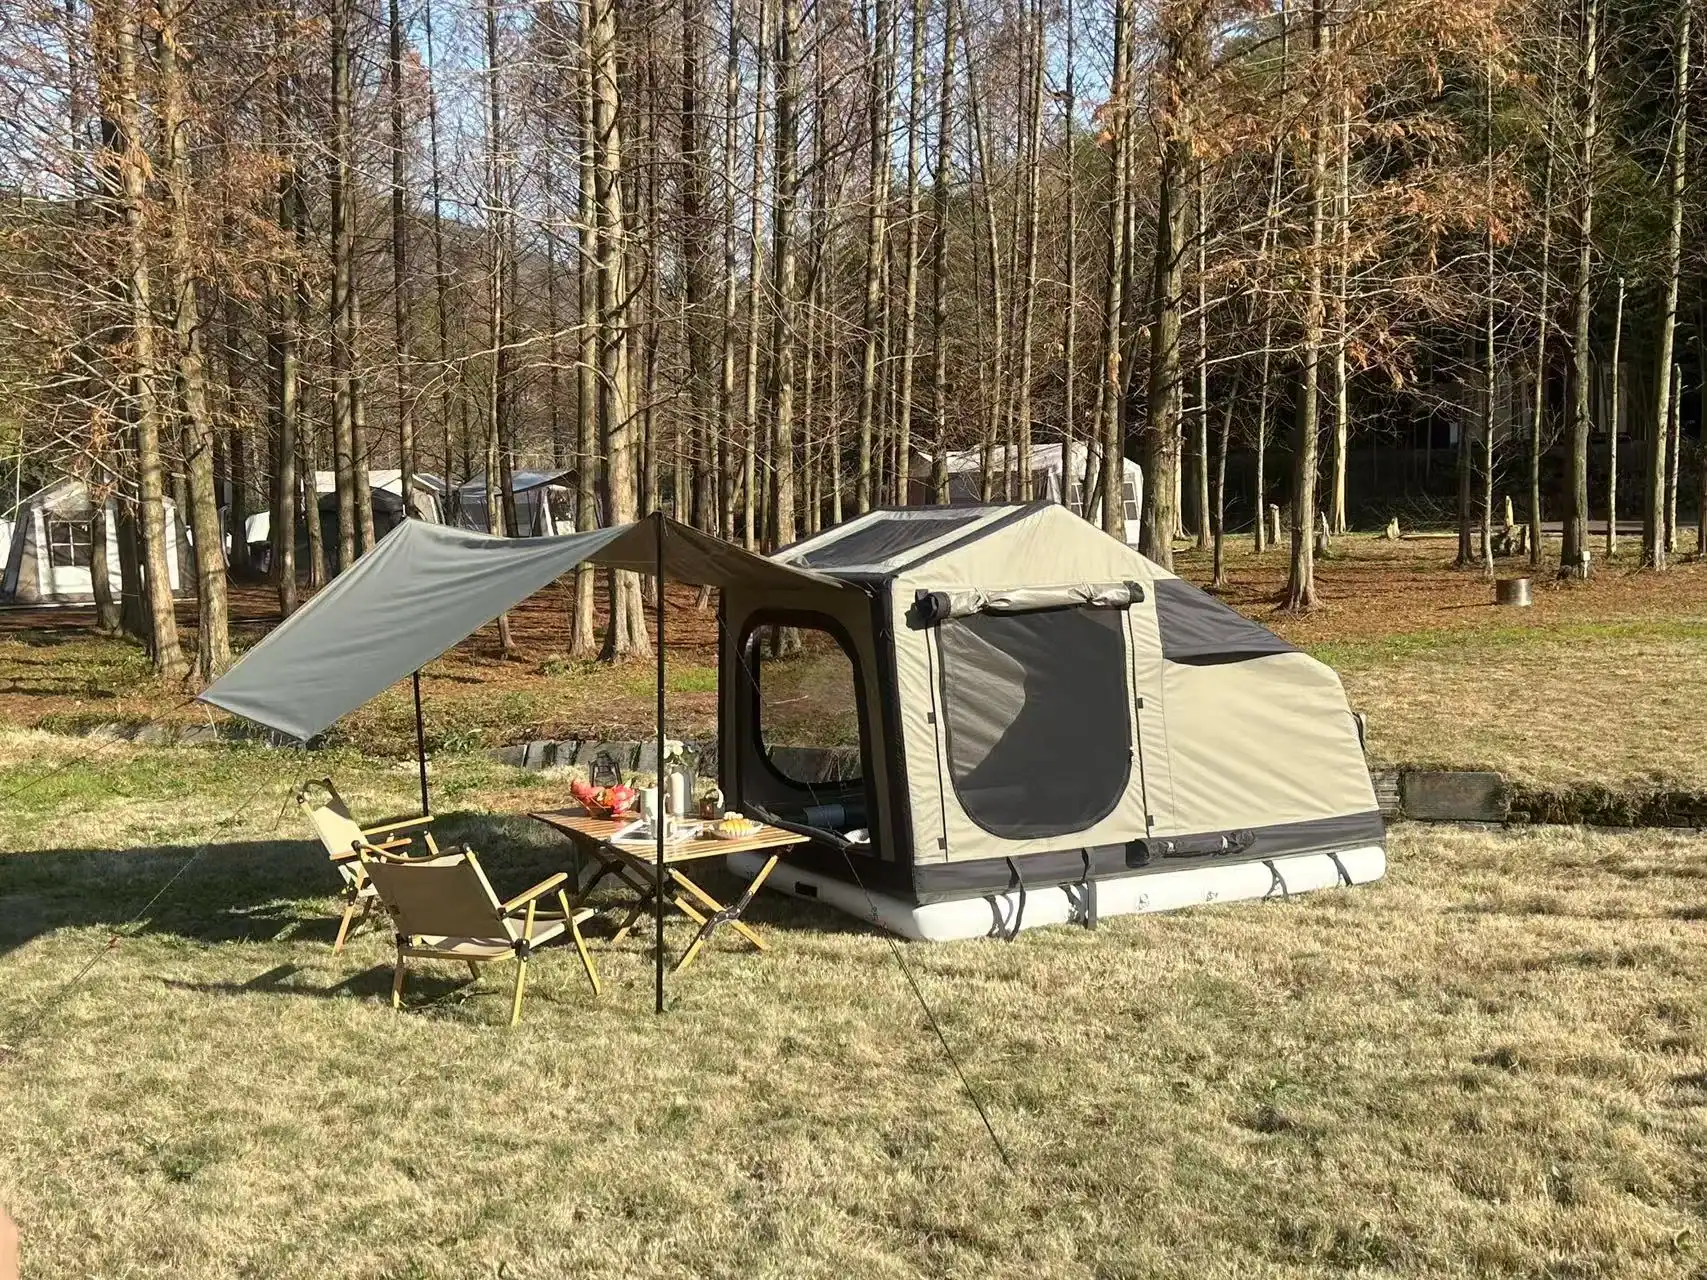
漏れ防止バルブ付きインフレータブルテントの調達:RFQ仕様
Visual inspection misses micro-cracks.
An inflatable tent valve RFQ isn’t about the valve core. It’s about the flange weld. A 20 mm minimum weld width and a 100-cycle fold test with zero pressure drop are the thresholds that separate valves that survive shipping from valves that fail in the field.
RFQ Checklist: 5 Valve Specs to Write Into the Contract
-
- Flange material: Must equal the beam film. Mismatched TPU compounds expand at different rates under heat, and the weld shears in transit.
- Weld width: Minimum 20 mm at the flange-to-beam junction. Narrower welds tear out under repeated inflation cycles.
- Fold test: 100-cycle fold test with zero pressure drop. Simulates stuffing into a carry bag and repeated setup — where micro-cracks start.
- Spare valve kit: Shipped with every order. Field replacement without cutting the beam requires a matched core, O-ring, and collar.
- Test report: Pressure-decay test report for every batch. A sample report proves nothing; batch-level records prove the process held.
That last point is where suppliers get vague. Visual inspection catches gross defects, but micro-cracks only open under air pressure. A pressure-decay test report documents that every beam held pressure for the specified duration, not just the one the salesperson picked out. This is the difference between a factory that tests and a factory that claims.
Factory QC Evidence to Demand
Ask for the pressure-decay test report before you approve the batch. The factory should also soap-test every valve at 1.5x rated working pressure before packing. If a supplier says ‘we do 100% visual inspection,’ that is not the same standard. It misses the hairline cracks that appear after tents are folded and stuffed for shipping.
Supplier Selection: Verify HF Welding First
HF welding capability is the first filter. A factory that only sews or glues flanges cannot deliver the 20 mm weld width you’re specifying — and it won’t admit that in the first call. Confirm HF welding capability, TPU/PVC material compatibility, and the valve supply chain before discussing price. Then negotiate minimum order quantities and lead time.
Kelyland’s network includes a camping tent factory in Ningbo producing 800,000 units a year with CE, BSCI, and ISO 9001 certification, plus an air mattress facility in Xiangyang running 2.5 million units annually. Custom inflatable tents start at 50-100 pieces with a standard 30-45 day production window. Lock the valve design early; that timeline assumes no rework.
結論
Skipping the RFQ specs doesn’t reduce cost — it defers it. A cracked flange weld missed at the 1.5x pressure test surfaces later as a field leak, and the repair bill runs far beyond the $20 O-ring fix. The 30-45 day production window does not pause while you chase missing test reports; every week of indecision pushes delivery closer to the retail season.
-
- An O-ring swap fixes 80% of field valve leaks, but only when the flange weld is sound.
- Demand a pressure-decay test report and 1.5x soap-test evidence before approving a batch.
- Write a 20 mm minimum weld width and 100-cycle fold test into the RFQ.
- Field repairs won’t stop a cracked flange weld; that failure needs factory HF welding.
Review your current valve spec sheet against these benchmarks before you lock the next production order. If a supplier cannot provide a pressure-decay test report or a spare valve kit at the quoted minimum order, that risk transfers straight to your bottom line. Ask Kelyland for an inflatable tent sample with a 1.5x pressure-tested valve flange and a custom quotation that includes spare valve kits.
よくある質問
インフレータブルテントのバルブから空気が漏れる理由は何ですか?
漏れや故障の原因は、通常、Oリングの摩耗、異物の詰まり、またはフランジ溶接部のひび割れです。まずOリングを確認し、バルブシートを清掃してから、工場修理を検討してください。フランジにひびが入っている場合は、現地での修理を中止し、メーカーにご連絡ください。.
ベームを切断せずにインフレータブルテントのバルブを交換できますか?
サービス可能な部品はコアとシールのみで、フランジの不良は工場での溶接が必要です。フランジに異常がなければ、ビームを切断せずにコアやOリングの交換が可能です。亀裂が入ったフランジはDIYでの切断ではなく、工場でのHF溶接が必要です。.
インフレータブルテントにはどのようなバルブが使用されていますか?
ほとんどの製品は、ねじ込み式ポンプカラーを備えたHalkey-Roberts式またはBayonet式の片方向バルブを採用しています。ねじ込み式バルブはあまり一般的ではありませんが、一部のプレミアムTPUビームに見られます。スペアパーツご注文の際は、必ずカラーの種類をご確認ください。.
バルブの修理はどのくらい持ちますか?
Oリング交換は長年使用できますが、接着式カラー修理は信頼する前に圧力テストが必要です。適切なOリング交換により、バルブは新品同様の状態に回復します。修理後は必ず圧力テストを行ってください。.
インフレータブルテントのバルブのゆっくりした空気漏れを見つける方法は?
Inflate to 80% pressure and brush soapy water around the valve; bubbles identify the exact leak point. For a very slow leak, add a drop of soap solution directly on the. Mark the leak point before disassembly so you don’t miss it.

 English
  Español
  Deutsch
  Français
  Português do Brasil
  Русский
  العربية
  한국어
한국어  日本語
日本語