 跳到内容
跳到内容 
pole tent damage is the first checkpoint buyers should lock before they approve a supplier, budget, or production slot. A buyer’s checklist for a 500-unit ポールテント order looks solid on paper: fabric weight confirmed, color matched to the Pantone swatch, and FOB pricing locked in at a number that works for both sides. Then the first container lands, and within three months the warranty claims start trickling in. Rust spots on the ferrules. A fiberglass pole that splintered on the third setup. A stake loop that pulled clean off during a moderate rain. The one item nobody checks on that checklist — the connection-point hardware spec — is what causes most post-delivery complaints.
I have sat through enough post-mortems with supply chain teams to know the pattern. The sample approval stage passes because the pre-production tent looks great standing alone in a showroom. But mass production runs swap in friction-fit steel ferrules instead of anodized aluminum with captive-screw locks, or they use a lower-grade fiberglass resin that fails at 600 flex cycles instead of 1,000. The factory saves pennies per unit on those substitutions. The buyer eats the multi-dollar replacement cost and the margin damage from returned goods.
The benchmark worth writing down for your next supplier call is this: a properly spec’d pole tent should survive 1,000 flex cycles at a 90-degree bend without producing splinters, and its ferrules should resist visible corrosion after 72 hours of salt-spray exposure in lab testing. If your factory cannot confirm those two numbers in writing before production starts, you are accepting hidden risk into every unit you ship.
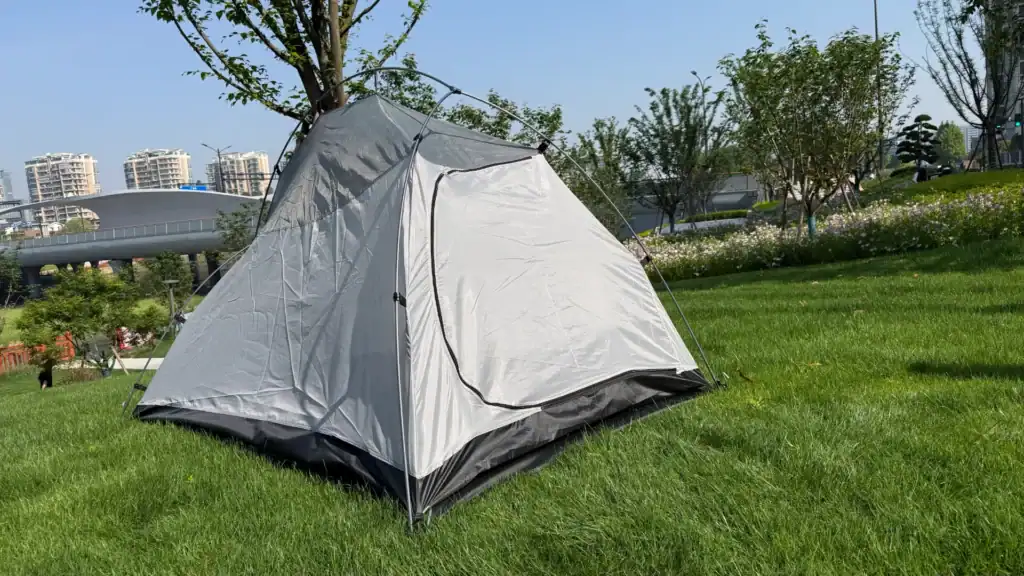
The Physical Reality of Pole Tent Damage
Three connection points cause 80% of pole tent warranty claims.
When a supply chain manager audits a warranty return pile, the pattern is consistent. The fabric survived. The zippers still work. But the ferrules are rusted, the shock cord snapped, or the stake loop tore out. These three failure modes account for most structural damage in pole tents, and they all trace back to material specs that should have been locked before production.
Ferrules: The Hidden Corrosion Trap
Steel ferrules are the default in budget pole tents because they cost less per unit than aluminum. But condensation inside the tent bag during storage creates a micro-environment that accelerates rust on uncoated steel. Salt-air exposure from beach camping destroys those ferrules in weeks. The fix is specifying anodized aluminum ferrules with captive-screw locks — a detail Kelyland Outdoors includes in its recommended pole spec for 6061 or 7001 aluminum above 11 mm diameter. Anodizing creates a hard oxide layer that resists moisture penetration, and captive screws prevent the ferrule from separating under flex load.
Shock Cord UV Degradation
Standard elastic shock cords lose tensile strength after 6-12 months of UV exposure. When the cord snaps inside the pole sleeve, the entire set collapses into loose sections that cannot be reassembled in the field without disassembling the tent. Most buyers never ask for the shock cord spec until after the first warranty spike. A UV-stabilized core with reinforced end caps adds at least one full season of field life.
Stake Loop Anchor Failure
Water pooling on a sagging roof transfers load directly to the stake loops. Budget tents attach loops with a single bartack through unwebbed fabric — that joint fails under sustained wet weight. Kelyland’s production standards require welded webbing triangles and bartacked through-body anchors at every corner stress point. This reinforcement prevents sudden collapse during rainstorms and eliminates one of the most common field failure reports.

Rust and Corrosion: Where Steel Poles Die
Salt air and condensation turn steel ferrules into rust grenades inside 3 weeks.
Steel ferrules fail because of a simple chemical reaction: moisture plus oxygen equals iron oxide. Inside a tent bag, condensation builds overnight. On a beach site, salt spray accelerates the process. Within three weeks of coastal use, untreated steel ferrules show visible pitting. Within six months, the ferrule seizes inside the pole sleeve and the customer cannot collapse the tent without cracking the fiberglass section.
The Condensation Trap
Pack a damp tent at midnight and seal it in a stuff sack. That trapped humidity attacks steel ferrules for days or weeks before the tent is unpacked again. The corrosion forms a rough oxide layer that jams the ferrule-to-pole fit. What should slide apart becomes a stuck joint that forces the user to twist hard — which often snaps the adjacent pole section.
Anodized Aluminum Fixes This
Anodized aluminum ferrules eliminate the corrosion pathway entirely. The anodizing process grows a controlled oxide layer into the aluminum surface — it is not a coating that can peel or chip like paint. That layer resists salt spray, humidity, and UV exposure for years. Pair it with a captive-screw locking mechanism instead of friction-fit sleeves, and you also solve ferrule separation under wind load.
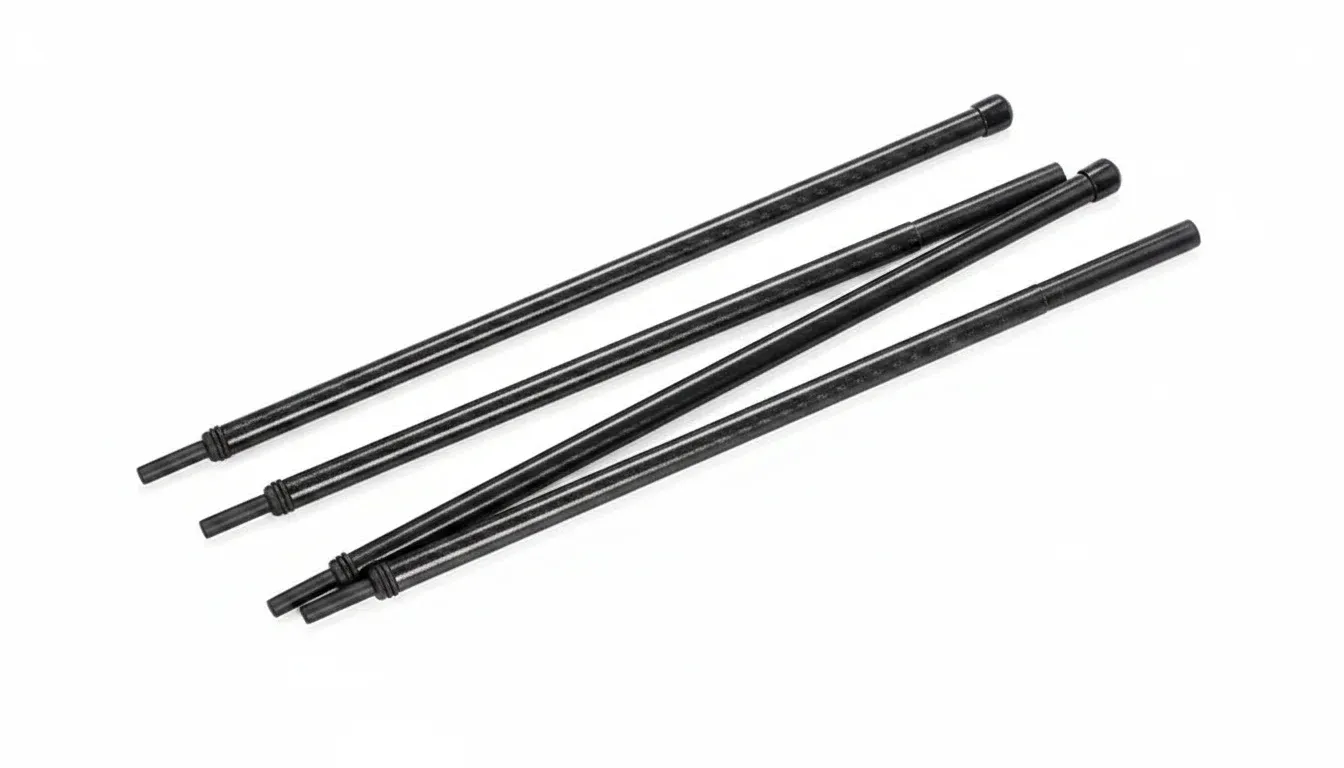
Fiberglass Pole Cracking: It’s Not the Wind, It’s the Flex
Fiberglass poles crack from repeated flexing, not sudden impacts — a distinction most buyers miss until the warranty claims arrive.
When a fiberglass pole snaps during a windy night, the instinct is to blame the wind. But the real culprit is flexural fatigue — micro-cracks that accumulate inside the material every time the pole bends and springs back. After enough cycles, those internal cracks propagate through the cross-section. The pole doesn’t break because of one gust. It breaks because it was already compromised from dozens of previous setups.
Flexural Fatigue vs. Impact Damage
Impact damage leaves visible marks: a dent, a gouge, a splinter at the point of contact. Flexural fatigue leaves nothing visible on the surface until the final failure. That makes it dangerous for quality control — you can’t spot it in a visual inspection at the factory or even during a pre-shipment check. The only way to catch it before it reaches your customer is to test for it.
The 1,000-Bend Flex Test
The industry-standard internal QC threshold is simple: clamp a pole section and bend it 90 degrees, then release. Repeat 1,000 times. If any splinters appear on the surface after that cycle, the fiberglass or resin quality is below spec. Budget factories skip this test entirely — they save pennies per pole on raw materials and pass the replacement cost to you.
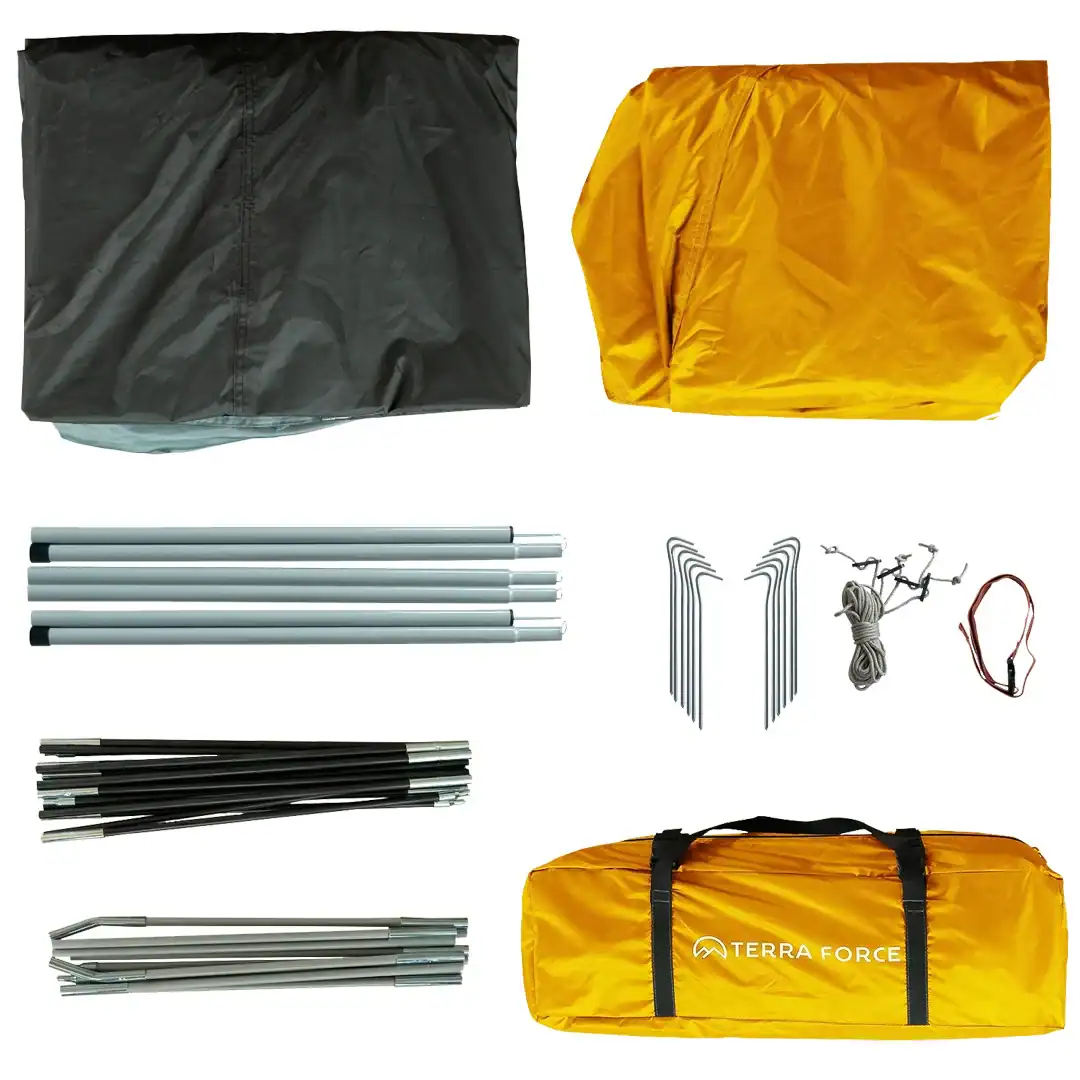
Shock Cord Snap: A Hidden Maintenance Burden
A UV-stabilized shock cord core is the difference between a 3-season tent and a 1-season disappointment.
Shock cords fail from two simultaneous forces: UV radiation breaking down the elastic polymer, and constant stored tension that accelerates micro-tears. After 12–18 months of regular exposure, a standard rubber core loses 40–60% of its elasticity. The cord stretches out, the pole sections separate inside the sleeve, and the whole frame collapses under fabric weight.
UV Exposure and Stored Tension
UV degradation is not uniform across the cord length. The exposed segments near the pole tips degrade faster than the sections buried inside the ferrule channel. This creates weak points that snap under normal flexing during setup or wind loading. Stored tension compounds the problem: a shock cord under constant pull experiences creep — permanent elongation that reduces clamping force on each pole section joint.
The result is a gradual collapse pattern. First, poles start sagging at the mid-span during setup. Then sections begin separating at the ferrules when you lift the tent to reposition it. Finally, a sharp gust or a wet fly load snaps the remaining intact segment, turning an assembled frame into loose sticks.
Specifying a UV-Stabilized Core
Standard shock cord uses natural rubber or SBR (styrene-butadiene) with minimal UV additive. A UV-stabilized core uses EPDM (ethylene propylene diene monomer) or silicone-based elastomers blended with carbon black and hindered amine light stabilizers (HALS). These materials retain 80%+ elasticity after 1,000 hours of accelerated UV exposure per ASTM D4329.
Pole Sleeve Tears and Fabric Fatigue
Sleeve tears start at the opening, not the fabric panel.
Every time a pole tip slides into a fabric sleeve, it abrades the seam at the entry point. Over a season of setup and takedown, that friction wears through the stitch line. The failure looks like a fabric defect to the customer, but it is actually a design omission. Budget tents cut cost by skipping reinforcement at both ends of the sleeve.
Friction Points at Sleeve Openings
The pole tip presses against the same spot on the sleeve opening during every pitch. With fiberglass poles, micro-splinters from flex fatigue accelerate the abrasion. Once the thread breaks, the tear runs down the sleeve length in one or two more setups. This failure mode spikes warranty claims in months 6–12 of retail use.
Wear Patch and Hem Specifications
-
- Nylon wear patch: A bonded nylon patch at both sleeve openings distributes friction across a wider surface instead of concentrating it on one stitch line. This adds roughly $0.30 to unit cost and eliminates the most common sleeve-tear complaint.
- Rolled hem vs. raw edge: A rolled hem encloses the fabric edge inside itself, preventing fraying at the sleeve mouth. Raw edges unravel after repeated pole insertion and create loose threads that catch on pole joints.
Kelyland’s tent factory—ISO 9001:2015 certified with an annual capacity of 800,000 units—specifies rolled hems and nylon wear patches as standard on all pole-sleeve models. These are low-cost details that separate a custom-grade tent from a commodity import. Verify them in your sample approval stage before mass production begins.
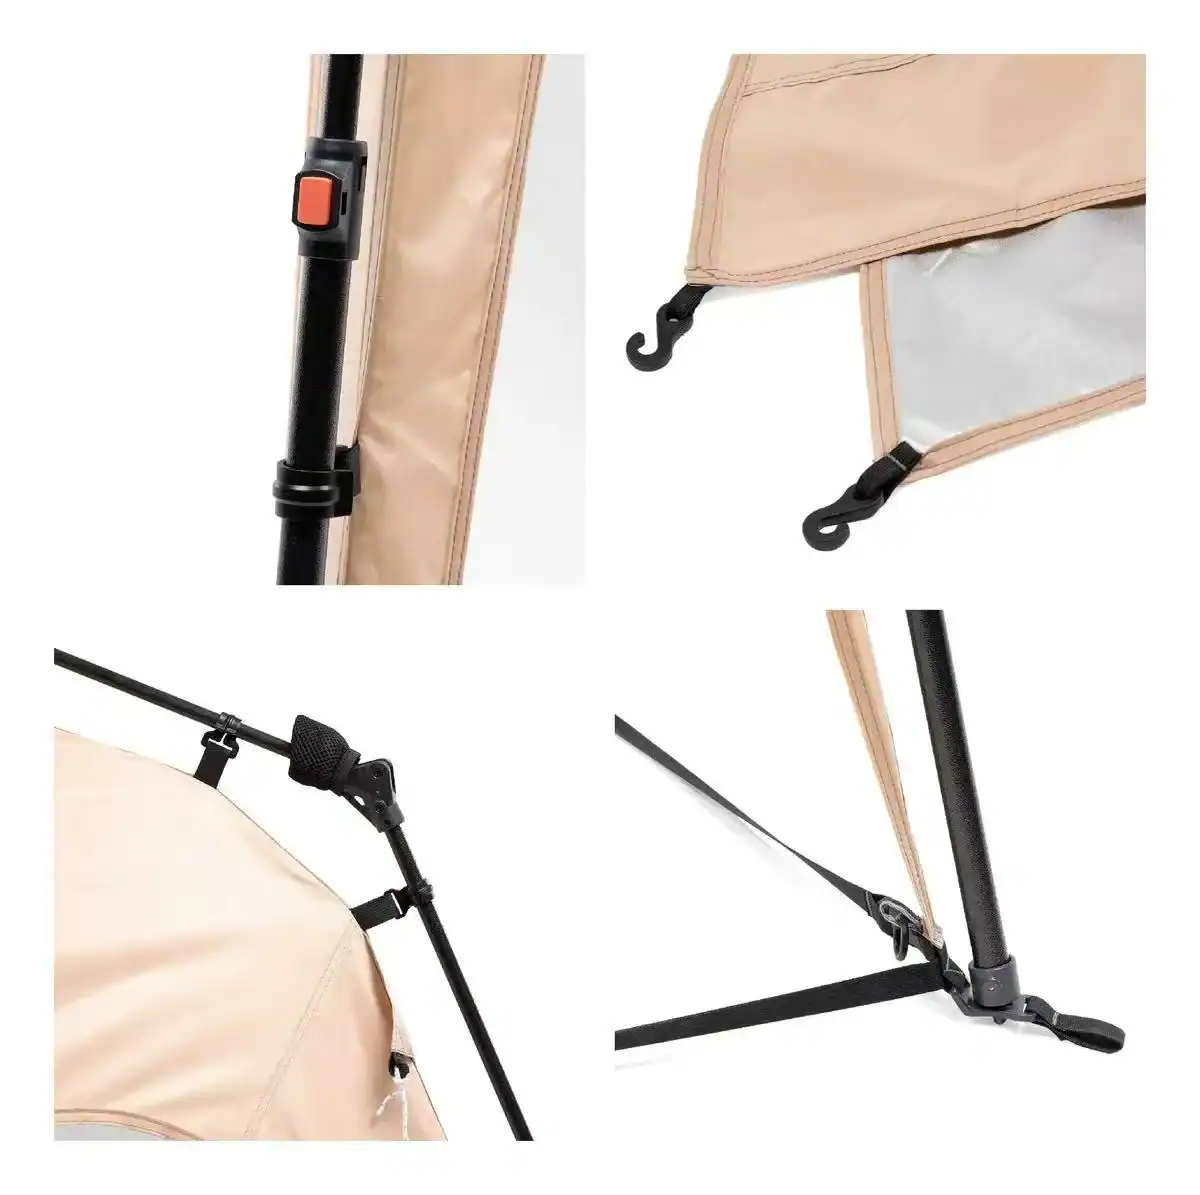
Water Pooling and Stake Loop Load Failure
Water pooling on the rainfly is caused by pole geometry failure, not fabric thinness.
When the pole curve cannot support the added weight of wet fabric, the roof sags and creates a depression. That depression collects more water, which adds more weight, which pulls the roof lower. Within minutes, a moderate rain turns into a structural overload situation.
The sagging roof transfers load directly to the stake loops at each corner. Budget tents attach these loops with a single bartack stitch through un-reinforced floor fabric. Under wet-load tension, that stitch rips out and the tent collapses sideways.
Reinforced Anchor Requirements
-
- Welded webbing triangle: Replace single-layer webbing with a welded triangle at every corner anchor point. The triangle distributes load across three directions instead of concentrating it at one stitch line.
- Bartacked through-body anchor: The webbing must pass through a reinforced slot in the floor hem and be bartacked on both sides — top face and underside. A surface-only bartack pulls through under 30 seconds of pooled water weight.
- Corner pull-test spec: Require a documented pull test that verifies the anchor can withstand the wet-load scenario during pre-shipment inspection. This test must be included in your QC checklist to confirm structural integrity before the container ships.
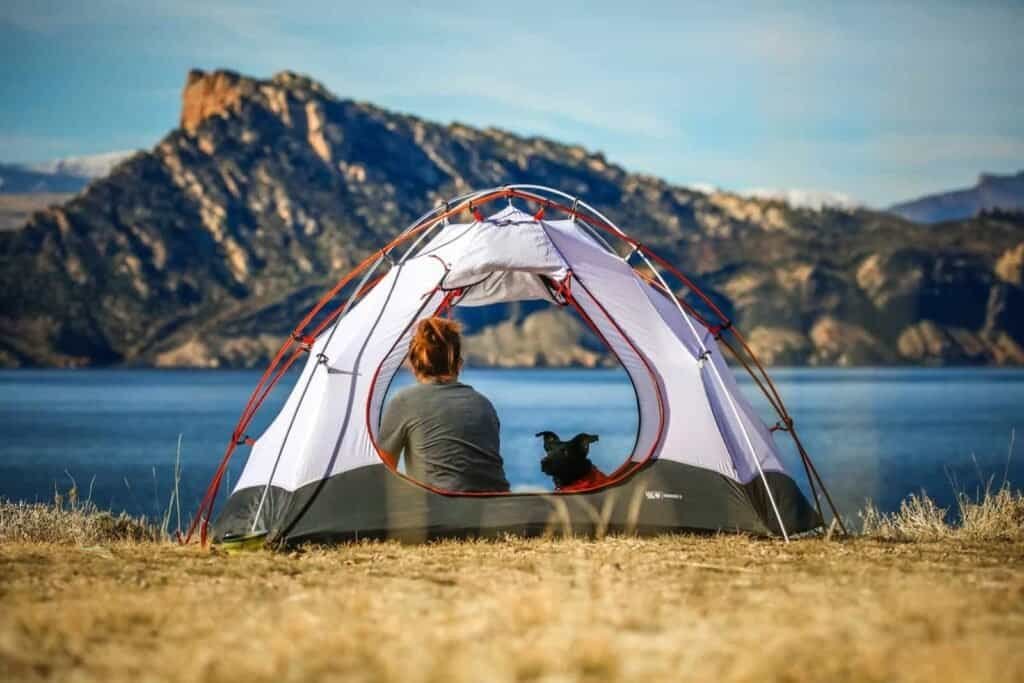
Material and Frame Specs for Long-Life Pole Tents
Anodized aluminum ferrules with captive-screw locks eliminate the two most common pole tent warranty claims: ferrule separation and corrosion.
Pole Alloy and Diameter
The alloy choice determines whether a pole bends or snaps. For any tent above 4-person capacity, specify 6061 or 7001 aluminum with a minimum diameter of 11 mm. 7001 offers higher tensile strength for large family tents where wind load multiplies across the ridge line. 6061 costs less and works for mid-size shelters. Steel poles below this diameter are the leading cause of sudden collapse under wet fabric weight.
Fiberglass poles fail differently. They develop micro-cracks inside the material from repeated flexing — not from impact. The Field & Stream repair guide confirms that fiberglass splinters under tension after enough cycles. That is why Kelyland’s internal QC threshold requires a flex-cycle test: 1,000 bends at 90° with zero splinters. Factories that cannot pass this test are sourcing low-grade resin or skipping quality checks.
Fabric and Seam Standards
A rainfly that fails at the seam is a tent replacement event, not a repair. Specify 190T polyester with PU coating rated to 3000 mm minimum waterhead. That coating layer is what stops water from wicking through thread holes during heavy rain. Demand double-stitched taped seams on every structural seam — ridge, eave, and pole sleeve attachment points.
Stress points need bartack reinforcement at every corner where webbing meets fabric. Budget factories skip these stitches to save seconds per unit on the assembly line. Those seconds translate directly into warranty claims when stake loops pull off during a wet-load scenario.
Locking Ferrules Over Friction Fits
Friction-fit ferrules loosen as the tent flexes in wind, accelerating ferrule separation and pole damage. The fix is anodized aluminum ferrules with a captive-screw locking mechanism that holds sections together regardless of movement. Anodizing creates a hard oxide layer that resists moisture and salt — critical for coastal markets where untreated steel ferrules corrode within weeks.
| 特徴 | 仕様 | 直径 | 素材グレード | Waterhead Rating | Stress Points | メリット | |
|---|---|---|---|---|---|---|---|
| Pole Alloy | 6061 or 7001 Aluminum | ≥ 11 mm | Bends under overload vs. splintering; resists corrosion | ||||
| Ferrule Type | Anodized Aluminum with Captive-Screw Lock | 6061/7001 Aluminum | Eliminates ferrule separation and corrosion claims | ||||
| Rainfly Fabric | 190T Polyester with PU Coating | ≥ 3000 mm | Prevents water pooling and fabric fatigue | ||||
| シーム構造 | Double-Stitched, Taped Seams | Bartacked Reinforcement | Withstands load without tearing | ||||
| Stake Loop Anchor | Welded Webbing Triangle + Bartacked Through-Body Anchor |
結論
Three failure points drive nearly every pole tent warranty claim: the ferrule, the shock cord, and the stake loop anchor. Spec anodized aluminum ferrules with captive-screw locks, a UV-stabilized elastic core, and welded webbing triangles at every corner. Those three decisions eliminate the root causes that field repair guides can only patch.
-
- Specify anodized aluminum ferrules with captive-screw locks to stop corrosion and separation.
- Require a flex-cycle test of 1,000 bends at 90° to filter out low-grade fiberglass.
- Use welded webbing triangles and bartacked through-body anchors for stake loops.
- Demand a published UV lifespan test for shock cords before approving bulk production.
The industry benchmark for a durable pole tent is a frame built from 7001-series aluminum above 11 mm, with anodized ferrules and captive-screw locks—the same spec used by Kelyland’s ISO-certified factory network. Write that into your next RFQ and compare supplier responses against it. Browse Kelyland’s product pages to see how those specs translate into production-ready pole tents at MOQs starting from 300 units.
よくある質問
Q: テントポールはどうやって交換すればよいですか? A: ポールの直径とフェルール長さを測定し、適合する交換用セクションを発注してください。ショックコードの故障の場合は、交換してください。
正確な回答は、製品仕様、数量、および注文条件によって異なります。最も安全な方法は、最終要件シートが確定した後にのみ商業条件を確認することです。.
Q: How do I repair a tent pole crack? A: Splint a fiberglass crack with a metal sleeve and tape as a temporary field fix. Permanent repair requires section repl?
正確な回答は、製品仕様、数量、および注文条件によって異なります。最も安全な方法は、最終要件シートが確定した後にのみ商業条件を確認することです。.

 English
  Español
  Deutsch
  Français
  Português do Brasil
  Русский
  العربية
  한국어
한국어  日本語
日本語