 跳到内容
跳到内容 
The first piece of advice in any pop up beach tent leaking repair article is ‘check the 耐水圧定格.’ Ignore it. That rating measures a pristine lab sample, not how the factory tapes the seams on a 500-unit run. A $50K order goes south exactly that way—your sample approval is perfect, then the mass batch leaks at the fold points.
Most leak paths in pop-up beach tents start at the seam tape, especially when tape is applied over wrinkled or oily fabric during mass production. So your sample approval needs to test the quality tolerance, not just the fabric. Ask the factory what seam allowance they hold and whether they check tape adhesion after repeated folding.
Write this down: your next order should specify 1,500mm hydrostatic head compliance on the floor panel, plus a seam tape that survives the fold test without peeling. If the supplier hesitates on that number, walk away.
Step 1 — Find the Real Leak Path (Seam, Coating, or Floor)
Most tent leaks aren’t fabric failures.
A tent starts dripping at 2 a.m. in steady rain. The first instinct is to blame the face fabric, but the evidence points elsewhere. About 80% of leak complaints in this category trace to seam tape at pole hinged folds, not holes in the fabric. Find the leak path before you order a replacement or file a warranty claim.
The 10-Minute Field Diagnosis
Set the tent up in full sunlight. Wipe the suspect area dry with a towel. Mix a few drops of dish soap into a spray bottle of water and mist the seams from outside. Then sit inside with the door closed. Soapy water forms bubbles at the exact point air escapes, which marks the leak path without a hose or a rainstorm.
-
- Seam tape at pole hinges: Inspect the taped seams at the hinged folds where poles bend the fabric. These points flex on every setup, and the tape is the first thing to lift. Press the tape with a fingertip. If it feels loose or shows a gap at the edge, that is the leak path.
- PU coating on the face fabric: Stand inside and look at the canopy against sunlight. Thin spots, white hazing, or sticky areas indicate the PU coating is degrading. Coating failure leaks as a fine mist across the panel, not a single drip.
- Floor hem wicking: Set the floor hem over a wet towel or shallow puddle. Water climbs through unfinished stitching at the hem and spreads inside the bathtub floor. A dry surface with wet spots near the stitching line means the hem was not seam-sealed during production.
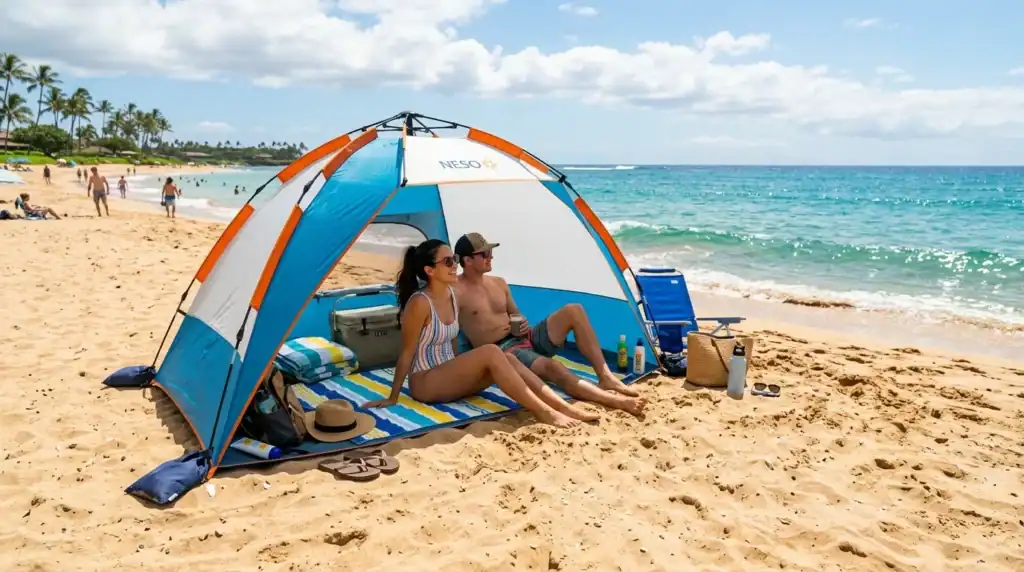
These three checks cover the common failure points in order of frequency. Pole-hinge seam tape fails because it flexes. PU coating fails because it ages. Floor hem wicking fails because the hem stitches pass through the fabric and create capillary paths.
What the Diagnosis Tells Your Supplier
When you report a leak, name the 漏れ経路—seam tape, coating, or floor hem. A supplier can repair seam tape in minutes. PU coating failure means the coating layer was under-specified or the fabric roll was degraded. A floor hem issue points to missing seam sealing. At the tent partner factory Kelyland Outdoors uses in Ningbo, annual output reaches 800,000 units and QC checks run at every production stage. That scale is exactly why a precise defect description matters; a skipped seam-tape application can repeat through a whole batch if nobody catches the pattern.
Step 2 — Reactivate the Factory Seam Tape Over a Pole Hinge
Reheating the original PU tape is faster, cheaper than using any waterproof spray, and effectively repairs actual leak paths.
Tent pole hinges repeatedly fold the heat-sealed seams. Each time the tent is set up, each gust of wind, every fold subjects the tape edges to slight bending stress. When the sealant tape lifts, water follows that crease into the stitching holes.
Step 3 — Clean and Re-Apply a DWR After the Fabric Weets Out
When water soaks into the fly instead of beading, the DWR has failed — clean and reapply before the next trip.
A tent fly‘s DWR is the reason rain beads and rolls off instead of soaking in. It’s a surface finish on the outer face fabric, not a waterproofing membrane. The actual waterproofing on most polyester fly sheets is a coating on the reverse — PU, silicone, or PVC in Kelyland’s tent production lines. Once the DWR wets out, the face fabric absorbs water, which adds weight and turns the fly cold and clammy overnight.
Before reapplication, the fly must be clean. Salt from coastal trips pulls moisture into the fibers, sunscreen residues break down the repellent slowly, and sand grinds into the weave when the fabric flexes. Hand-wash the fly in cool water with a mild technical cleaner or pure soap, scrub seams lightly, and rinse twice. A dirty surface blocks a new DWR from bonding evenly.
Match the DWR to the Tent’s Coating
Not all repellents are safe on all tents. Many aerosol DWRs use solvent carriers that attack PU coatings, causing the waterproof layer to wrinkle or peel. A PU-coated fly needs a water-based, PU-safe DWR; silicone-coated fabric needs a silicone-compatible formula. Kelyland’s tent specs list PU, silicone, or PVC coatings depending on the product line, so that distinction drives which repellent belongs on the shelf.
-
- Spray-on DWR: Best for spot maintenance on a fly that still beads in patches. Apply to a clean, dry fly, cover the entire panel, and follow the label’s cure time before packing.
- Wash-in DWR: Best for an even refresh across the whole tent, but most wash-in formulas require heat to activate. On taped seams, repeated high-heat cycles accelerate seam tape aging, so weigh that tradeoff.
Cure Time and Dry Conditions
The common mistake is rushing the cure. The spray can look dry almost immediately, but the fluoropolymer or silicone bond takes hours. Put the tent somewhere ventilated, shaded, and dry, and wait at least the manufacturer’s recommended time. Folding it into its stuff sack while the finish is still immature is how you get patchy water resistance on the next trip.
Direct sunlight is not your friend during curing. It dries the surface faster than the carrier evaporates, leaving streaks that wet out later. A warm, shaded room with airflow gives the most uniform result.
Step 4 — Know When a Leak is the End of the Tent
When the fabric itself leaks, re-taping only buys you one more season of returns.
Not every tent leak happens at a seam. When water starts soaking through the fly or the floor itself, the fabric has reached the end of its usable life. Seam tape will not fix it. Another coating layer will not fix it either. The only real fix is a material re-spec before the next production run.
UV and Flex Failure Are the Real Leak Sources
UV is the first killer. Sun exposure degrades the coating on ポリエステル、ナイロン flies, and the fabric stops beading water and starts absorbing it. Flex is the second. Every pitch, fold, and pack creases the same lines until the coating cracks along those creases and water follows the cracks.
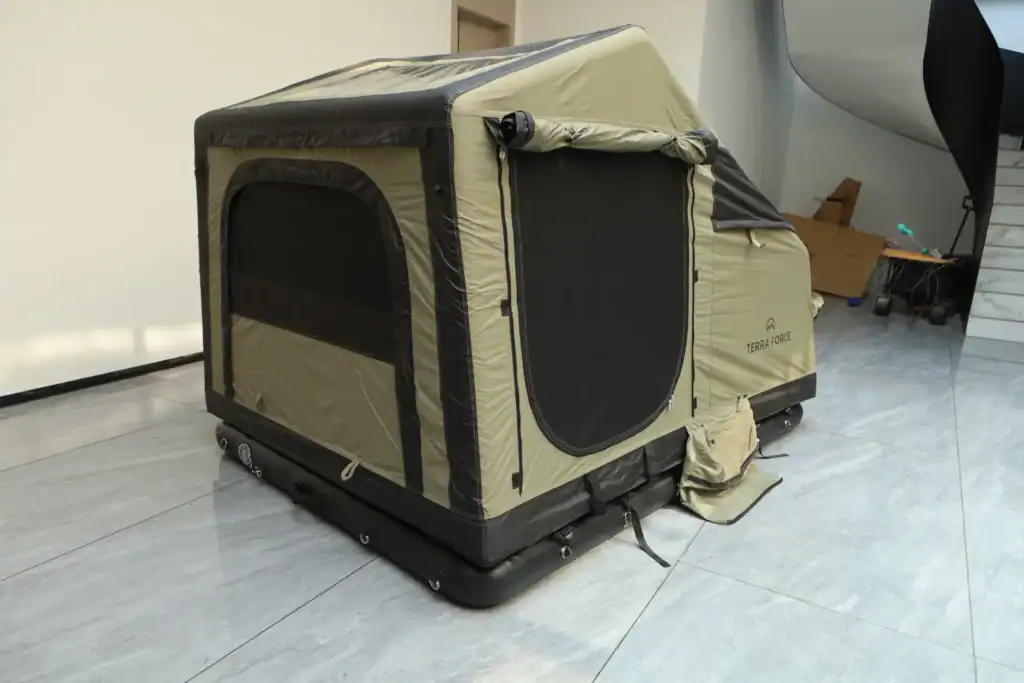
Both failures present the same way: a ‘leak’ with no visible hole and intact seam tape. That is why it gets misdiagnosed as a sewing problem.
-
- Pinhole light test: Hold the fly up to direct sunlight. Pinpricks of light through the fabric mean the coating has degraded. Re-coating over that base will not bond reliably.
- Crease flex test: Fold the fabric along an old crease and rub it between your fingers. White powder or flakes mean the coating has cracked beyond repair.
- Water absorption test: Pour a few drops of water on the fabric. If it darkens the surface instead of beading and running off, the water-repellent layer is gone.
Return Patterns Tell You Before the Weather Does
Retail return data is the cheapest field test you will ever run. When a tent comes back marked ‘leaks’ but the seam tape is intact and there is no hole, that is a fabric failure. Segment the returns by region. High-sun markets like Australia, the US Southwest, and southern Europe show coating failure a full season earlier than temperate climates.
If the same leak complaint appears across two seasons, stop repairing and start re-spec’ing. Each return costs freight, inspection, and replacement product. The reverse logistics alone can wipe out the margin on the original order.
Re-spec 300D Oxford or a PVC Floor
When UV or flex is the failure mode, the answer is a heavier base cloth. The tent factory in Ningbo builds floors in PE and PVC/TPU coated mesh as standard; the PVC/TPU option handles ground moisture, sharp grit, and repeated packing cycles far better than a plain PE sheet.
For the fly, spec 300D Oxford if your current polyester starts leaking inside two seasons. The heavier weave carries its coating better and holds crease lines longer. Run that change at 。, not after the first container has shipped. Set the quality tolerance for coating adhesion in writing, and agree on a simple flex test both sides can repeat.
A tent that leaks through the fabric is finished. The real decision is whether you find out in your warehouse in month 14 or in a customer review after the first rain. Re-spec at the sample stage, and the return problem becomes a line item on a spec sheet.
結論
Leak claims rarely start with the fabric. They start when a pre-production sample passes and the mass production run uses a lighter coating or a skipped seam tape pass. Each of the seven fixes above isolates that kind of hidden variation, so the waterproofing spec follows the order through sample approval, production inspection, and the finished goods check.
-
- Does your tent fabric meet a minimum 1,500mm hydrostatic head before coating is applied?
- Can the supplier show seam tape adhesion results from the actual production batch, not the prototype?
- Does the sample approval document lock quality tolerance for coating weight and seam tape width?
Before you approve the next beach tent buy, put those three questions on the supplier’s spec sheet and request the test report for the actual production batch. If the numbers do not meet the 1,500mm hydrostatic head threshold, that is a margin risk you will carry through the season. Review the current camping tent lineup with these checklist items in hand, or ask your factory partner to confirm them in writing.
よくある質問
ポップアップビーチテントの防水漏れは、なぜ折り目に生じやすいのでしょうか?
The fiberglass pole hinge flexes the factory seam tape until it peels, creating a 2–3 cm wet line at the fold. Heat-reactivate the tape or apply a PU-compatible seam sealer; don’t start. Repair the seam first, then test with a garden hose.
ポリエステル製のビーチテントにスコッチガードを使用できますか?
No. Scutchguardはシリコンスプレーで、将来的なシームテープの接合を妨げる可能性があるため、シーム補修が必要なテントには安全ではありません。DWRの塗布はすべてのシームシーリングが完了した後に実施してください。.
ビーチテント内の結露は防水性能の失敗ですか?
単層・非換気テントは体内の湿気とテント内壁の結露を閉じ込めます。これは漏水ではなく、コーティングの不良でもありません。防水性を疑う前に、換気した状態で乾燥したテントで必ずテストしてください。.
ビーチテントのDWR加工はどのくらいの頻度で再処理すべきですか?
2〜3回の使用後、または撥水性が低下した際に再処理してください。洗濯後は十分に乾燥させ、PU対応のDWR加工剤をムラなく塗布してください。.
強雨に耐えるビーチテントに必要な防水ヘッドはどれくらいですか?
At least 1,500mm hydrostatic head for the fly and floor is the practical minimum. For retail-grade beach tents, specify 190T PU-coated fabric with factory-taped seams to avoid field failures. Use 1,500mm plus taped seams as your spec floor.

 English
  Español
  Deutsch
  Français
  Português do Brasil
  Русский
  العربية
  한국어
한국어  日本語
日本語