 Ir al contenido
One centimeter of fabric sag traps two to three liters of rainwater overnight. The tent fly water pooling fix starts with geometry, not fabrics: a fly needs a 20° to 30° roof slope to shed rain, and anything flatter creates a belly that holds water. A $50K private-label order can pass la aprobación de la muestra looking perfect in a dry showroom, then collect water on its third night of real rain.
The failure usually traces back to setup order, not material spec. Factory assemblers set the ridge and mid-panel guy points before staking corners; most end users stake corners first and flatten the roof in the process. Once a flat belly forms, even factory-sealed PU tape rated at 1,500 mm can fail — water sits on the seam for hours and pushes through needle holes. That’s a pitch tension failure, not a tape defect.
Buyers who skip this distinction pay for it in warranty returns. The fix costs almost nothing at the design stage — mid-panel guy-out loops and 3 mm reflective cord with a 5–10 kg breaking strain add cents to the unit price, not dollars. Without them, a 1 cm sag collects 2 to 3 liters overnight. Seam leak complaints roll in, and the return rate on a first-season tent launch can erase whatever margin FOB pricing promised.
Why Water Pools on a Tent Fly
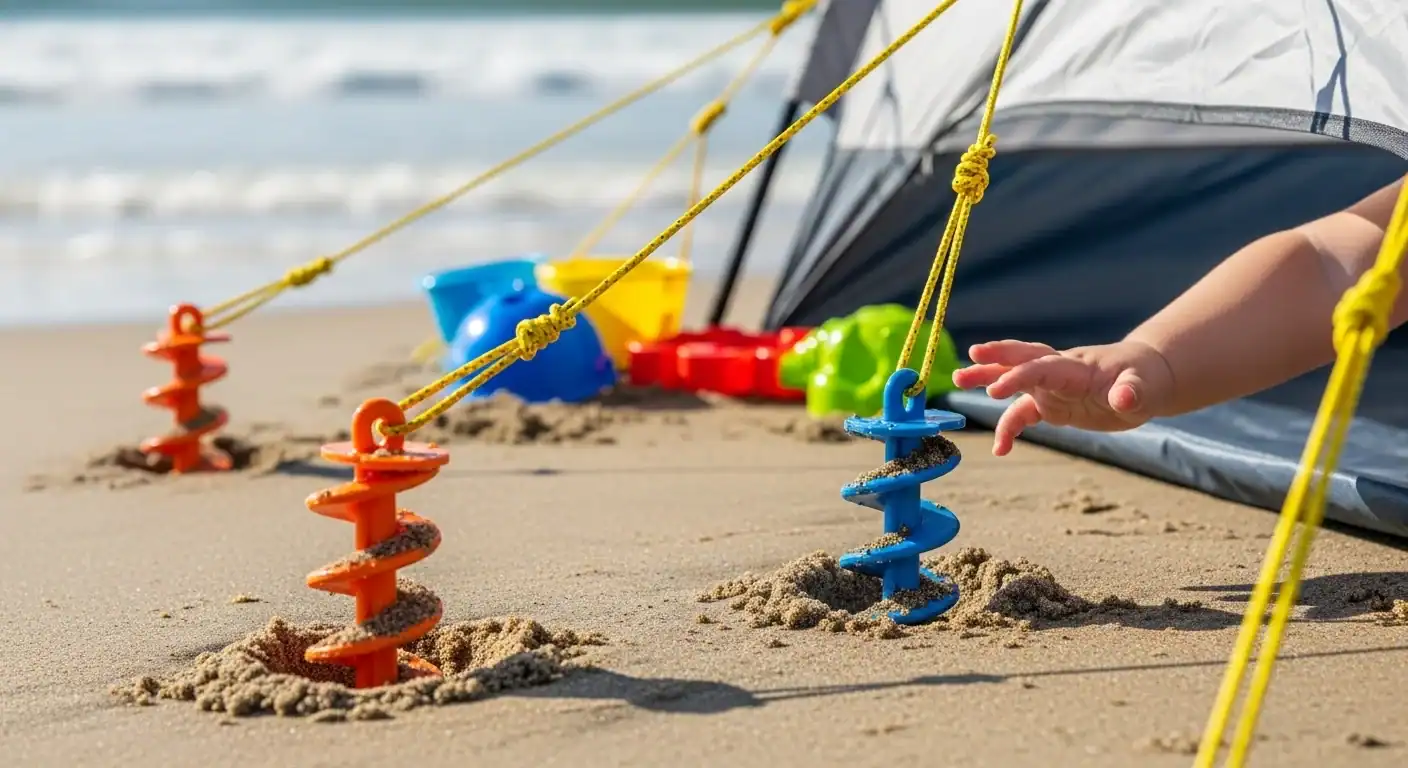
Pooling starts with pitch geometry.
Water pools on a tent fly when the membrane loses the slope built into its design. Staking corners first flattens the ridge and leaves a low belly where rain collects. The 20° to 30° roof slope needed for run-off disappears before the first drop falls.
Flat Roof Geometry and the 1 cm Sag Problem
Staking corners first is the fastest way to flatten a fly. Corner tension pulls the fabric outward instead of up, and the center panel sags. A 1 cm sag can trap 2 to 3 liters of rainwater overnight.
Pooled water adds weight and drags the panel lower. More sag captures more water. The fly becomes its own collection basin, and the seams sit submerged for hours.
Hydrostatic Pressure and Needle Holes
Each seam is a row of needle holes. Water standing on that seam creates hydrostatic pressure that pushes through the stitches over time. Fly fabric alone does not stop this once water has no run-off path.
Factory-sealed PU seam tape rated to 1,500 mm handles rain that sheds off the surface. It is not designed to sit under standing water with no slope and no drainage.
Missing Mid-Panel Guy-Out Points
A fly without mid-panel guy-out loops leaves a large unsupported membrane between the corners. Wet fabric stretches, and without a tie-out pulling the panel up, it sags into a low point.
Buyers auditing OEM spec sheets should check for mid-panel tie-out loops before committing to a private-label tent line. Their absence is a common root cause of pooling that no fabric spec can fix.
Seam Tape vs Pitch Tension
A 1,500 mm PU seam tape spec looks strong on paper. In the field, it leaks when the pitch is too loose to shed water. A seam leak in this condition is a pitch failure, not a tape defect.
At Kelyland’s partner factories, assembly uses a different order. Ridge and mid-panel guy points are set before corner stakes. For heavy rain, the tension sequence starts at the ridge, then mid-panel, then corners. Partner factories operate under ISO 9001:2015, with inspections covering stitching, seam taping, and hardware from prototype through pre-shipment.
The 3-Point Tension Sequence for Rain Setup
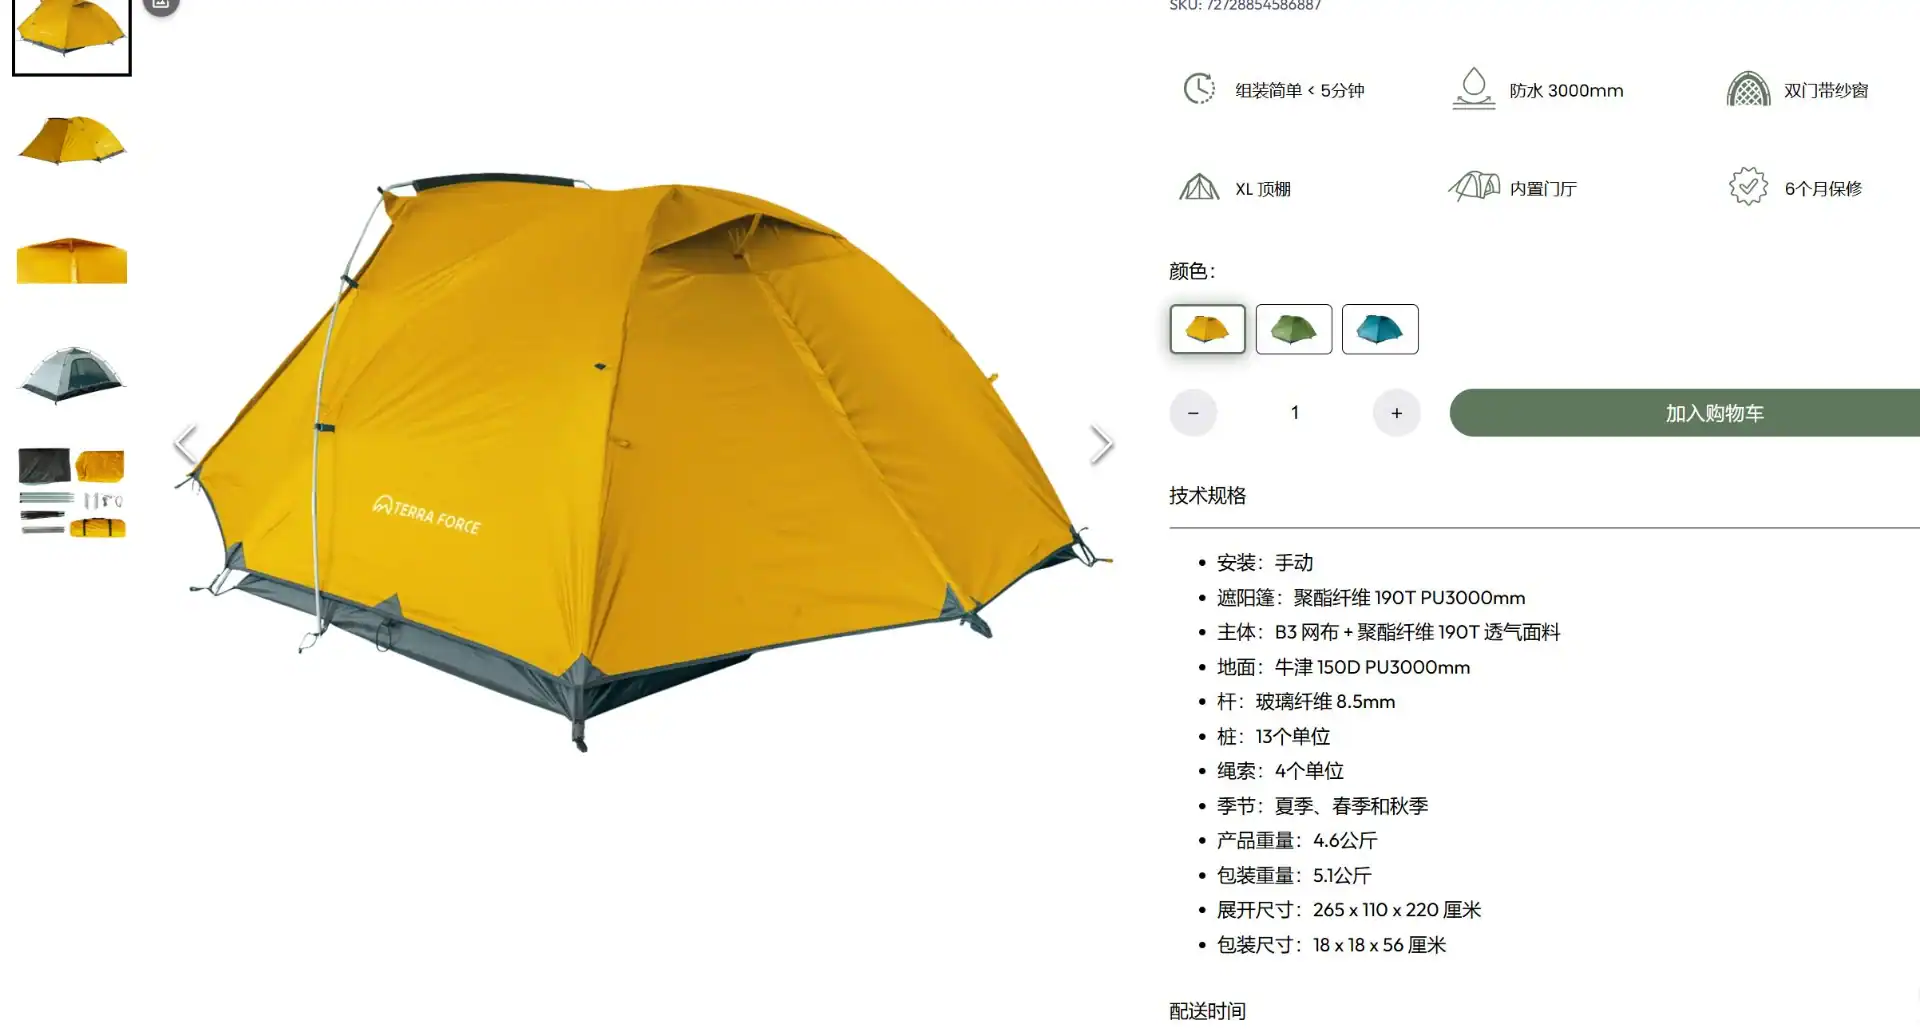
The sequence is ridge → mid-panel → corners.
Most tent owners stake corners first. That single move flattens the fly, kills the 20°–30° roof slope, and creates the exact low point that pools water. Kelyland’s factory assemblers reverse the order: ridge and mid-panel guy points go in before any corner stake. That keeps the membrane taut and gives rain a continuous run-off path.
A pitch that looks fine when dry turns into a 2–3 liter pool overnight when the fabric sags by just 1 cm. This is why a seam leak is often a pitch failure, not a tape failure. Water sitting on a seam for hours can exceed what 1,500 mm PU seam tape handles in dynamic rain.
Ridge First: Establish the High Points
Set the ridge pole or trekking pole high point first. Then locate the mid-panel guy loops and tension those lines before touching the corners. This locks in the slope and creates a drip path. With corners already staked, the membrane cannot rise and the belly stays.
Step 1: Stake the Windward Corner
Drive the stake into the ground at a 20°–30° angle on the windward side. Pull partial tension only — enough to hold the leading edge against gusts, but not so much that it flattens the ridge. Leave slack for the mid-panel lift. Overtensioning this corner is the fastest way to kill the slope.
Step 2: Push Up the Mid-Panel with a Trekking Pole
Adjust a trekking pole to press the mid-panel upward from underneath. Kelyland’s adjustable poles come in 6061/7075 aluminum or 3K carbon fiber with tungsten steel tips, so the pole itself can handle wet ground and repeated force. Lifting the panel by even 1 cm restores the run-off angle and keeps water moving.
Step 3: Pull the Leeward Corner and Lock the Guy Lines
Only after the ridge and mid-panel are set should you tension the leeward corner. Pull it tight enough to remove visible low points, then lock the line with a taut-line hitch or trucker’s hitch. Use high-tensile 3 mm reflective guy cord rated at 5–10 kg breaking strain. Overtightening the windward corner first will make the belly worse.
Finish by walking around the fly. Look for any visible belly or dip where water could collect. The surface should shed water in one unbroken path to the edges. If any low point remains, re-tension the nearest mid-panel guy line before the next rain cell arrives.
What to Look for When Buying a Rain-Ready Tent Fly
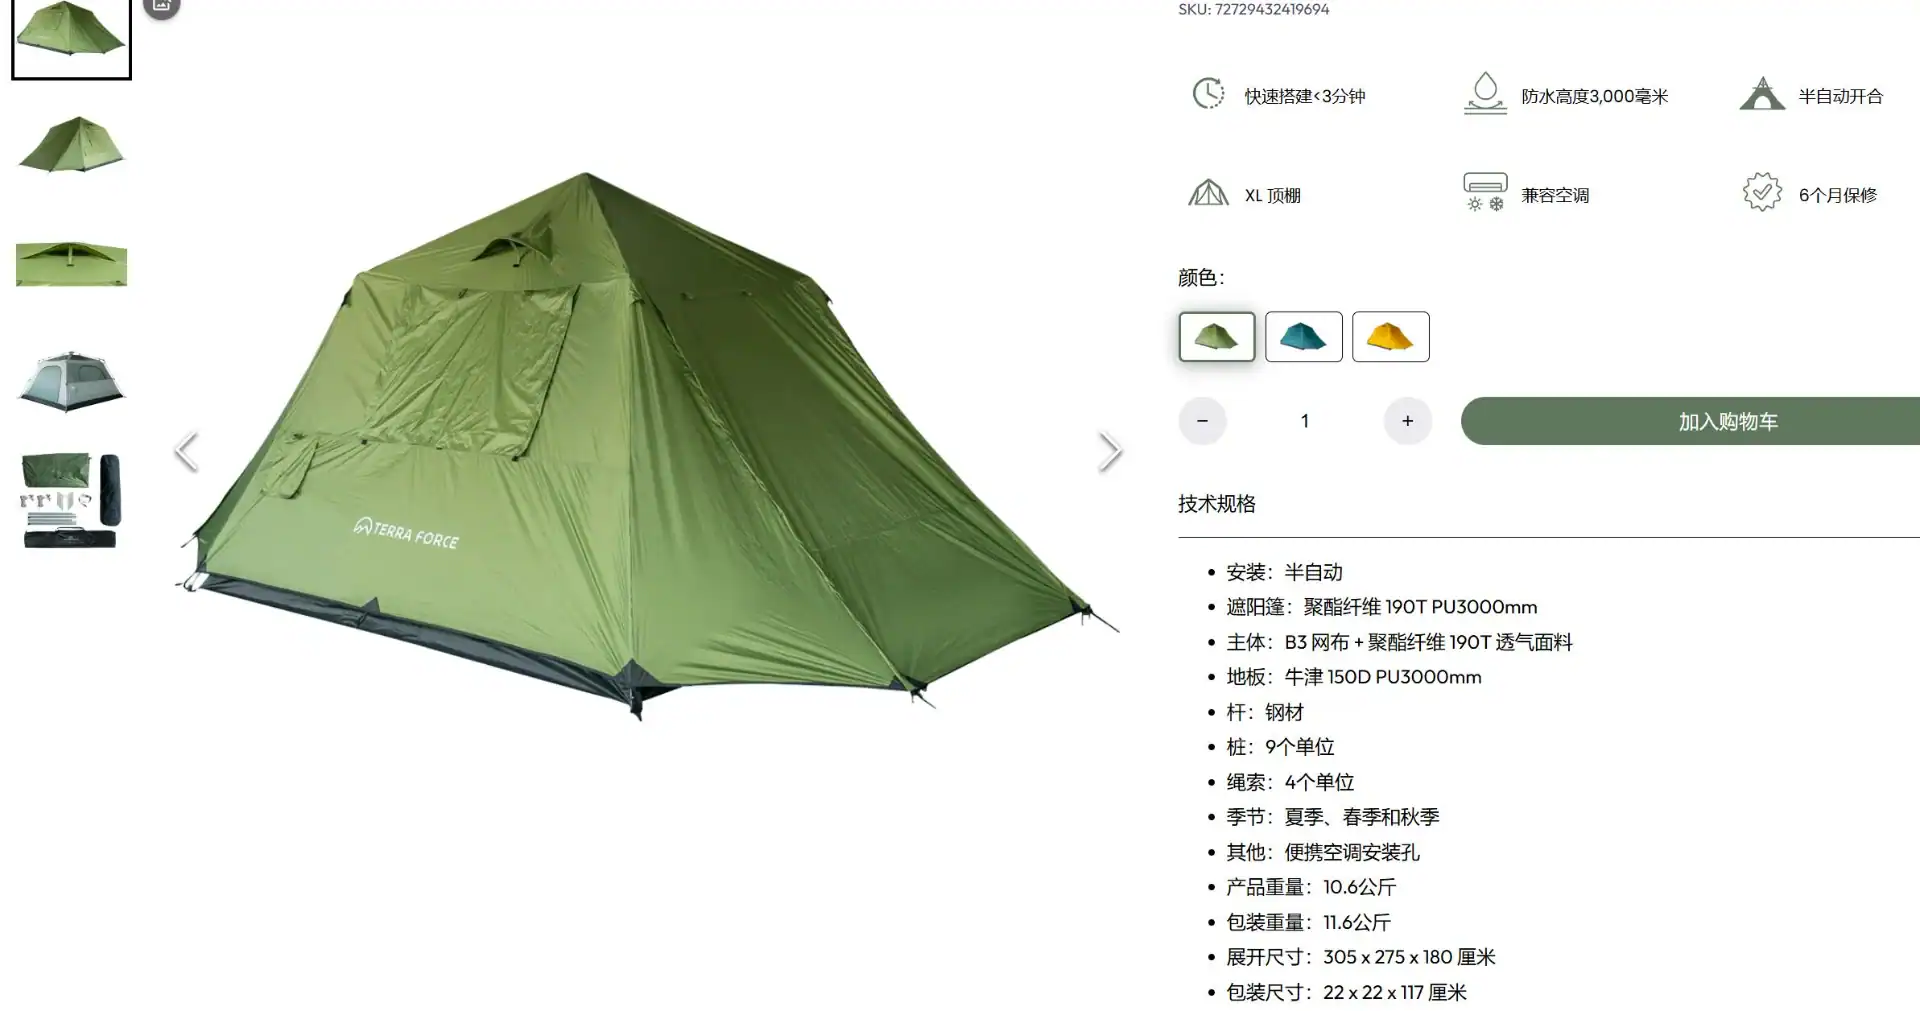
A tent fly that cannot shed water at 20°–30° will pool, no matter how much seam tape you spec.
The fix for tent fly water pooling starts at the spec sheet, not the campsite. A private-label fly needs 68D polyester ripstop with a 1,200–3,000 mm hydrostatic head, factory-sealed PU taped seams, and mid-panel guy-out loops. Without those three, the fly will belly under rain and drive your warranty returns up.
Start with the fabric. 68D polyester ripstop is the practical baseline because it resists tearing without the weight of heavier nylons. The carga hidrostática nominal tells you how much water pressure the coated fabric can hold back before leaking. 1,200 mm covers steady showers; 3,000 mm handles wind-driven downpours. Anything below 1,200 mm should not be marketed as rain-ready.
Las costuras deben estar selladas de fábrica y revisadas
La cinta de PU es el estándar para el sellado de costuras, pero la calidad de la aplicación es lo que evita las filtraciones. La cinta sellada de fábrica debe quedar plana, sin burbujas ni bordes despegados. Una cinta con rating de 1.500 mm fallará igualmente si el voladizo está tenso flojo, porque el agua se acumula sobre la costura durante horas. Por eso, la tensión de montaje es la verdadera primera línea de defensa. Los compradores deben solicitar los registros de inspección de la cinta de costura a la fábrica antes de aprobar la producción en masa.
Lazos y herrajes de anclaje intermedio del panel
Lazos de anclaje intermedio del panel son el único elemento de herraje más pasado por alto. Un voladizo con solo anclajes en las esquinas deja el centro del panel sin soporte. Un hundimiento de 1 cm en ese tramo sin apoyo puede atrapar 2–3 litros de agua de lluvia durante la noche. Ese peso estira la tela, reduce aún más la pendiente y presiona el agua hacia las costuras selladas. Así es como una acumulación “menor” se convierte en una filtración por costura.
El hardware listo para la lluvia también incluye anclajes en las esquinas, cuerda reflectante de 3 mm con una resistencia a la rotura de 5–10 kg y tensores de aluminio o nylon que no se aflojarán cuando estén mojados. La cuerda reflectante es clave para la visibilidad nocturna, pero la resistencia a la rotura evita el hundimiento bajo el peso del agua acumulada.
Quick Field Fixes When Water Starts Pooling
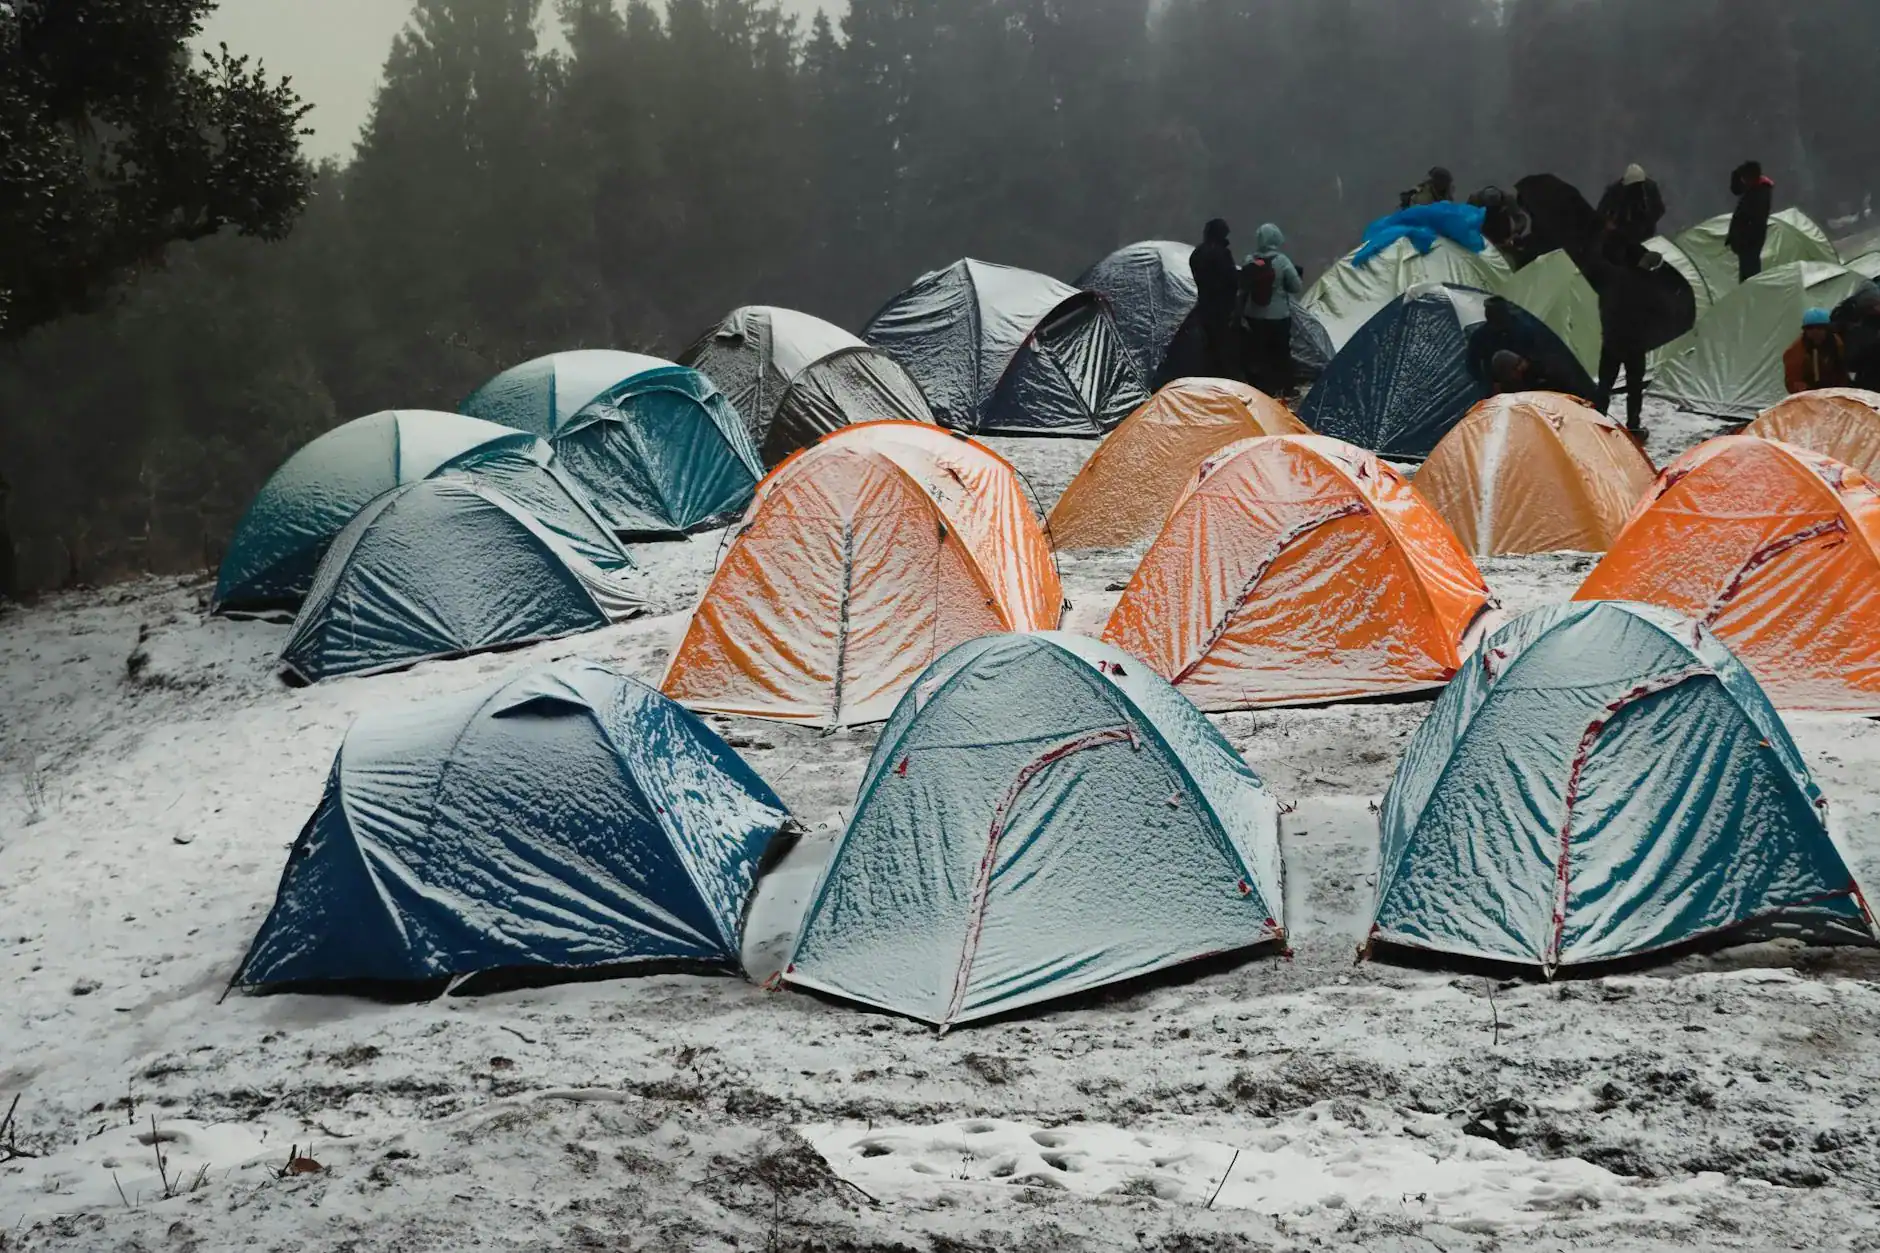
Cuando el agua comienza a acumularse en medio de la tormenta, la solución más rápida es crear un punto alto bajo el vientre, no clavar otra estaca en la esquina.
La lluvia ya te alcanza y el voladizo empieza a forming un vientre. El instinto es agarrar la estaca de la esquina más cercana y tirar fuerte. Ese es exactamente el movimiento equivocado; jalar cualquier esquina aplanará aún más la cresta, lo que profundiza el bolsillo que se está llenando de agua.
Empuja hacia arriba el panel intermedio con un bastón de trekking
Un bastón de trekking ajustable es el punto alto temporal más rápido que tienes. Extiende un bastón de aluminio 6061/7075 o fibra de carbono 3K, coloca la punta debajo del panel con acumulación de agua y empuja hasta que la membrana recupere la pendiente. Solo un hundimiento de 1 cm puede atrapar 2–3 litros de agua de lluvia durante la noche; romper ese bolsillo restaura la vía de evacuación en segundos.
Un palo resistente, una pala o incluso una bolsa seca bien embalada y atada a la línea de cresta funciona en un apuro. El objetivo no es una solución permanente. Se trata de mover el agua fuera del voladizo antes de que la presión hidrostática la obligue a pasar a través de los agujeros de aguja y la cinta de costura.
Aprieta primero la línea de anclaje a barlovento
Con el punto alto sosteniendo, muévete al lado de sotavento —el lado protegido del viento— y tensa esa línea de anclaje. Esto aleja el panel con acumulación de agua del agua estancada y fija la pendiente que acabas de crear. Luego, retira hojas, agujas de pino y residuos que bloqueen el camino de goteo a lo largo del borde del voladizo.
Deja la esquina de barlovento para el final. Si la ajustas primero, estiras la membrana contra el viento, lo que rota el punto más bajo y empeora la acumulacion. La cuerda de sotavento es la que realmente sostiene aqui.
Seca las costuras antes de volver a armar o guardar
Una vez que pase la tormenta, limpia el alero y pasa los dedos por cada costura sellada de fabrica. La cinta PU de 1.500 mm falla cuando el agua se posa sobre la tela suelta durante horas; y cuando el borde comienza a despegarse, la costura esta comprometida. Seca completamente el alero antes de guardarlo para evitar que el moho colonice la cinta y la tela.
Para marcas private-label, esta secuencia de campos pertenece al manual de usuario. Las 17 fabricas estrategicas principales de Kelyland, la mayoria certificadas ISO 9001:2015, realizan inspecciones de costuras y encolarado en cada etapa de produccion; pero ningun informe de control de calidad subsana un alero armado sin soporte central. La fabrica construye la base preparada para la lluvia; el usuario final aun tiene que armarlo bien.
Conclusión
Un alero que escupe el agua en lugar de acumularla comienza con una pendiente de techo de 20°–30° y una secuencia de tension inicio con el ridge que la preserva. Cuando la membrana permanece tensa, la cinta de costura de 1.500 mm aguanta; cuando aparece la caída, una panza de 1 cm puede atrapar 2–3 litros durante la noche y convertir un fallo en campo en un devolucion por garantia. La geometria y la tension hacen el trabajo real, y la ficha tecnica solo necesita respaldarlas.
- Arma los puntos de tirantes del ridge y el panel central antes de estacar las esquinas para mantener una pendiente de 20°–30°.
- Una caída de 1 cm atrapa 2–3 litros de agua de lluvia y fuerza la filtracion por las costuras a traves de los agujeros de aguja.
- Especificación poliester 68D ripstop con 1.200–3.000 mm cabeza hidrostática y cinta de costura PU sellada.
- Usa cuerda reflectante de 3 mm para tirantes, con resistencia a la rotura de 5–10 kg, para el bloqueo de sotavento.
Antes de aprobar tu siguiente muestra OEM, compara la geometria del patron y el hardware contra estos valores de referencia: laszas de traccion central, ripstop de 68D y una pendiente medida del techo superior a 20°. Explora las opciones de carpas y bastones de trekking de Kelyland Outdoors, y solicita la lista de verificacion de QC de simulacion de lluvia con tu proximo lote de muestras para que los defectos de acumulacion aparezcan antes de la produccion, no despues de la primera prueba de lluvia del cliente.
Preguntas frecuentes
¿Por qué la cubierta de mi tienda tiene goteras en las costuras?
Las costuras tienen fugas porque el agua se acumula sobre la tela floja y se asienta sobre la cinta de la costura. Con una pendiente de 20°–30° y tensado primero desde la cumbrera, el agua se escurre antes de llegar a la costura. Verifique primero el ángulo de inclinación si aparece una fuga en la costura.
¿Cuánta inclinación debe tener el toldo de una tienda de campaña?
Un toldo de tienda necesita una pendiente de techo de 20°–30°. Cualquier cosa más plana crea un vientre plano que atrapa agua de lluvia, especialmente cuando las estacas de las esquinas se colocan primero. Ajuste la tensión de la cumbrera y del panel central antes que las esquinas.
Can you set up a tent fly without the inner tent?
Yes. Setting up the fly first protects the inner tent from rain. Use this method in steady rain to keep the inner dry.
Why does rain pool on my tent fly?
Rain pools because the fly membrane loses slope. Corner-first staking, missing mid-panel guy-outs, and loose leeward tension leave low spots that hold water. Pitch ridge-first and confirm mid-panel tie-outs on any OEM spec.
What is the best knot for tent fly guy lines?
Un nudo corredizo o trucker's hitch es lo mejor porque permite ajustar la tension sin desatar. Combinalo con cuerda reflectante de 3 mm de alta resistencia para evitar que la linea se curve en condiciones humedas. Vuelve a tensar el alero despues de que absorba humedad.

 English
  Español
  Deutsch
  Français
  Português do Brasil
  Русский
  العربية
  한국어
한국어  日本語
日本語