 跳到内容
跳到内容 
One centimeter of fabric sag traps two to three liters of rainwater overnight. The tent fly water pooling fix starts with geometry, not fabrics: a fly needs a 20° to 30° roof slope to shed rain, and anything flatter creates a belly that holds water. A $50K private-label order can pass 。 looking perfect in a dry showroom, then collect water on its third night of real rain.
The failure usually traces back to setup order, not material spec. Factory assemblers set the ridge and mid-panel guy points before staking corners; most end users stake corners first and flatten the roof in the process. Once a flat belly forms, even factory-sealed PU tape rated at 1,500 mm can fail — water sits on the seam for hours and pushes through needle holes. That’s a pitch tension failure, not a tape defect.
Buyers who skip this distinction pay for it in warranty returns. The fix costs almost nothing at the design stage — mid-panel guy-out loops and 3 mm reflective cord with a 5–10 kg breaking strain add cents to the unit price, not dollars. Without them, a 1 cm sag collects 2 to 3 liters overnight. Seam leak complaints roll in, and the return rate on a first-season tent launch can erase whatever margin FOB pricing promised.
Why Water Pools on a Tent Fly
Pooling starts with pitch geometry.
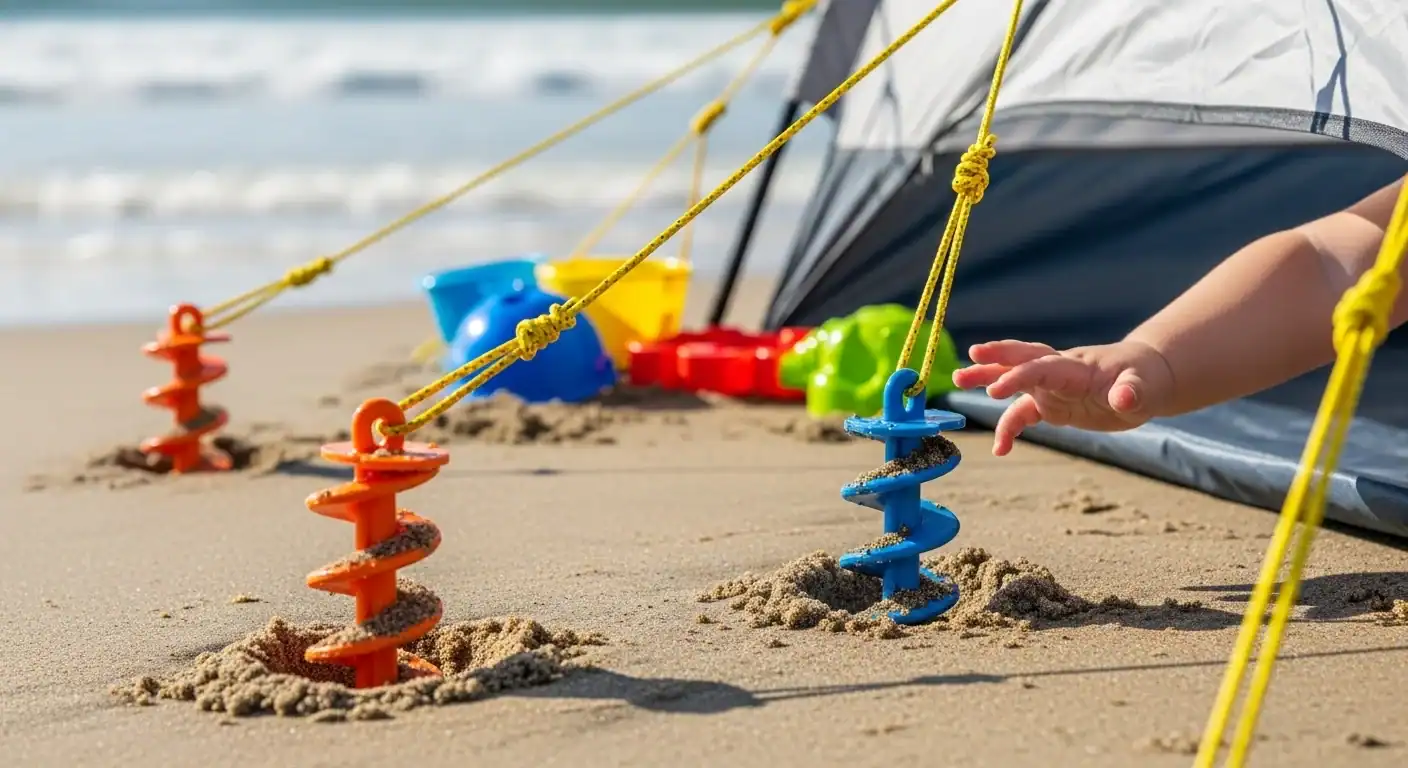
Water pools on a tent fly when the membrane loses the slope built into its design. Staking corners first flattens the ridge and leaves a low belly where rain collects. The 20° to 30° roof slope needed for run-off disappears before the first drop falls.
Flat Roof Geometry and the 1 cm Sag Problem
Staking corners first is the fastest way to flatten a fly. Corner tension pulls the fabric outward instead of up, and the center panel sags. A 1 cm sag can trap 2 to 3 liters of rainwater overnight.
Pooled water adds weight and drags the panel lower. More sag captures more water. The fly becomes its own collection basin, and the seams sit submerged for hours.
Hydrostatic Pressure and Needle Holes
Each seam is a row of needle holes. Water standing on that seam creates hydrostatic pressure that pushes through the stitches over time. Fly fabric alone does not stop this once water has no run-off path.
Factory-sealed PU seam tape rated to 1,500 mm handles rain that sheds off the surface. It is not designed to sit under standing water with no slope and no drainage.
Missing Mid-Panel Guy-Out Points
A fly without mid-panel guy-out loops leaves a large unsupported membrane between the corners. Wet fabric stretches, and without a tie-out pulling the panel up, it sags into a low point.
Buyers auditing OEM spec sheets should check for mid-panel tie-out loops before committing to a private-label tent line. Their absence is a common root cause of pooling that no fabric spec can fix.
Seam Tape vs Pitch Tension
A 1,500 mm PU seam tape spec looks strong on paper. In the field, it leaks when the pitch is too loose to shed water. A seam leak in this condition is a pitch failure, not a tape defect.
At Kelyland’s partner factories, assembly uses a different order. Ridge and mid-panel guy points are set before corner stakes. For heavy rain, the tension sequence starts at the ridge, then mid-panel, then corners. Partner factories operate under ISO 9001:2015, with inspections covering stitching, seam taping, and hardware from prototype through pre-shipment.
The 3-Point Tension Sequence for Rain Setup
The sequence is ridge → mid-panel → corners.
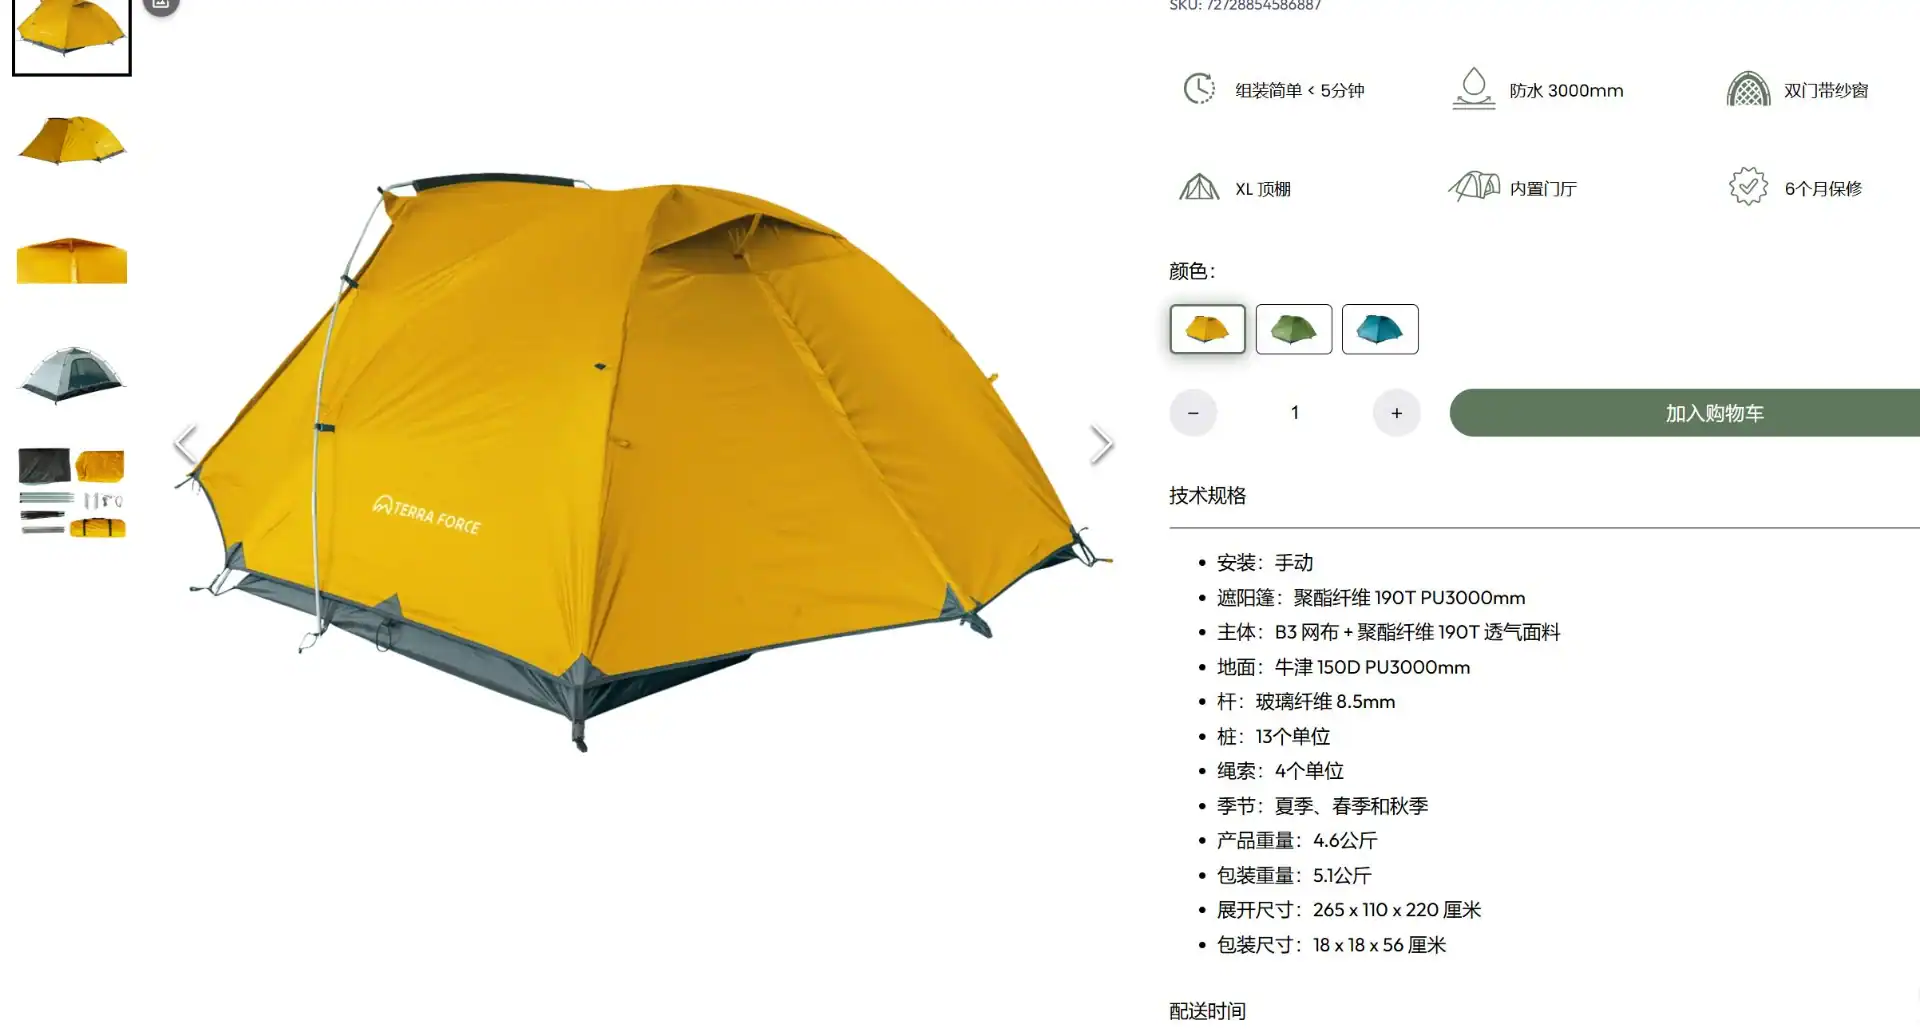
Most tent owners stake corners first. That single move flattens the fly, kills the 20°–30° roof slope, and creates the exact low point that pools water. Kelyland’s factory assemblers reverse the order: ridge and mid-panel guy points go in before any corner stake. That keeps the membrane taut and gives rain a continuous run-off path.
A pitch that looks fine when dry turns into a 2–3 liter pool overnight when the fabric sags by just 1 cm. This is why a seam leak is often a pitch failure, not a tape failure. Water sitting on a seam for hours can exceed what 1,500 mm PU seam tape handles in dynamic rain.
Ridge First: Establish the High Points
Set the ridge pole or trekking pole high point first. Then locate the mid-panel guy loops and tension those lines before touching the corners. This locks in the slope and creates a drip path. With corners already staked, the membrane cannot rise and the belly stays.
Step 1: Stake the Windward Corner
Drive the stake into the ground at a 20°–30° angle on the windward side. Pull partial tension only — enough to hold the leading edge against gusts, but not so much that it flattens the ridge. Leave slack for the mid-panel lift. Overtensioning this corner is the fastest way to kill the slope.
Step 2: Push Up the Mid-Panel with a Trekking Pole
Adjust a trekking pole to press the mid-panel upward from underneath. Kelyland’s adjustable poles come in 6061/7075 aluminum or 3K carbon fiber with tungsten steel tips, so the pole itself can handle wet ground and repeated force. Lifting the panel by even 1 cm restores the run-off angle and keeps water moving.
Step 3: Pull the Leeward Corner and Lock the Guy Lines
Only after the ridge and mid-panel are set should you tension the leeward corner. Pull it tight enough to remove visible low points, then lock the line with a taut-line hitch or trucker’s hitch. Use high-tensile 3 mm reflective guy cord rated at 5–10 kg breaking strain. Overtightening the windward corner first will make the belly worse.
Finish by walking around the fly. Look for any visible belly or dip where water could collect. The surface should shed water in one unbroken path to the edges. If any low point remains, re-tension the nearest mid-panel guy line before the next rain cell arrives.
What to Look for When Buying a Rain-Ready Tent Fly
A tent fly that cannot shed water at 20°–30° will pool, no matter how much seam tape you spec.
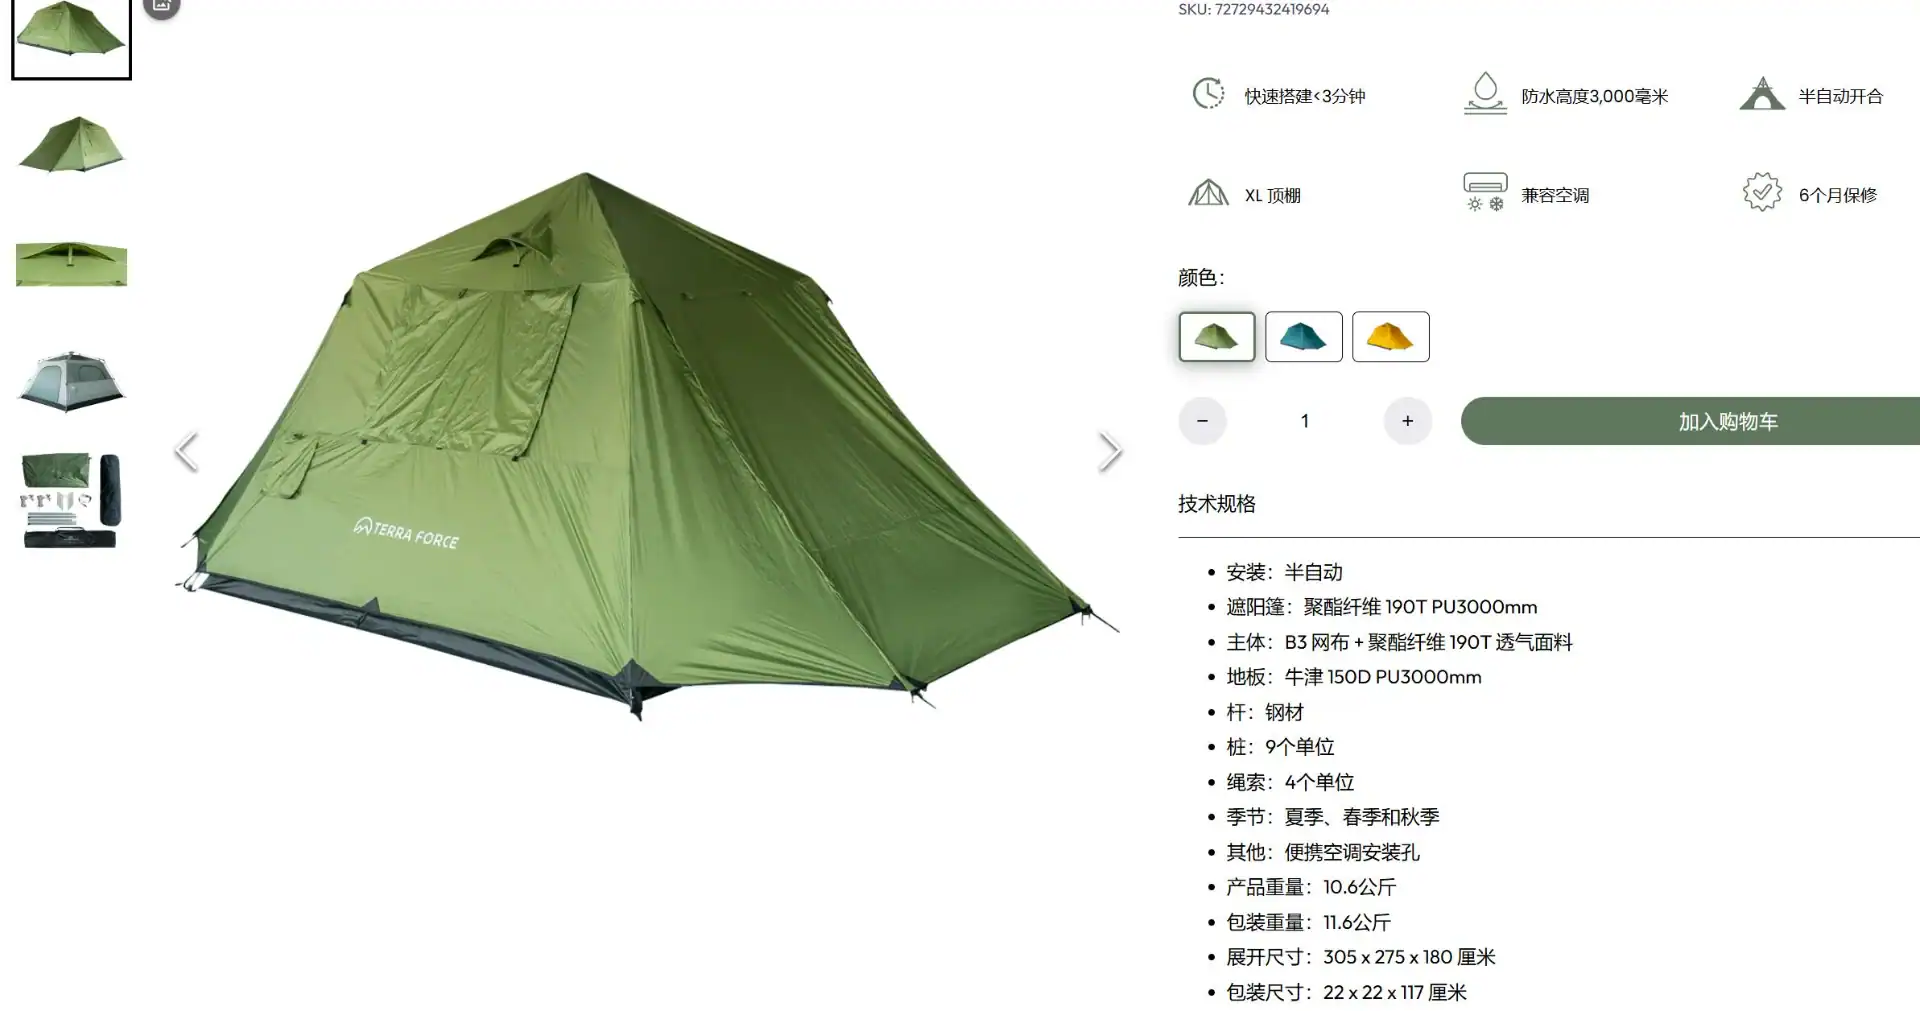
The fix for tent fly water pooling starts at the spec sheet, not the campsite. A private-label fly needs 68D polyester ripstop with a 1,200–3,000 mm hydrostatic head, factory-sealed PU taped seams, and mid-panel guy-out loops. Without those three, the fly will belly under rain and drive your warranty returns up.
Start with the fabric. 68D polyester ripstop is the practical baseline because it resists tearing without the weight of heavier nylons. The 耐水圧定格 tells you how much water pressure the coated fabric can hold back before leaking. 1,200 mm covers steady showers; 3,000 mm handles wind-driven downpours. Anything below 1,200 mm should not be marketed as rain-ready.
シームは工場密封かつ検査済みであること
PUテープはシームシーリングの標準ですが、漏れを防ぐのは施工品質です。工場密封テープは気泡や縁の浮きがないよう平坦でなければなりません。フライが緩く張られていると、1,500mmのテープ等級でも数時間水が溜まるため機能しません。つまり、張力管理が真の第一防御線なのです。.buyerは量産承認前に工場からシームテープ検査記録を提出させるべきです。.
中間パネルのガイアウトループとハードウェア
中間パネルのガイアウトループ は最も見過ごされがちなハードウェア機能です。コーナーの固定ポイントのみではパネル中央が unsupported になります。その unsupported な区間に1cmのたわみが生じると、一夜で2〜3リットルの雨水が溜まります。その重みが生地を伸ばし勾配をさらに下げ、タッピースームに圧力をかけます。これが「わずかな」 pooling をシーム漏水に変えるメカニズムです。.
降雨時対応のハードウェアには、コーナータイアウト、 breaking strain 5〜10kgの3mm反射ガイコード、そして濡れても緩まないアルミニウムまたはナイロン製テンショナーが含まれます。反射コードは夜間の視認性に重要ですが、 pooling 重量によるたわみを防ぐのは breaking strain です。.
Quick Field Fixes When Water Starts Pooling
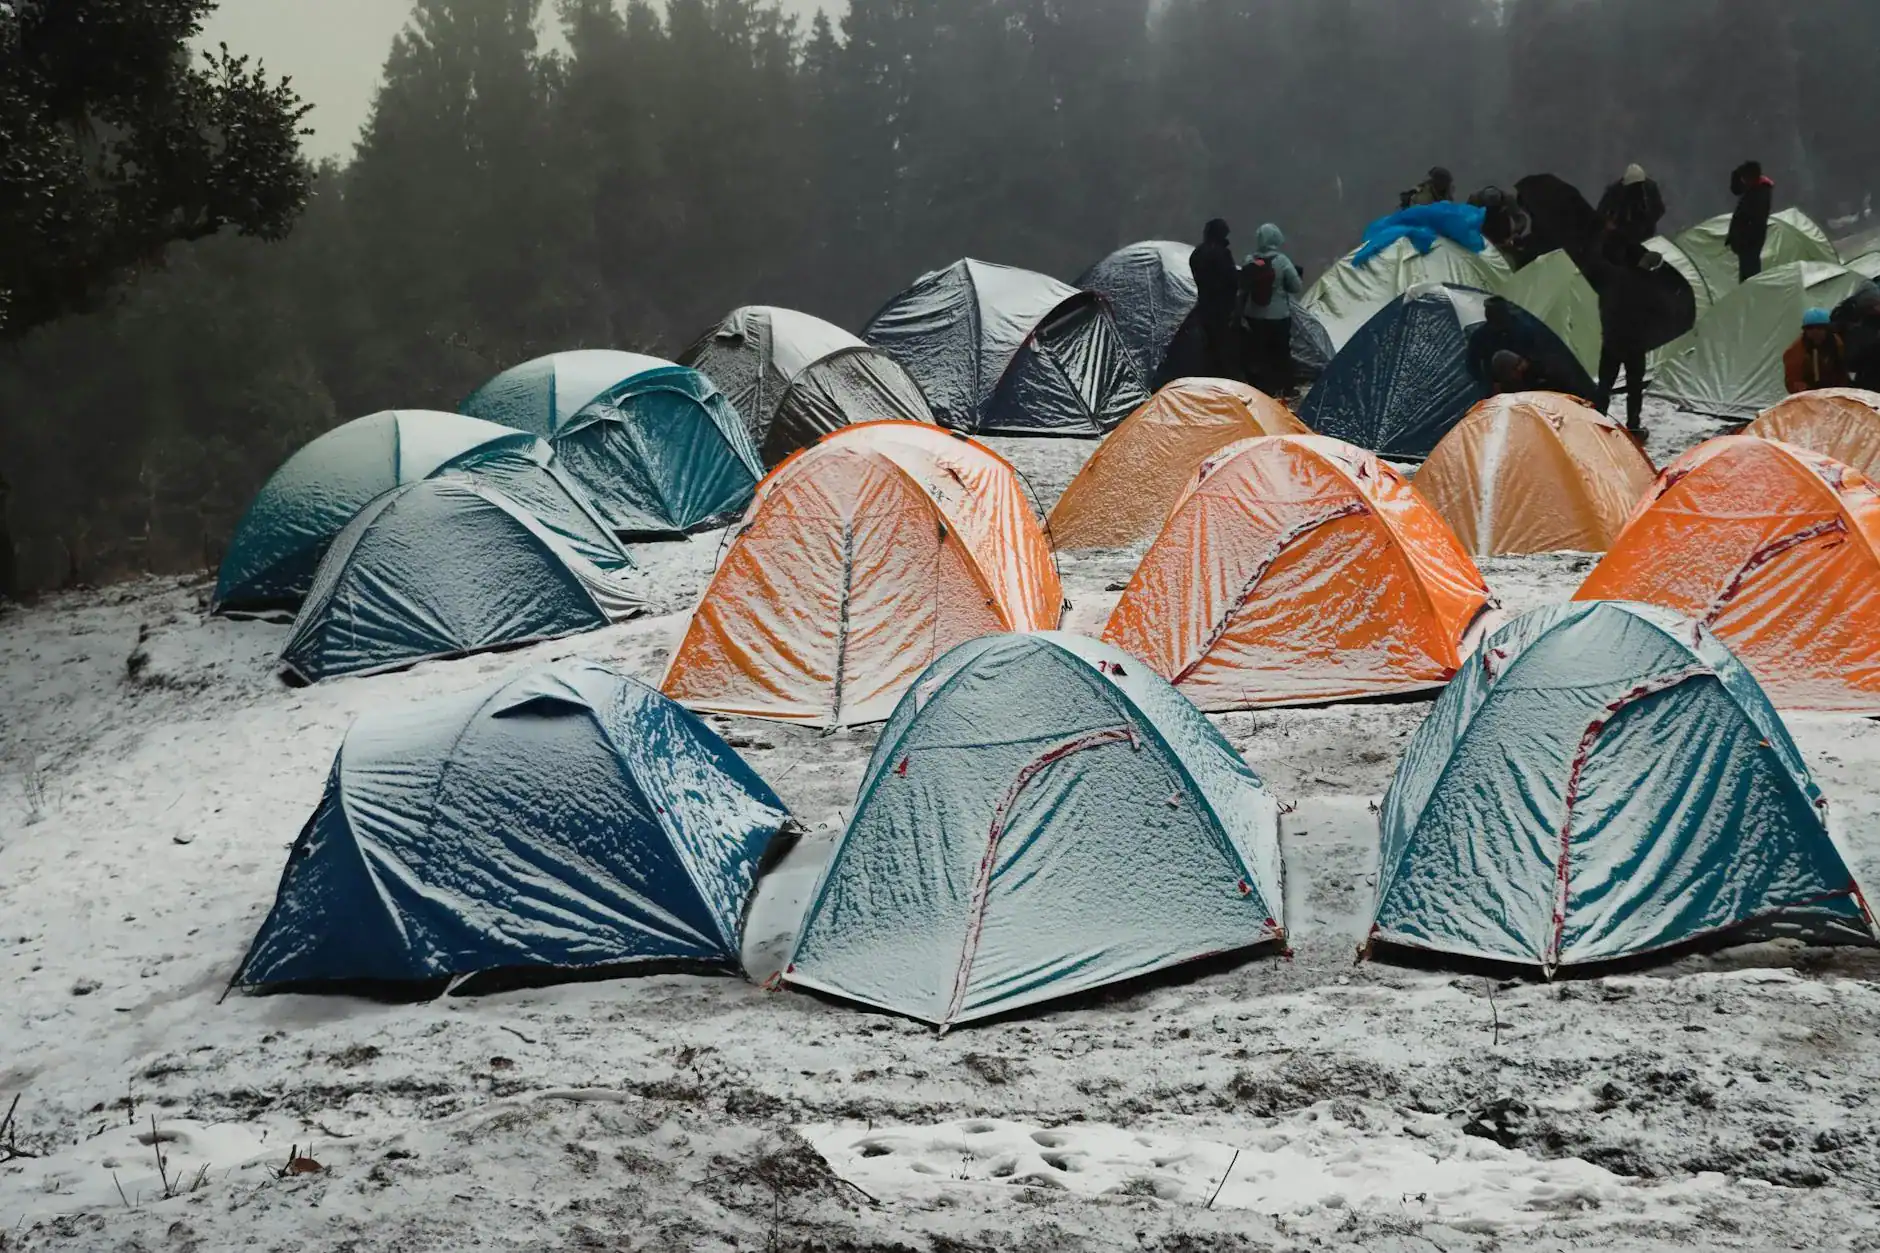
storm中に水が pooling し始めた場合、最速の対処法はもう一つのコーナー stake ではなく、ベリーの下の高点を作成することです。.
すでに雨が降り注ぎ、フライがたわみ始めています。本能はその場で最も近いコーナー stake を掴んで引っ張ることですが、これが完全な誤りです。どのコーナーを引いてもリッジがさらに平たくなり、水がたまるポケットが深くなります。.
中間パネルをトレッキングポールで押し上げる
ある アジャスタブルトレッキングポール が即座に作成できる最速の仮想的な高点です。6061/7075アルミニウムまたは3Kカーボンファイバー製のポールを伸ばし、 tipping しているパネルの下にチップを位置づけ、膜に勾配が戻るまで押し上げます。わずか1cmのたわみでも一夜で2〜3リットルの雨水を閉じ込めます — そのポケットを壊すことで、数秒で排水経路を回復できます。.
頑丈な枝、パドル、あるいはリッジラインに縛り付けた詰め込み済みのドライバッグでも代用可能です。目標は恒久的修理ではありません。浸水静水圧が針穴やシームテープを通過させる前に、フライ上の水流を再開させることです。.
風下側のガイラインを先に張る
高点が保持できたら、風下側 — 風から守られる側 — に移動し、そのガイラインを張ります。これにより pooling パネルが湛水から離れ、先ほど作成した勾配が固定されます。その後、フライ端沿いの drip path を塞いでいる葉、松ぼっくり、落下物を取り除きます。.
風当たり側のコーナーは最後に行います。先に締めてしまうと膜が風に引っ張られて緊張状態になり、低くなりがちな部分が回転して、腹落ちが悪化します。重要な役割を果たすのは、風下側のラインです。.
再設営時および収納前のシーミングチェック
暴風が去ったらフライシートを拭き、工場出荷時に施工されたすべてのシームに沿って指で確認してください。1,500mm耐圧等級のPUテープは、緩んだ生地に水滴が何時間も付着していると剥離します。一度縁が浮き始めたら、シームの防水性は損なわれます。カビがテープや生地に入らないよう、収納前にフライシートを完全に乾燥させてください。.
例えば プライベートラベルブランド, この項目はユーザーマニュアルに記載すべきです。Kelylandの17拠点の中核戦略工場はISO 9001:2015認証の大半を取得し、生産工程の各段階でステッチとシーミングテープの検査を行いますが、クォリティレポートは、ミッドパネル支えなしで設営されたフライを救うことはできません。工場は防水性能のベースラインを整備しますが、最終的な正しい設営はエンドユーザーの責任です。.
結論
水たまりを作らず水を弾くフライは、20°~30°の屋根勾配と、その勾配を維持するリッジファーストのテンションセットアップから始まります。膜が張った状態であれば1,500mmのシームテープは機能しますが、 sagが発生すると1cmのたわみだけで一晩に2~3リットルを溜め込み、野外での失敗を warranty 対象の返品へと変えます。真に重要なのは形状とテンションであり、スペックシートはそれらをサポートするものでなければなりません。.
- 20°~30°の勾配を維持するため、コーナー stakes 固定の前にリッジとミッドパネルのガイラインを先に設定してください。.
- 1cmのたわみは2~3リットルの雨水を閉じ込め、縫針の穴からシーム leaks を引き起こします。.
- 仕様 68Dポリエステルリップストップ 1,200~3,000mm 静水圧ヘッド かつシール加工されたPUシームテープ。.
- 風下側のロックには、破断強度5~10kgに対応した3mm反射材入りガイコードを使用してください。.
次のOEMサンプル承認に際しては、パターン形状とハードウェアを以下の閾値と比較してください:ミッドパネルガイアウトループ、68Dリップストップ、そして測定済み屋根勾配20°以上。Kelyland Outdoors のテントやトレッキングポールシリーズを閲覧し、次回サンプル試作時に降雨模擬QCチェックリストを依頼してください。これにより、初回顧客テスト後の課題化を防ぎ、プール(水たまり)欠陥を生産前に表面化できます。.
よくある質問
テントのフライが縫い目から水漏れするのはなぜですか?
縫い目からの漏れは、水がたるんだ布地に溜まり、シームテープの上に留まることで発生します。20度から30度の傾斜をつけ、尾根側を先に張ることで、水は縫い目に達する前に流れ落ちます。縫い目から漏れが発生した場合は、まず設置角度を確認してください。.
テントのフライにはどのくらいの傾斜が必要ですか?
テントフライには20°~30°の屋根勾配が必要です。それより緩いと平らな腹部ができ、特にコーナーペグを先に打つと雨水が溜まります。コーナーより先に、リッジとパネル中央の張りを設定してください。.
Can you set up a tent fly without the inner tent?
Yes. Setting up the fly first protects the inner tent from rain. Use this method in steady rain to keep the inner dry.
Why does rain pool on my tent fly?
Rain pools because the fly membrane loses slope. Corner-first staking, missing mid-panel guy-outs, and loose leeward tension leave low spots that hold water. Pitch ridge-first and confirm mid-panel tie-outs on any OEM spec.
What is the best knot for tent fly guy lines?
テンション調整に糸解き不要なターリンク hitch またはトラックラー hitch が最適です。湿潤条件下でのラインのたわみを防ぐため、高張力3mm反射コードと組み合わせてください。コードが水分を吸収した後は再テンションをかけ直してください。.

 English
  Español
  Deutsch
  Français
  Português do Brasil
  Русский
  العربية
  한국어
한국어  日本語
日本語