 跳到内容
跳到内容 
wagon fabric printing is the first checkpoint buyers should lock before they approve a supplier, budget, or production slot. The operator at the складной вагон line in Jinhua presses a logo onto a pre-cut Oxford panel and checks for registration drift. That same afternoon, a buyer approves a sample photo from a sales call and assumes the production run will match. The gap between those two moments is where most private label wagon printing MOQ conversations break down — because the print method that looked perfect on a flat swatch behaves differently once the fabric is sewn into a side pocket or folded across a crease point.
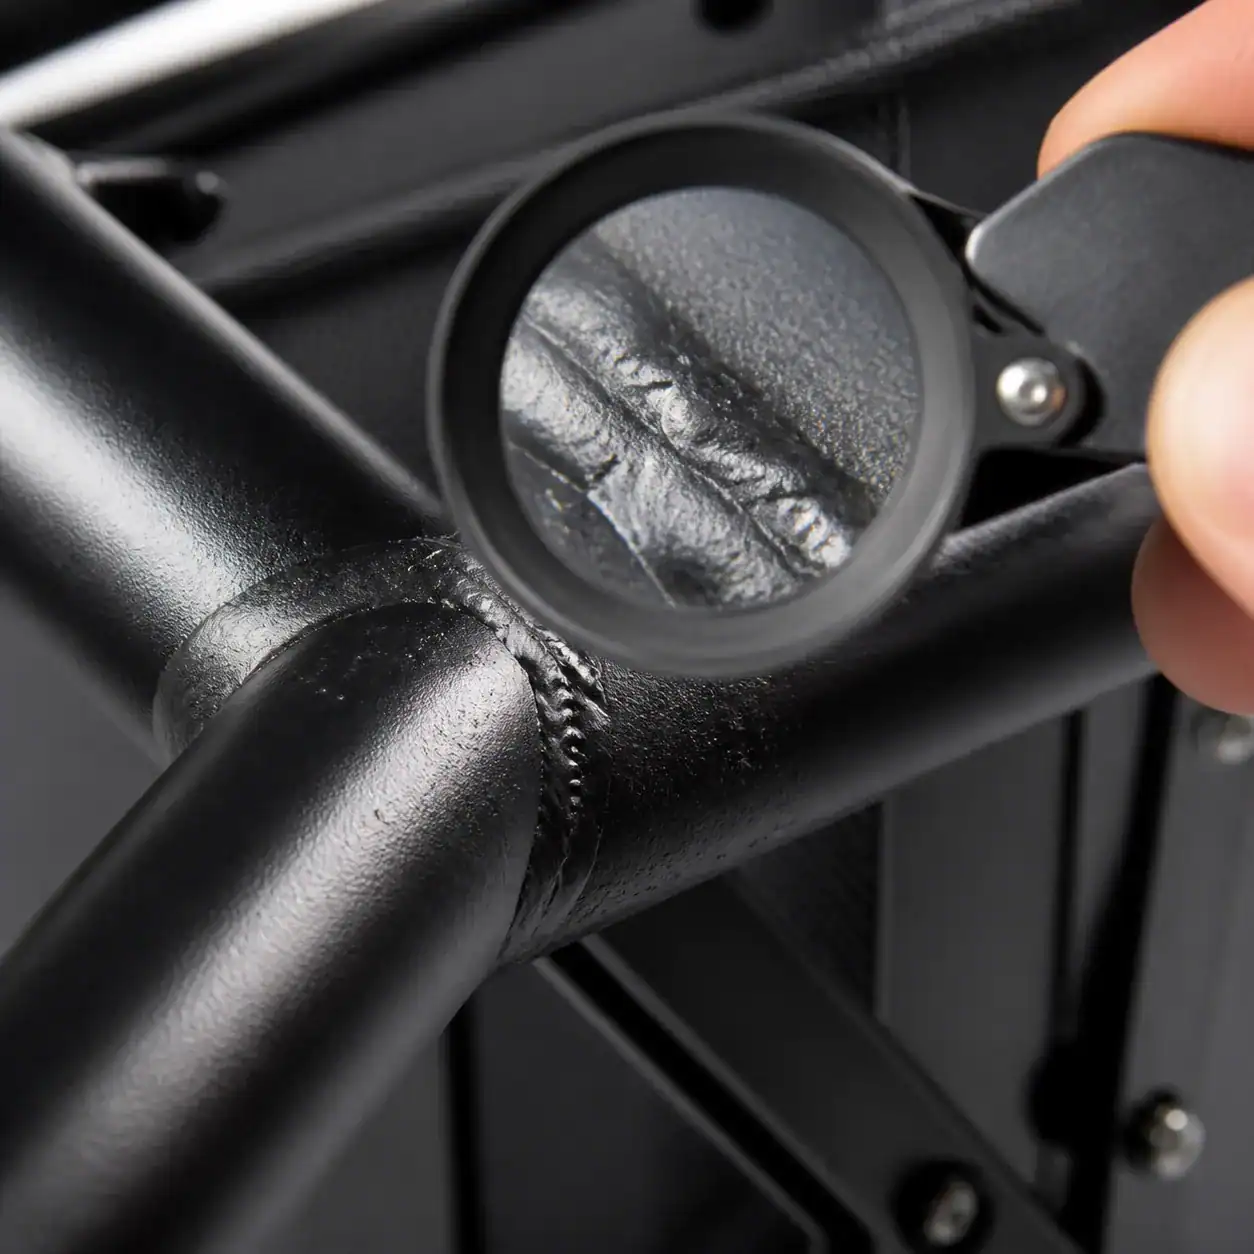
I have watched buyers lose weeks on rework because they approved a silk-screen sample on raw fabric, then discovered the print distorted when stretched over the wagon frame during assembly. Silk-screen works well on flat pre-cut panels before sewing — it holds up better on 600D Oxford than thermal transfer does — but it cannot print over zippers or straps. Thermal transfer lets buyers run one-off logos and hit lower MOQs, which is why Amazon sellers lean on it. But peel at fold creases shows up after ten to fifteen fold cycles if the supplier did not lock the adhesion temperature correctly. Digital printing solves gradient artwork but adds $1.50 to $3.00 per unit at low volume, and on dark fabrics an extra white underbase layer is required that stiffens the panel by roughly 0.2 mm.
Before you commit to a method, ask three yes-or-no questions: Does your artwork require Pantone matching across multiple side panels? Will the printed area sit on a fold line or seam junction? And can your supplier provide a twenty-cycle fold abrasion test result before approving mass production? If any answer is no, you need to revisit the technique — because what looks clean in a showroom photo may not survive its first trip through a customer’s trunk.
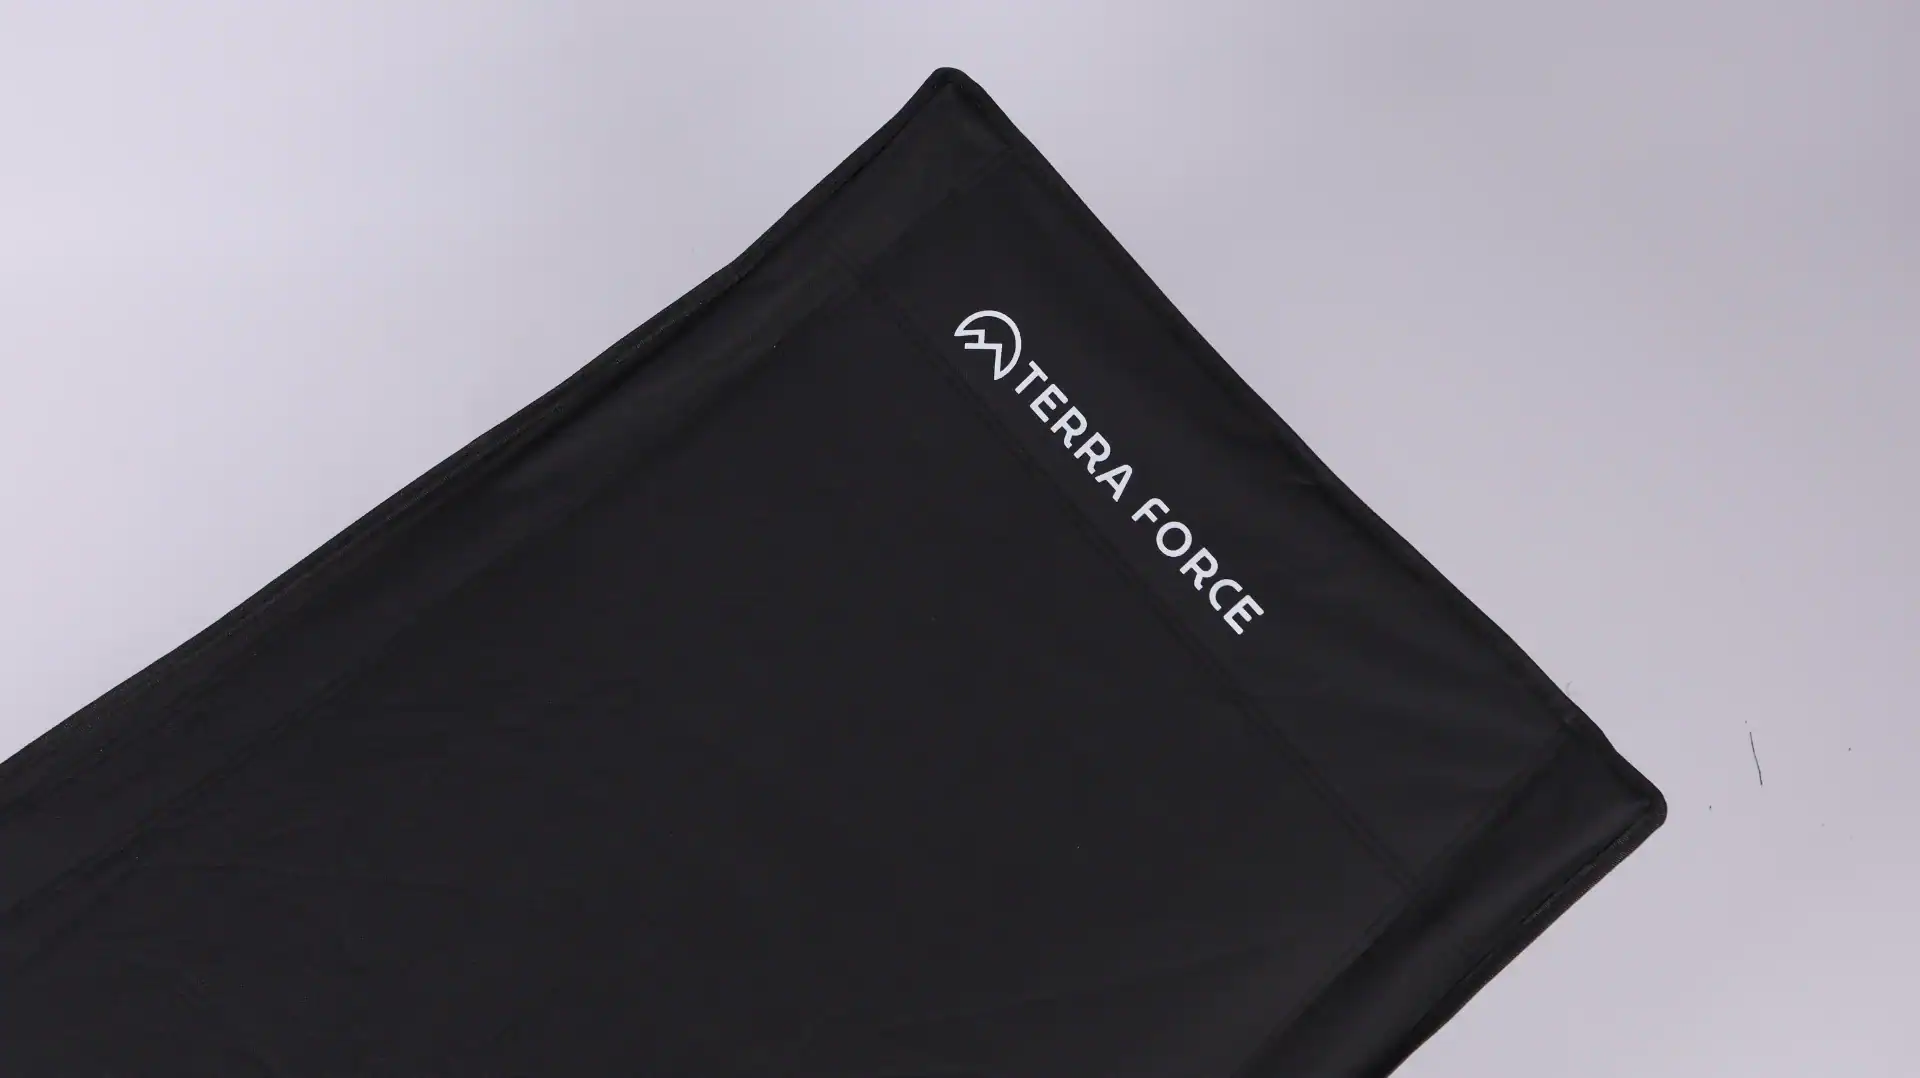
Selecting a Print Method for Wagon Fabric
Silk-screen on flat pre-cut panels outlasts thermal transfer by 3x at fold creases.
A brand manager once told me his custom logo folding wagon arrived with a crisp logo on the sample, then peeled at every fold line after three beach trips. That’s the difference between printing on a flat panel versus printing across a sewn seam. The method you choose determines not just how the logo looks on day one, but whether it survives the first season of retail use.
Silk-Screen vs Thermal Transfer vs Digital
Silk-screen works best on flat pre-cut panels before sewing. On 600D Oxford fabric — the standard material for folding wagon side walls — silk-screen ink bonds into the weave rather than sitting on top. That’s why it holds up through repeated fold cycles. The catch: you can’t print over zippers, straps, or assembled seams because the screen requires a uniform surface. The print area must be planned before the panel gets stitched into the wagon body.
Thermal transfer is popular among Amazon sellers testing a private label wagon printing MOQ as low as 50-100 pieces per design. The process uses heat to fuse a pre-printed film onto the fabric. It allows one-off logos and quick color changes without screen fees. But here’s what most guides won’t tell you: thermal transfer peels at fold creases after 10-15 fold cycles. If your wagon folds flat for storage — and most do — that crease line becomes a failure point. Always specify a 20-cycle fold abrasion test in your quality tolerance agreement.
Digital printing handles photo-realistic gradients and multi-color artwork that silk-screen can’t match without multiple screens. For a wagon with a gradient sunset logo or detailed brand illustration, digital is the only option that keeps detail sharp. The trade-off is cost: digital adds $1.50 to $3.00 per wagon at low volume because each unit requires individual inkjet coverage rather than批量 production through a single screen pass.
Pantone Matching Accuracy by Method
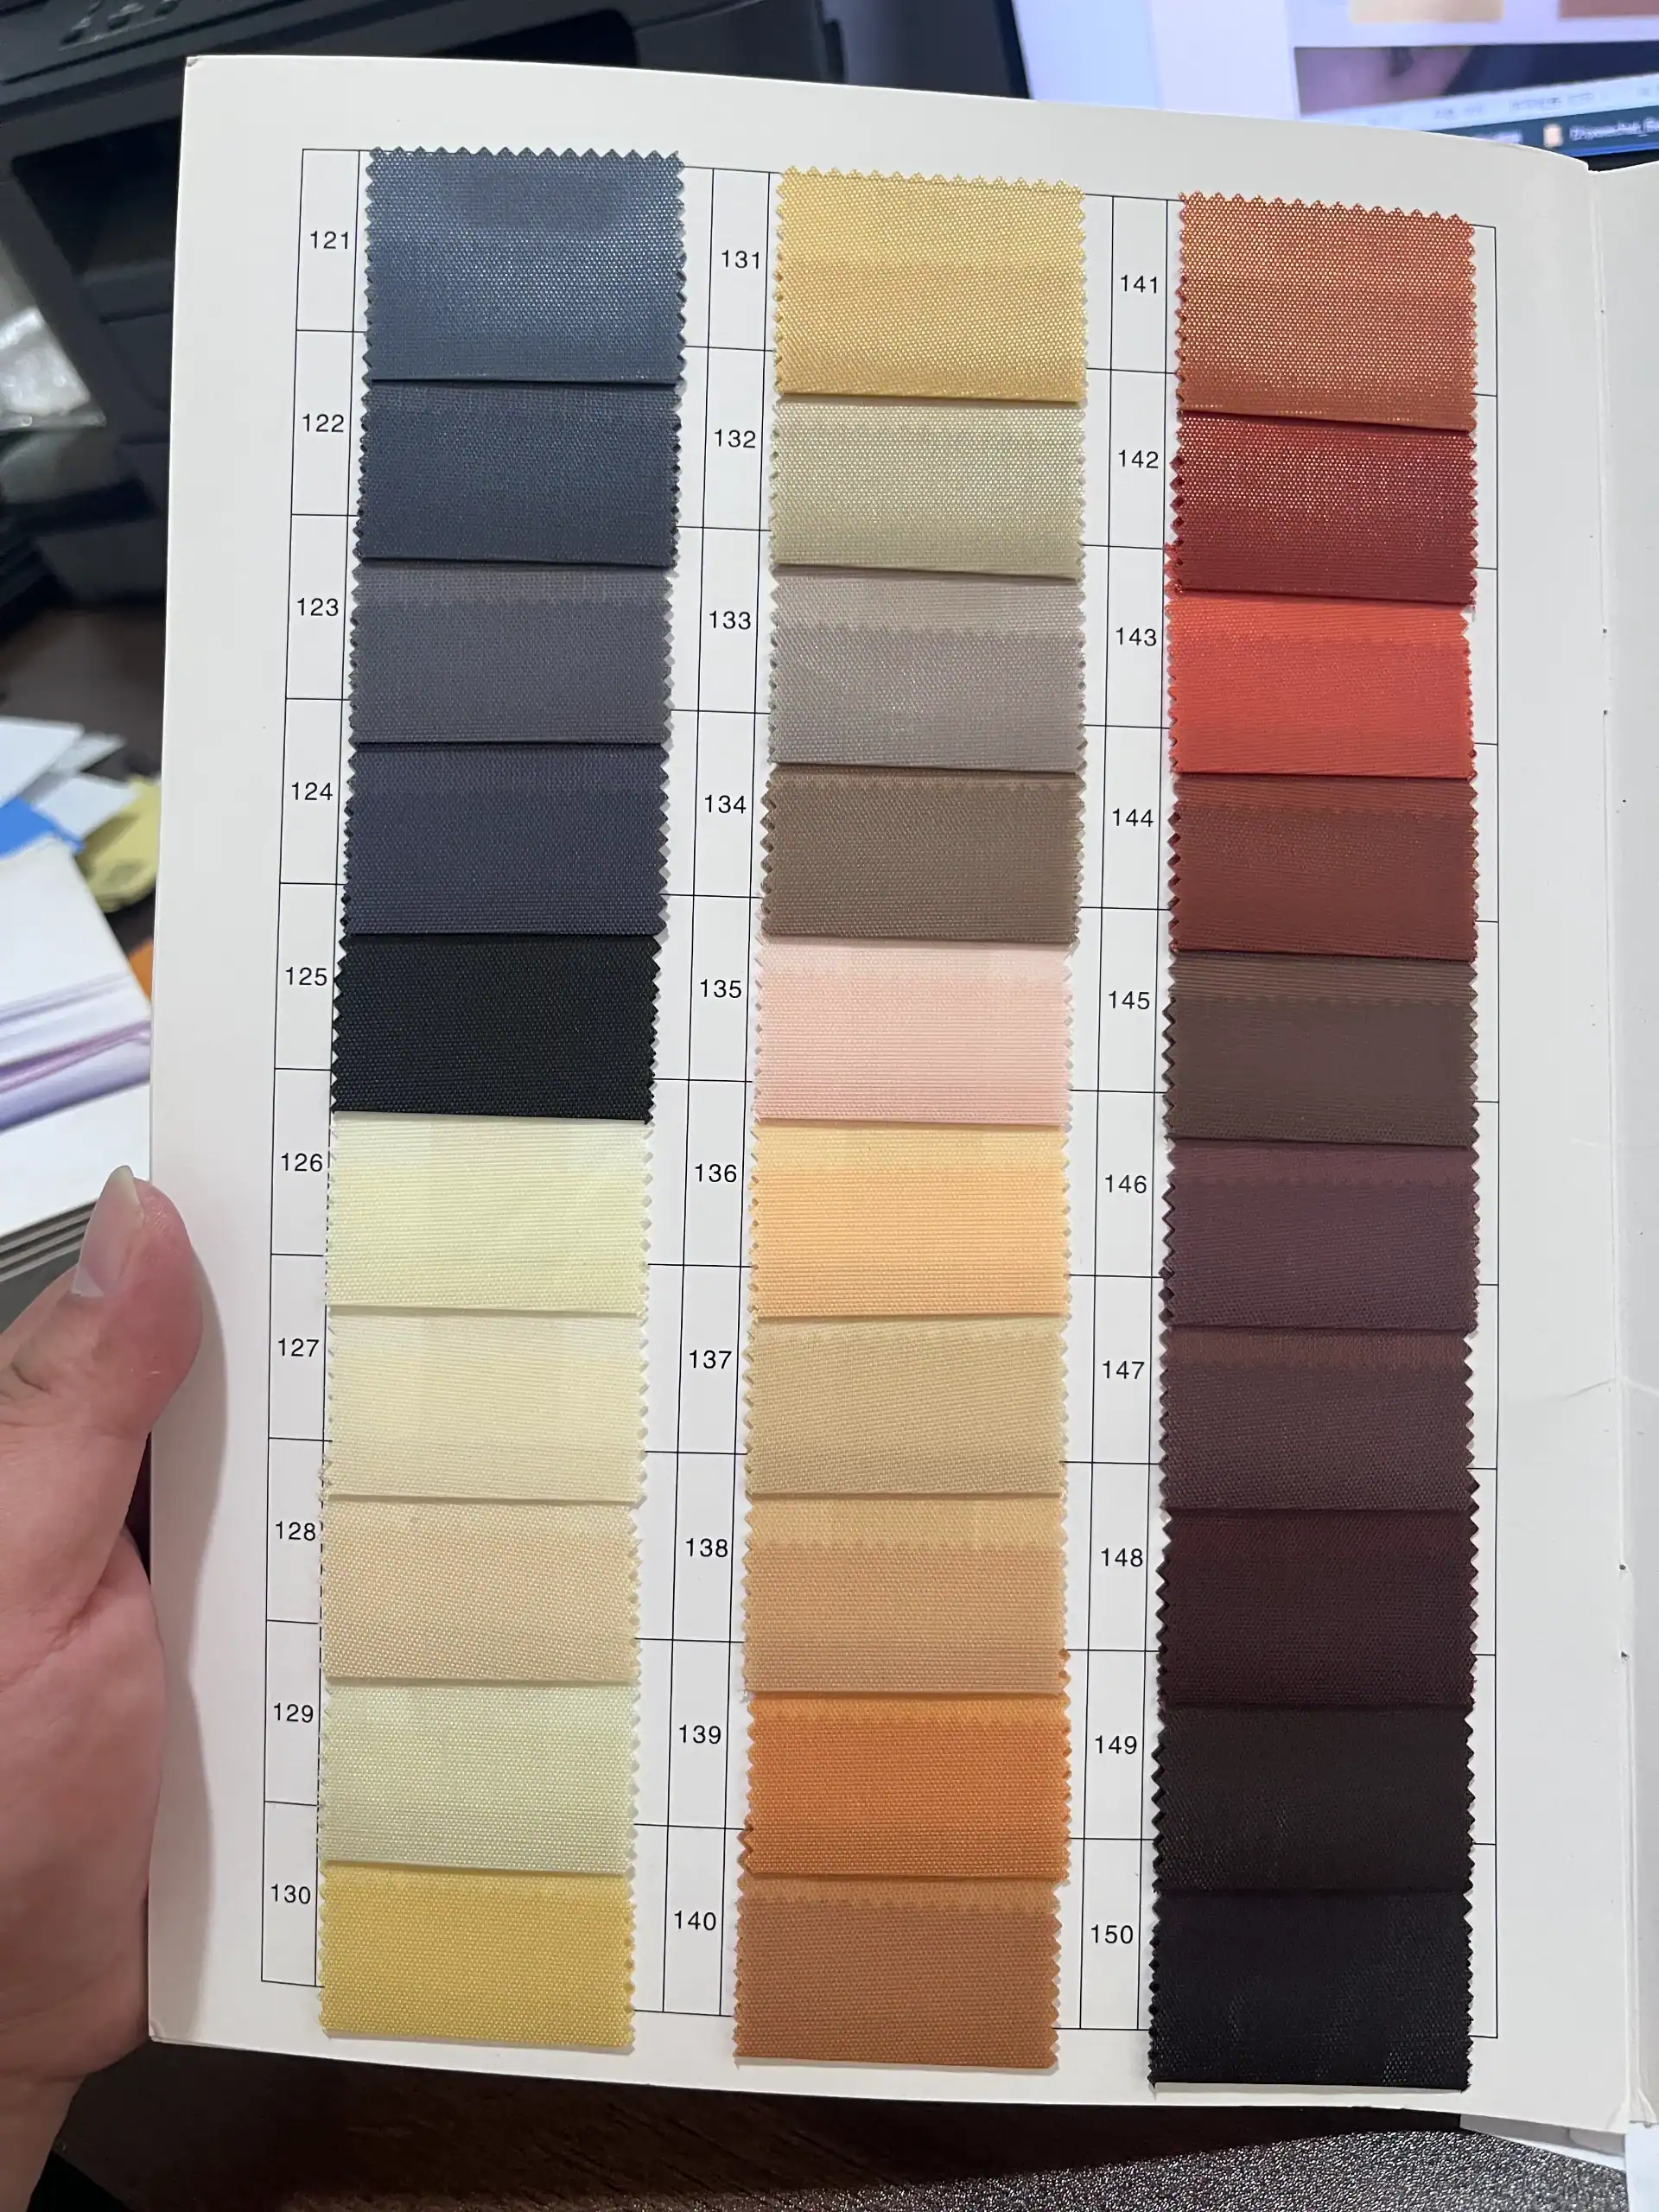
Pantone matching varies significantly across methods because of how each interacts with Oxford fabric’s texture and color base.
Artwork Preparation and Setup Costs
Screen fees start at $30 per color and scale nonlinearly with panel count — the breakpoint usually lands around 500 units.
Most brand managers focus on the per-unit print cost. The real budget shock comes from the setup line items that hit the invoice before a single wagon side panel is printed. Two numbers matter: minimum printable area on a folded panel, and screen fees tied to color count and MOQ.
Minimum Print Areas for Folded Panels
A folding wagon collapses into a frame that folds at hinge points along the side panels, canopy arch, and tailgate. Print placement must avoid those fold creases by at least 15mm on each side, otherwise the ink cracks after 10-15 fold cycles. For a standard 600D Oxford side panel measuring roughly 400mm x 300mm after sewing, the usable print zone shrinks to about 320mm x 220mm once you subtract seam allowances and fold clearance zones.
Silk-screen printing requires a flat stencil contact surface — it cannot print over zipper tracks or strap webbing sewn into the panel. If your logo sits near a zipper or corner reinforcement patch, thermal transfer becomes the only viable option because it conforms to slight surface variations. Digital printing handles curved or irregular zones better than silk-screen but still demands at least 50mm of unbroken fabric around the print head path.
Screen Fees and MOQ Breakpoints
Each silk-screen color requires its own mesh screen, which costs $30-$80 depending on frame size and mesh count (higher mesh for fine detail costs more). A three-color logo means $90-$240 in non-recoverable screen fees before production starts. Those screens wear out after roughly 3,000 impressions on Oxford fabric — beyond that volume you pay for replacement screens mid-run.
$90 in screen fees spread across 100 wagons adds $0.90 per unit. Spread across 1,000 wagons drops to $0.09 per unit. The breakpoint where silk-screen becomes cheaper than thermal transfer typically lands between 300 and 500 units for a standard two-to-three-color logo on a folding wagon.
- Under 300 units:: Thermal transfer wins on total cost because there are zero screen fees. You pay $1.50-$2.50 per transfer sheet plus application labor.
- 300-500 units:: The crossover zone. Silk-screen setup amortization starts to beat thermal transfer per-unit cost if your logo uses three colors or fewer.
- Over 500 units:: Silk-screen dominates by $0.25-$0.60 per wagon versus thermal transfer, assuming no mid-run screen replacements.
Industry benchmark: For any custom logo складной вагон order under your first container load (roughly 1,200-1,500 wagons , depending on collapsed dimensions), ask your supplier for both silk-screen and thermal transfer quotes broken out by setup fee vs unit cost. If they quote only one method without offering the alternative, push back — they may be steering you toward their preferred process rather than yours.
| Категория | Cost Range (USD) | MOQ Breakpoint | Ключевое соображение |
|---|---|---|---|
| Screen Fee (Silk-Screen) | $30 – $80 per color | 300+ units to amortize | Non-recurring; one-time setup per design |
| Thermal Transfer Setup | $15 – $40 per design | 50-100 units minimum | =Includes die-cut or plotter file preparation | =
| Digital Printing Setup< / td >= | $00 – $25 per file< / td >= | No minimum ;single unit possible< / td >= | No physical screen ;only artwork prep fee< / td >= = |
| Artwork Revision Fee< / td >= | $20 – $60 per revision< / td >= | – | = <= td style = “padding:= “12”=” “” “” “” “” “” “” “” “” “” “” “””””””””””””””””””””””””” <=/ tr>=

 English
  Español
  Deutsch
  Français
  Português do Brasil
  Русский
  العربية
  한국어
한국어  日本語
日本語