 跳到内容

Subject: inflatable tent maintenance — pre-production sample did not match mass production. Forwarding to QA before we commit to the next lot. The buyer’s $50K order collapsed because the pre-production sample inflated beautifully, but the mass production run’s air beams had a different valve tolerance. That is the part of inflatable tent maintenance that never makes it into the marketing spec sheet: the gap between how a tent performs on the sample bench and how it holds pressure across a full production batch.
For an outdoor brand manager, field reliability is the actual product. When the tent goes soft overnight or a seam starts to weep air mid-deployment, the procurement conversation stops being about FOB pricing and starts being about return rates. The leading cause of field failure is not a puncture in the fabric. It is valve leakage after repeated folding, which means the valve design and the quality tolerance around it deserve as much scrutiny as the beam fabric itself. A tent that holds pressure at the factory can lose 0.5 PSI for every 10°C drop in ambient temperature, so a unit that is properly inflated at 25°C can sag noticeably by morning at 5°C.
The maintenance protocol starts with a daily pressure check during winter operations, and the repair strategy depends entirely on whether the air beam is PVC or TPU. Patching a TPU beam with PVC solvent cement is a permanent mistake; it weakens the coating and voids the warranty. A field repair kit that includes spare valves, a pressure gauge, and the correct adhesive for the beam material is not an accessory — it is the minimum viable order for anyone sourcing inflatable shelters for repeated deployments. Get the sample approval right, and the maintenance is simple. Get it wrong, and every replacement part becomes a negotiation.
Why Field Maintenance Determines the Real Lifespan of Relief Tents
Around 80% of relief tent field failures are valve problems, not punctures.
Most field teams assume punctures are the biggest threat to inflatable relief tents. The opposite is true. Around 80% of field failures trace back to the valve, not the beam fabric, and the root cause is mechanical fatigue from repeated folding.
Every pack, unpack, and redeploy cycle torques the valve base. Over time the flap loses its seat, and the tent drops pressure overnight. Field teams blame the beam, then spend hours hunting for a puncture that was never there.
Valve design decides repairability
Bolt-clamped valves significantly outlast fully welded valves in this cycle. When a bolt-clamped valve fails, one person with basic hand tools can swap the valve assembly on site. A fully welded valve failure means depot-level repair or a return to the factory.
-
- Bolt-clamped valve: Field-replaceable with basic tools. Holds its seal longer across repeated fold cycles thanks to a replaceable gasket.
- Fully welded valve: Lower initial part cost, but stress concentrates at the weld line. Failure sends the whole beam back to the factory.
A puncture is visible. You see the hole, you patch it, and you move on. A valve leak is insidious: the tent looks fine, but the structure sags and loses shape in high wind. For a relief operation, that forces teams to re-inflate twice a night instead of resting.
Sourcing decisions control this failure mode before it starts. The Kelyland partner tent factory in Ningbo, which is ISO 9001 certified and produces 800,000 tents and tarps annually, builds PVC and TPU air tube tents with valve types specified at the sample approval stage. Lock in a bolt-clamped valve design before mass production, and spare your field teams the overnight sag.
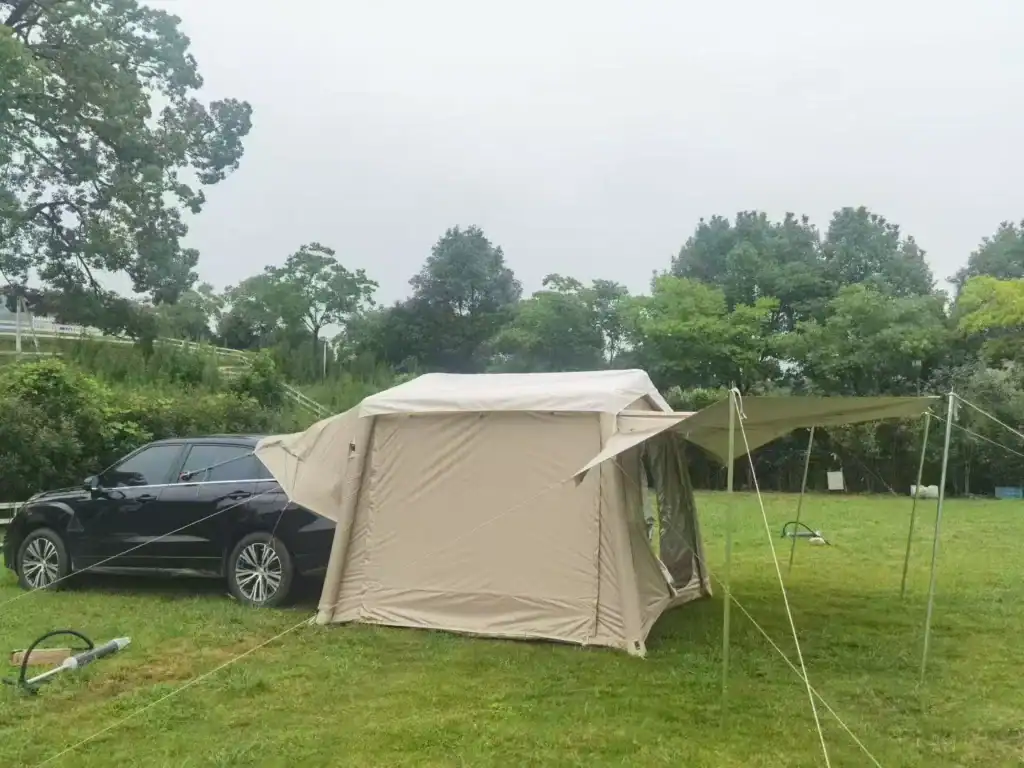
Daily Pressure Checks: Setting the Right PSI
A 10°C overnight temperature drop takes roughly 0.5 PSI out of a beam — check every morning, not just at setup.
Temperature swings change internal pressure by roughly 0.5 PSI per 10°C. A relief tent inflated at 25°C will read noticeably soft at 5°C — that’s physics, not a leak. Field teams that only check pressure during setup will chase phantom leaks, re-inflating a warm tent that later exceeds its working range when the sun hits the fabric.
Reading the gauge on different beam systems
-
- Integrated analog gauge: Mounted at the valve base, it reads the actual system pressure. It is the most reliable reference because it measures the beam itself, not airflow during inflation.
- Handheld digital manometer: The faster route for multi-beam tents. A digital checker lets you log each beam’s pressure in well under a minute, which matters when a crew is setting up before daylight.
- No gauge at all: Some budget beams omit pressure indication entirely. An inexpensive digital manometer solves this, and it belongs in every field kit.
Kelyland’s partner factories follow ISO 9001:2015, and the 10-step production process includes inspection of stitching and mechanisms at every stage. But a valve that seats perfectly at the factory can shift after repeated folding in transport. A quick two-step check catches it: inflate fully, listen for hissing at the valve base, then deflate and re-inflate once to reseat the flap. That is the single most effective quality check in a relief operation.
Topping up after overnight temperature swings
In winter operations, a 25°C-to-5°C swing costs roughly 1.0 PSI overnight. Top up to spec during the morning check, but don’t inflate until firm during the day — as the tent warms, pressure climbs back on its own, and pushing past the working pressure stresses the welds. Take readings at the same time each morning and log them. When the numbers don’t track the expected 0.5 PSI per 10°C curve, the valve is the first place to look.
Valve Care and Replacement
Most valve leaks stop with a clean and re-seat.
Valve leakage after repeated folding is the leading cause of field failure in inflatable relief tents — not punctures. Every fold cycle puts stress on the flap seat. After dozens of deployments, even a flap that sits slightly off-center will bleed air, and the beam goes soft overnight. That’s why the daily pressure check matters.
Clean and seat the valve flap
Start with the simplest fix. Open the cap, wipe the flap and the seat ring with a lint-free cloth, and clear any sand or grit that got trapped under the flap during deflation. Seat the flap flat and centered, close the cap, and listen for hiss. Most reported valve leaks stop once the flap is re-seated properly.
Valve core vs. full valve base
Know which part failed before ordering parts. The valve core is the internal flap or spring assembly. If cleaning and re-seating don’t stop the leak, the core has worn out and needs replacement. The valve base is the flange bonded into the beam fabric. A deformed flange or cracks in the surrounding weld mean the full base has to be replaced.
-
- Valve core: Wears out first. Field-replaceable on bolt-clamped valves with basic tools — no cutting into the beam.
- Full valve base: Structural failure. Requires removing the old flange and welding in a new one at a factory with proper high-frequency welding equipment.
Design choice drives repair cost. Mechanical bolt-clamped valves outlast fully welded valves — the core swaps in minutes without cutting into the beam. A welded valve failure sends the tent back to production. The CE, BSCI, and ISO 9001-certified tent factory in Ningbo, which produces 800,000 units a year, can handle that rework. But standard production lead times run 30-45 days. That’s a long stretch for a relief tent that should be deployment-ready.
Repairing Punctures in PVC Air Beams
The fix is only as permanent as the adhesive bond — never skip the cure time.
The fastest way to turn a $50,000 relief tent order into a warranty write-off is patching a PVC air beam with the wrong adhesive. Field repair failures rarely come from the puncture itself; they come from a chemical mismatch between the patch, the cement, and the beam material.
Adhesive selection: PVC solvent cements only
PVC air beams are joined with solvent welding, not surface glue. The repair cement must chemically fuse the patch to the beam material. That means using a PVC solvent cement labeled for inflatable products, not super glue, rubber cement, or silicone sealants.
-
- Correct adhesive: PVC solvent cement (also sold as PVC weld). It softens the PVC surfaces and creates a fused bond when the solvent flashes, so the patch becomes part of the beam.
- Wrong choices: Cyanoacrylate forms a brittle bond that cracks under flexing. Rubber cement stays rubbery and loses adhesion after repeated folding. Both look fine at first and fail in the field.
- TPU warning: If the beam is TPU, stop. PVC solvent cement degrades the TPU coating and voids the warranty. TPU requires a polyurethane adhesive, covered separately.
Patching procedure and curing time
Deflate the beam fully. Clean the puncture area with isopropyl alcohol and let it dry. Cut the patch with rounded corners to prevent lifting, then apply a thin layer of PVC solvent cement to both the patch and the beam surface. Wait until the cement turns tacky, press the patch down, and roll out air bubbles with a flat tool or roller.
Hold the patch firmly with tape or a clamp for at least the manufacturer’s stated cure time — usually overnight. Re-inflating early forces solvent to flash too fast and creates a porous bond that will leak under working pressure. Kelyland’s partner factories, most ISO 9001:2015 certified, build PVC and TPU air tubes with solvent-welded seams and test weld integrity during production; a repair done the same way holds up to repeated deployment cycles.
Repairing Punctures in TPU Air Beams
PVC glue on a TPU beam is a permanent structural mistake — use polyurethane adhesive and clamp for 24 hours.
TPU and PVC look alike on a workbench, but they reject each other’s repair chemistry. PVC solvent cements bond by dissolving a thin surface layer of the base material; on TPU, those same solvents attack the polymer without forming an air-holding bond. The patch can seat cleanly and still fail days later, once the beam flexes under working pressure.
The material is thin enough that the wrong adhesive does permanent damage. Kelyland’s partner factory in Xiangyang, Hubei — which produces 2.5 million air mattresses per year — runs TPU films at 0.4mm to 0.6mm. Solvent degradation at that thickness creates a recurring leak point and voids the warranty on the beam.
The Field Patch Sequence
-
- Deflate to zero pressure: A patch applied on a pressurized beam bridges a curved, stressed surface and traps air underneath. Separation follows within days.
- Prep both surfaces: Clean with isopropyl alcohol, scuff lightly with fine sandpaper, then apply polyurethane adhesive formulated for TPU to both the patch and the beam.
- Clamp for 24 hours: Press from the center outward with a roller to remove trapped air, then clamp under even pressure for a full 24-hour cure before re-inflating.
The 24-hour clamp is the step field teams most often truncate. A patch pulled off the clamp early can appear solid, then delaminate after repeated inflation cycles. An inflatable tent air beam carries sustained pressure and flexes every time the tent is deployed. The cure is not where you save time.
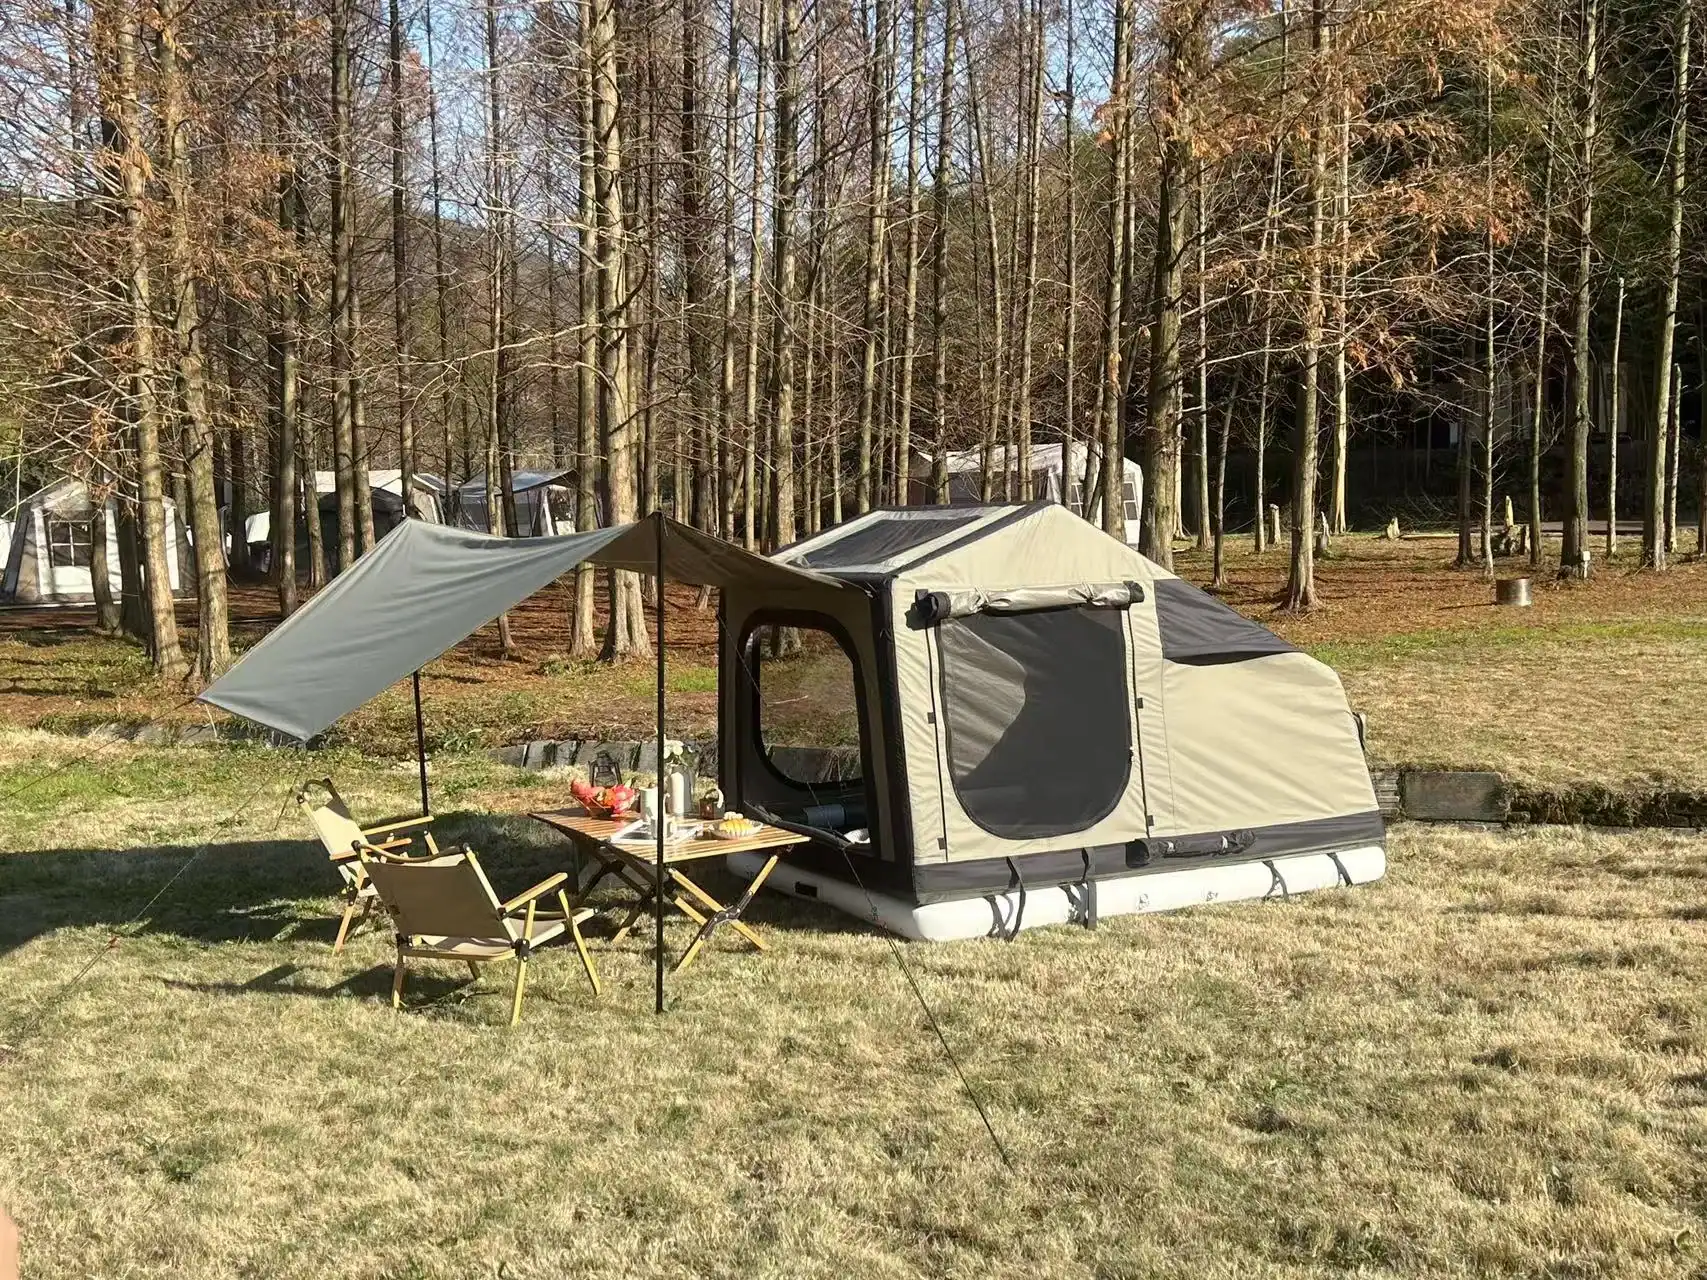
Seam Separation After Long Storage
A delaminated load-bearing weld is a factory defect, not a field repair.
Identifying Delamination in High-Frequency Welds
High-frequency welding bonds two coated fabrics by melting their PVC or TPU layers under pressure. When RF parameters drift — too little heat, uneven dielectric current, or contamination on the weld bed — the bond looks fused during sample approval but fails after long storage. The first visible sign is a milky-white line along the seam. Next, the edge lifts into a flap that catches dirt and peels further with each fold.
Catch delamination before set-up by running a thumb pressure test along every weld on the air beam. If a section feels springy or separates from the base fabric, mark it. Then inflate to operating pressure and listen for a hiss at the seam; soapy water will confirm the leak path. Delamination often appears at stress points: around valve patches, at the corners where beams meet the tent body, and along the fold crease in the storage bag.
When to Return the Tent to the Factory
A puncture in the middle of a beam is patchable. A delaminated weld is not. The bond is only as strong as the original RF fusion; field glue cannot recreate the molecular bond between coating layers, especially on TPU. If the separation runs along any load-bearing beam, the tent is structurally compromised before it ever sees wind. Ignoring it risks a beam rupture during deployment, which can damage the whole shelter.
Return the tent when the weld web lifts across a seam, when either side of the seam separates under light hand pressure, or when the inner fabric layers are exposed. A factory re-test using RF welding takes less downtime than a mid-mission blowout. Kelyland’s inspection protocol checks weld integrity at every production stage, and partner tent factories in the Ningbo network follow ISO 9001:2015 procedures — so a seam separation defect on a new unit should trigger a replacement, not a field patch.
Spare Parts Kit Every Relief Order Should Include
Most relief tent failures come from valve leaks, not punctures.
Most spare kits focus on puncture repair. Repeated deployments point elsewhere: the leading cause of field failure is valve leakage after folding cycles, not a torn beam. A bolt-clamped valve replaces in minutes with a screwdriver. A fully welded valve means factory repair or a dead tent. Stock what your team can actually fix on site.
Match the patch to the beam fabric
Patch material must match the tube material. PVC air beams accept only PVC solvent cements. TPU beams require polyurethane adhesives. Use PVC glue on a TPU beam and the solvent softens the coating, weakens the weld, and voids the warranty. That is a permanent mistake. Kelyland’s air beam and air mattress lines use the same PVC/TPU material families, with 0.4mm–0.6mm puncture-resistant walls, so the patch stock should mirror that spec.
-
-
- PVC beams: Solvent-based PVC cement plus PVC patch film. Allow 12–24 hours before re-inflating.
- TPU beams: Polyurethane adhesive, patch applied at zero pressure, clamped for a full 24-hour cure.
- Wall thickness: Keep patch film in the same 0.4mm–0.6mm range as the base tube so the repair flexes like the original.
-
Valves, pump adapters, pressure gauges
-
- Valve cores: The flap seal wears first after repeated folding. Pack replacements for every tent.
- Bolt-clamped valve bases: Field-replaceable with basic tools. Keep two per tent for long deployments.
- Pump adapters: Cover twist-lock and bayonet inflation ports so any crew pump fits.
- Pressure gauge: Temperature swings shift internal pressure by roughly 0.5 PSI per 10°C; verify each morning.
Label every item and seal the kit. Relief crews under time pressure grab the first tube that looks right. Kelyland’s partner factories operate under ISO 9001:2015, with inspections at every production stage, and the pre-shipment check confirms the spare kit matches what was approved at sample stage.
Record Keeping and Tent Lifecycle Management
The logbook predicts failure before the tent does.
Tents that fail in the field rarely fail on the first deployment. The failure builds quietly in the daily record — a valve that needs topping off twice, a beam reading low every morning, a seam that looks different after each fold. Fleet operators know this pattern. The question is whether field teams are writing it down.
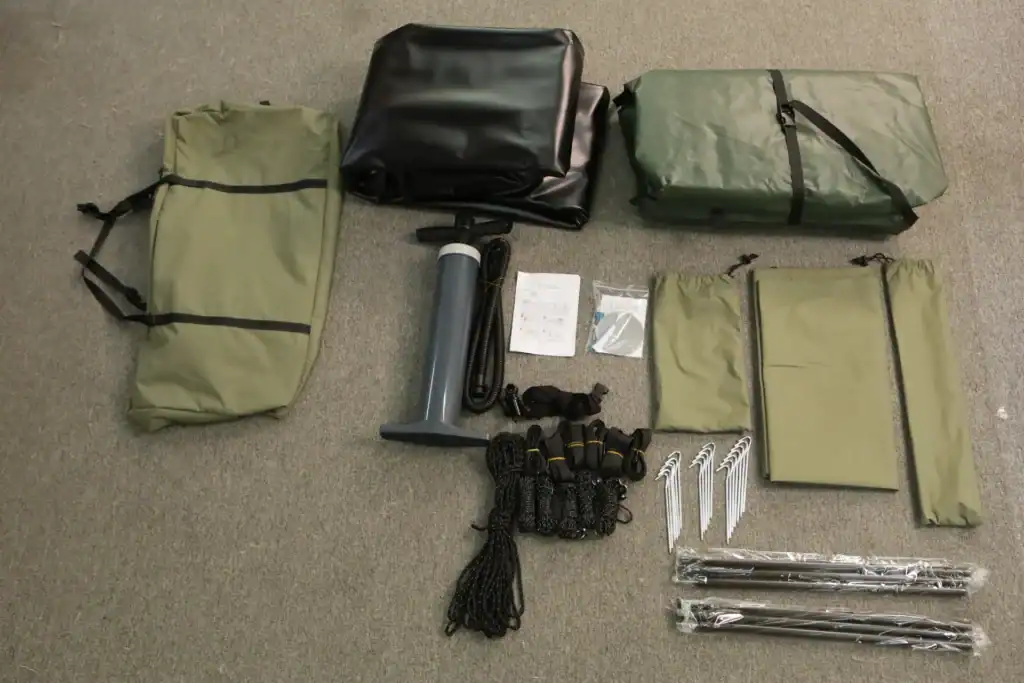
Daily Pressure Logs and Monthly Re-Inflation Tests
Log four data points per deployment day: inflation PSI, time to full pressure, ambient temperature at inflation, and any top-up volume. Temperature swings change internal pressure by roughly 0.5 PSI per 10°C, so a tent properly inflated at 25°C reads soft at 5°C. That is physics, not a leak. The log separates the two.
Once per month, fully deflate the tent, re-inflate to rated pressure, and let it sit for 24 hours. Measure the drop. A modest loss is normal material elasticity. A clearly noticeable drop means the system has a real problem — usually a valve seal, occasionally a micro-puncture that soapy water will locate in minutes.
When to Retire a Tent from Service
-
- Valve base fatigue: A second valve body failure at the same location means the base weld has fatigued. Field replacement won’t hold. The beam is done.
- Weld delamination: Separation at high-frequency welds is a factory-level repair. Patching over a delaminated weld does not restore structural integrity.
- Coating porosity: When the beam surface loses its airtight coating, the fabric can’t hold rated pressure. The tent looks serviceable and fails anyway.
- Mission risk: For relief operations, repair cost is the wrong lens. If a tent fails during deployment, the loss is shelter capacity. Set retirement criteria when you write the procurement contract — not after a field failure.
Retirement data should flow back to the factory. Kelyland’s partner facilities hold ISO 9001:2015 certification and maintain inspections at every production stage, so a photo of the failed weld, the PSI history, and the deployment count reach engineers who can adjust materials or construction. That feedback loop is what makes the next production run more durable than the last.
Conclusion
Proper inflatable tent maintenance is what separates a 50-deployment tent from one that fails mid-relief operation. Pressure checks, correct adhesive selection, and valve care cost minutes per day and prevent catastrophic deflation. Get these steps right, and the air beams stay within their specified quality tolerance for years.
-
- Check pressure every morning; a 10°C drop reduces internal pressure by roughly 0.5 PSI.
- Valve leakage causes most field failures after repeated folding, not punctures.
- TPU air beams require polyurethane adhesive and a 24-hour clamp cure; PVC glue voids the warranty.
- Stock spare valves, patch material, and a pressure gauge in every relief tent kit.
Before you spec your next relief tent order, review the valve type and patch kit included in the package. A tent that ships without a matched patch adhesive and spare bolt-clamped valve is a tent your field team will have to improvise around. Browse the inflatable tent and air mattress lineup to confirm the spare parts kit matches the beam material, or contact the sourcing team with your deployment schedule.
Frequently Asked Questions
What is the 80/20 rule in inflatable tent maintenance?
Around 80% of relief tent field failures are valve problems, not punctures. Focus routine checks on valve flaps, seats, and pressure before inspecting beam fabric. Check valves first when a beam loses pressure.
What PSI should inflatable tent beams hold?
Follow the manufacturer’s printed PSI spec for each beam model. A 10°C overnight drop can remove roughly 0.5 PSI, so re-inflate every morning after temperature swings. Never exceed the rated PSI on the beam label.
How do you repair PVC air beams?
Use PVC solvent cement, not general-purpose glue, for PVC air beams. Patch at zero pressure and allow full curing time before re-inflating. Match the patch and adhesive to the beam material.
How do you repair TPU air beams?
TPU beams require polyurethane adhesive, not PVC cement. Patch at zero pressure and respect the clamp time for a durable bond. Do not mix PVC and TPU patch materials.
When should a tent return to the factory?
Return the tent to the factory when high-frequency weld seams separate or delaminate after long storage. Field patching is not a dependable fix for structural weld failure. Send photos to the factory for a repair decision.

 English
 Español
 Deutsch
 Français
 Português do Brasil
 Русский
 العربية
 한국어
 日本語