 跳到内容
跳到内容 
fly-first tent rain setup is the first checkpoint buyers should lock before they approve a supplier, budget, or production slot. Why did the pre-production sample pitch clean, but the $50,000 production run wet out inside during the first real storm? The factory’s standard answer — same fabric, same spec — misses the real variable. It sits in the fly-first tent rain setup sequence and the small hardware choices that make it work, and most buyers never write those choices into the spec sheet.
The same pattern repeats across supplier audits in a dozen countries. Pre-production samples get pitched on a dry factory floor and approved on visual compliance; the mass production run ships with the same untaped corners, the same unsealed pole sleeves, the same water-wicking zipper tracks. Rain finds those entry points first. In a 30mm/hr factory rain simulation, an inner-first pitch let 1.2L of water through the zippers in ten minutes. A fly-first pitch kept the interior dry except for 150ml tracked in from wet hands. That four-fold gap is a quality tolerance, not a fabric failure.
For a brand manager building a private-label tent line, the lesson is blunt: rain performance can’t be fixed at the campsite if the factory didn’t fix it at the seam. Fly-first setup works because it keeps the inner mesh and floor dry during assembly — but only when the fly carries pre-attached guylines, taped corner patches, and a bonded rain lip over the entry zipper. The five production fixes that separate a rain-ready tent from a warranty claim each map a field step to a change you can verify at sample approval, so the tent your customer pitches in rain matches the one you approved.

Why Pitching Your Tent Inner-First Fails in Rain
Inner-first pitch leaked 1.2L through zipper tracks in a 10-minute factory rain test.
The pre-production checklist looked right: 3000mm floor, taped seams, PU-coated polyester fly. Every box checked. Then the first field rain test soaked the sleep pads through the door zipper. The failure wasn’t the fabric spec. It was the pitch sequence. An inner-first setup exposes every vulnerable component to rain before the fly exists as a barrier. The fix starts with understanding where the water actually enters — and that means looking at zipper tracks, tie-outs, and pole sleeves, not the fabric panels.
Mesh and Floor Rain Exposure
A 30mm/hr factory rain simulation at the Ningbo tent factory in Kelyland’s core partner network quantified the risk. Inner-first setup let 1.2 liters of water through the zipper tracks in just 10 minutes. That’s not a mist finding its way in — that’s a measurable failure that produces warranty claims and one-star field reviews. The mesh canopy alone offered zero resistance. The floor, still untensioned, folded into creases that held water against the stitching.
Those floor creases are a mechanical problem, not a textile one. The floor fabric seals fine once tensioned flat. But folded floor channels hold puddles against the seam line until you stake out the corners. By then, capillary action has already pulled water through unsealed stitching. Your sleeping surface is damp before the tent is fully upright — and that dampness reads as a product defect in the customer review, not a setup error.
Zipper Tracks and Tie-Out Leaks
Zipper tracks are the most under-specified leak path in private-label tents. Non-taped zipper assemblies wick water through the track teeth via capillary action — no visible gap required. The 1.2L factory test entered through zipper tracks, not fabric panels. Corner tie-outs compound the problem: tension stretches seam taping at the exact point where rain pools, opening a path that survives pressure testing but fails overnight in the field.
- Zipper tracks: Specify PU-taped zippers or covered zip flaps. Non-taped coils wick water through capillary action even when fully closed.
- Corner tie-outs: High tension stretches taped seams and opens capillary paths. Order taped corner patches with bi-ply reinforcement.
- Broad fabric panels: Rarely the failure source. Polyester and nylon with adequate hydrostatic head hold water; hardware and seams fail first.
Pole Sleeve Water Channels
Pole sleeves become water channels during a rain pitch. Rainwater runs down the pole shaft, pours into the sleeve opening, and drains along the seam into the inner canopy. The production fix is sealed sleeve seams. The field fix is a fly-first sequence that keeps poles under the fly during assembly. Both are needed; one without the other leaves a leak path that shows up 40 minutes into a downpour.
The spec threshold is straightforward: 1500mm hydrostatic head minimum for the fly, 3000mm for the floor, and PU-taped zippers on every opening. Most perceived waterproofing failures are condensation, not leaks — so don’t just chase higher fabric ratings. Kelyland’s ISO 9001:2015-certified partner factories inspect seams, zippers, and pole channels at every production stage, with QC reports available before shipment approval. That’s the difference between a spec sheet and a rain-ready tent.
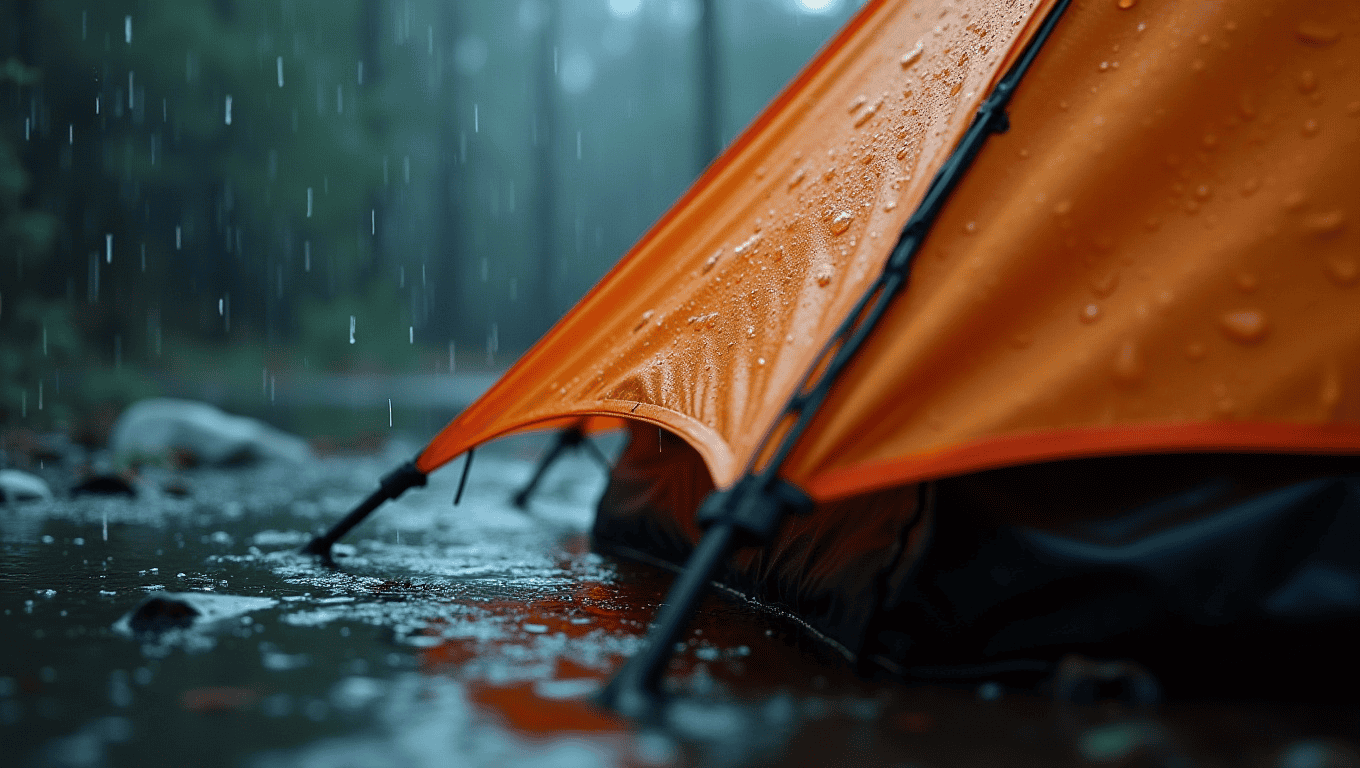
How Fly-First Setup Works (Step-by-Step with Hardware Truths)
Fly-first is a factory-level fix, not a campsite trick—it depends on hardware already sewn in.
Fly-first setup means pitching the rain fly before the inner mesh goes up. Done right, it cuts interior rain exposure by up to 4x in a 30mm/hr factory rain test. In that same test, inner-first let 1.2L of water through the zippers in 10 minutes; fly-first left only 150ml inside, and most of that came from wet hands.
Lay the fly flat and stake the windward corners first
Anchor the corners that face the wind before anything else. A loose fly in a gust acts like a sail and can rip the fabric or pull a stake. Use webbing loops rather than metal grommets at the tie-outs—loops distribute tension across the seam and don’t tear out under load.
Insert pre-bent aluminum poles through the fly sleeves
Work the poles through the sleeves without twisting them. Pre-bent aluminum poles already carry the curve the hub needs; twisting them adds stress to the bend point. On a wet pitch, this step is what keeps the inner canopy and sleeping area from ever seeing rain.
Lift, cross the poles, and clip the hub
Raise the poles, cross them into the hub clip, and secure the structure. Match the color codes on the poles to the hub before applying force. Mismatched poles are the fastest way to snap a composite hub component on the first pitch.
Attach inner clips and open the door slightly
Clip the inner tent to the fly, then open one door a few inches before you tension the fly. A sealed interior creates a vacuum when you cinch the fly down; the collapse can rupture mesh near the clips. A cracked door relieves that pressure.
Pre-attached guylines cut the pitch time
Kelyland’s internal production data shows pre-attached guylines save roughly 45 seconds during a two-minute fly-first pitch. That matters in a downpour. Velcro fly keeper straps also keep lines organized in the stuff sack, so nobody wastes time untangling line on the wet ground.
The hardware behind this setup has to be sewn in before the tent ships. Kelyland’s partner tent factory in Ningbo, Zhejiang, builds fly-first tents under ISO 9001:2015 process controls, with inspection points at every production stage and reports available on request. That’s the difference between a campsite technique that works and an overnight return claim.
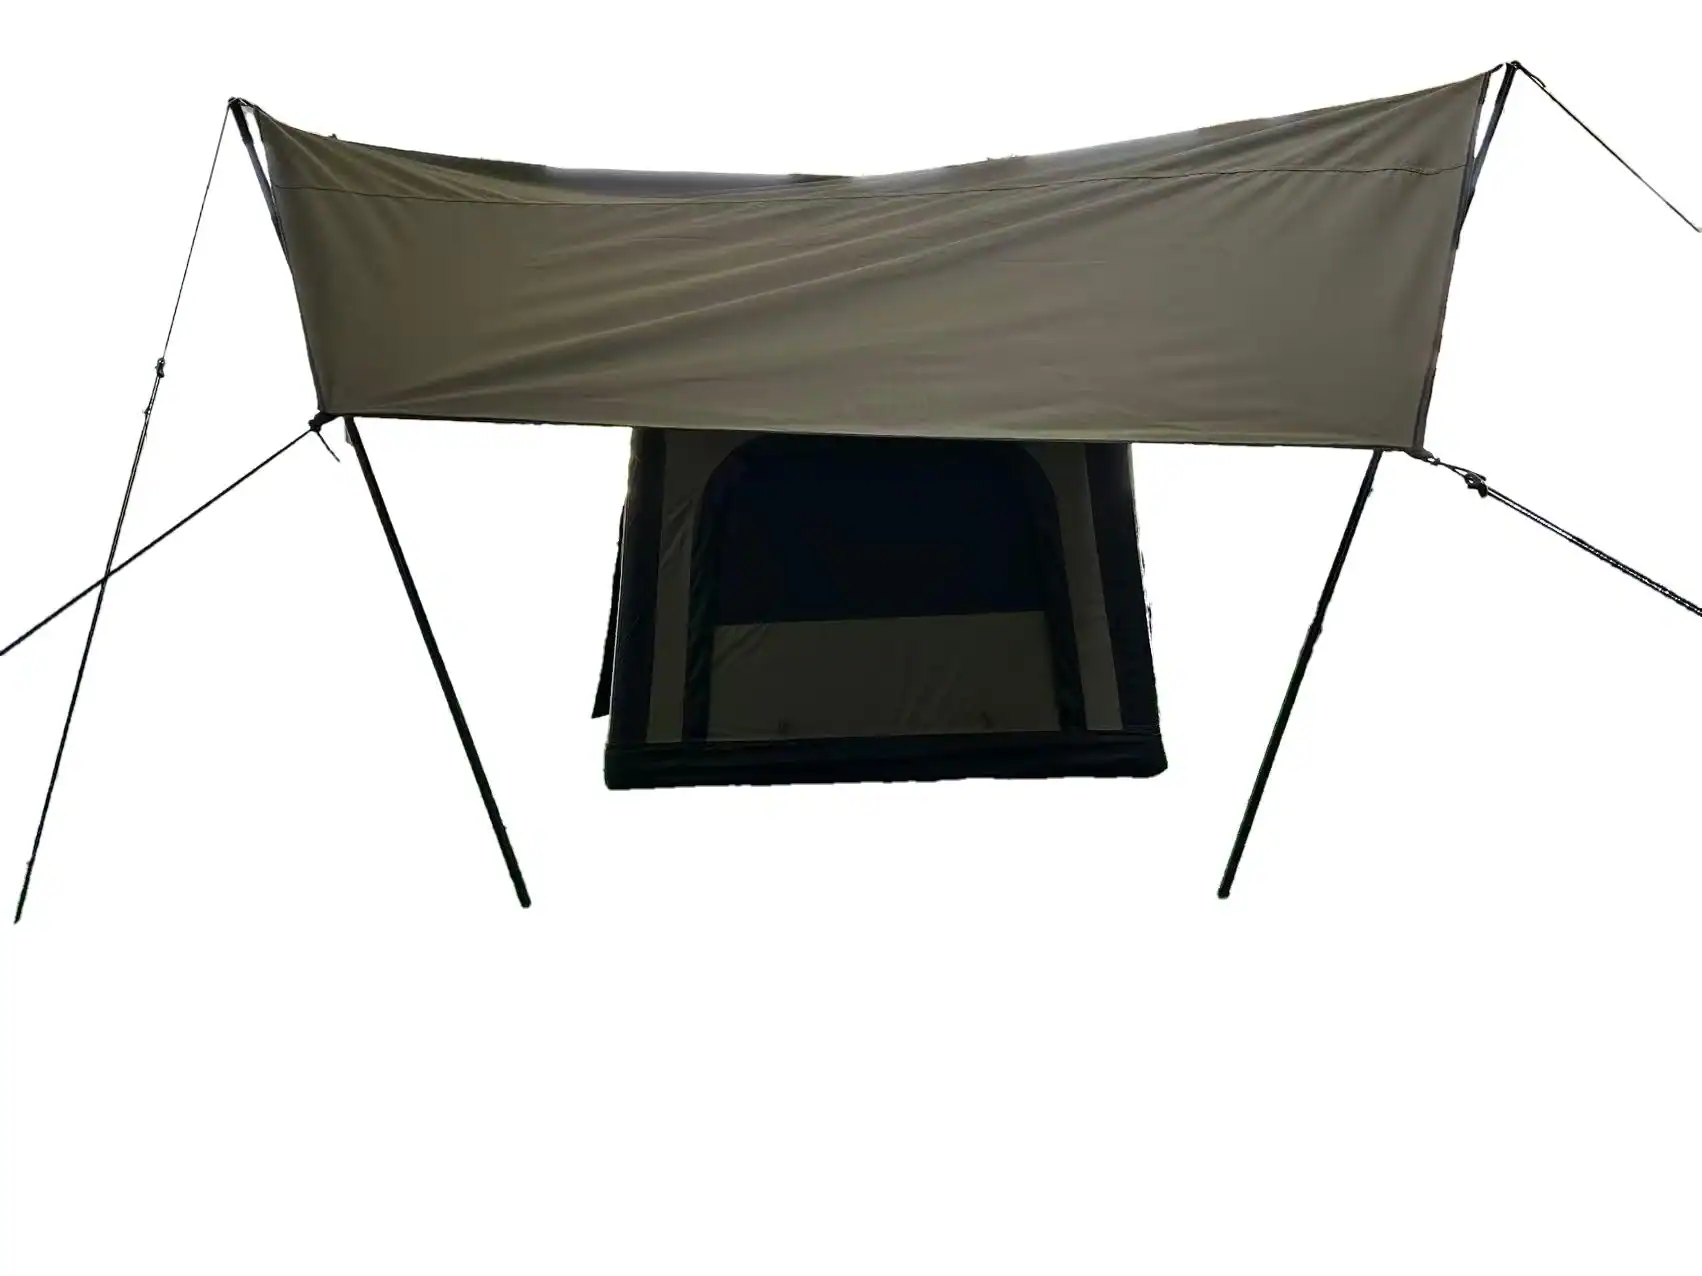
5 Rain-Setup Fixes for Private-Label Tents
Leaks enter at zipper tracks, corner tie-outs, and pole sleeves — not broad fabric.
Rain doesn’t respect a tent’s fabric rating. During a 30mm/hr factory rain simulation, an inner-first setup let 1.2L of water through zipper tracks in 10 minutes. A fly-first setup of the same tent shell kept the interior dry except for 150ml tracked in from wet hands. That gap is the difference between a product that earns repeat orders and one that gets returned.
The five fixes below are not campsite tricks. Each one belongs in your private-label waterproof tent spec before you approve samples. Kelyland’s ODM tent program draws on 17 core factories and over 200 manufacturing partners, most ISO 9001:2015 certified, and several of these reinforcements ship by default on rain-ready models.
1. Rain-Lip Awning Over Entry Zipper
The door zipper is the first place water finds a way in. Water runs off the fly, collects along the zipper track, and wicks through the teeth. A rain-lip awning — a bonded or sewn overhang above the entry — deflects drips before they reach the zipper. In factory rain tests, the doorway stayed dry through the full test cycle when the lip was included. If your sample lacks this awning, ask for the pattern revision now.
2. Taped Corner Seam Patches with Bi-Ply
Corners are the highest-stress seam points on a tent. The floor, fly, and pole anchors converge there, and wind movement peels ordinary seam tape away. Specify taped corner patches with bi-ply reinforcement: a second layer of fabric stitched and taped into the corner before the main seam is sealed. This blocks the capillary path that forms when a single taped seam flexes under load. Kelyland’s factory QC checks these corners during every pre-shipment inspection.
3. PU-Taped Zippers or Covered Zip Flaps
Most zipper leaks do not come from rain hitting the zipper directly. Water wicks along the zipper tape fabric and travels into the inner tent. Exposed coil zippers make this worse. Two production fixes solve it: PU-taped zippers, where the tape backing is sealed against water absorption, or a covered zip flap that blocks runoff entirely. For a double-wall tent, keep the fly edge tensioned so the zipper track stays shaded and dry.
4. 3000mm Hydrostatic Head Floor
When a tent sits on wet ground, the floor takes hydrostatic pressure from pooling water, not just surface dampness. A 1500mm hydrostatic head is the minimum for rain fly fabric. For the floor of a private-label tent, spec 3000mm hydrostatic head. That rating handles pooled water under the tent without soaking through. Floor seams also need factory seam taping — folded floors wick through untaped stitch holes no matter how high the fabric rating is.
5. Color-Code Pole Ends for Low-Light Assembly
Rain setup happens in bad light. Color-coded pole ends are not a cosmetic touch. When pole segments and hub connections have matching color marks, the tent can be pitched quickly without forcing the wrong pole into the wrong sleeve. Forcing a pole into the wrong channel distorts the seam and stresses the taped corners — the exact areas where leaks start. Color-coded poles speed up rain assembly and reduce the wrong-insertion failures that lead to field damage.
Put all five items in your production agreement: rain-lip awning, bi-ply taped corners, PU-taped zippers or covered flaps, a 3000mm floor, and color-coded poles. Kelyland private-label tents can start at 50-100 pieces MOQ with a 30-45 day standard lead time. Use the sample round to verify each fix on the actual model, not just the tech pack.
Conclusion
The difference between a rain-ready tent and a warranty problem is decided before the bulk run. Fly-first pitching plus the five factory fixes keeps the interior dry when the forecast turns. Skip the 3000mm floor, the taped corner patches, or the PU zipper flaps and the first heavy season pays for it — the 1.2L of water that poured through an untreated zipper track in ten minutes becomes returned units, negative reviews, and a reorder rate that never recovers.
- Fly-first pitching cuts interior rain exposure by up to 4x versus inner-first under a 30mm/hr factory rain simulation.
- Spec a 3000mm hydrostatic head floor and 1500mm fly minimum with taped seams to avoid the most common warranty claims.
- Pre-attached guylines save roughly 45 seconds during a two-minute pitch, which matters in a downpour.
- Kelyland private-label tent runs start at 50-100 pieces with a standard 30-45 day lead time.
Before you approve the next bulk quantity, compare your current spec sheet against these five fixes and ask the factory for hydrostatic head reports on the fly and floor fabrics. Order a seam-taped fly-first sample from the Kelyland product page, pitch it in real rain, and measure what gets inside before you commit to a production run. A 50-100 piece trial order keeps the risk where it belongs — in the testing phase, not the field.
Frequently Asked Questions
Should you put the rain fly over the tent first?
Yes, pitch the rain fly first to shield the inner tent from direct rain. In factory rain tests this cut interior water exposure dramatically compared to inner-first setup. Use fly-first whenever rain is likely during setup.
Does fly-first setup prevent tent condensation?
No, fly-first does not prevent condensation. Condensation is controlled by ventilation and the gap between fly and inner tent, not by pitch order. Keep vents open and maintain fly clearance to manage moisture.
Can you set up a tent fly-first in high wind?
Yes, but only if you stake the fly corners first and keep it low to the ground. Without that anchor, the fly acts like a sail and is hard to control. Stake downwind corners first and add guylines before raising poles.
What waterproof rating does a tent rain fly need?
A rain-ready fly should have at least a 1500mm hydrostatic head rating, with 3000mm on the floor. Ratings in this range suit private-label tents and keep warranty claims low. Specify taped seams and PU zipper flaps for full weather protection.

 English
  Español
  Deutsch
  Français
  Português do Brasil
  Русский
  العربية
  한국어
한국어  日本語
日本語