 跳到内容
跳到内容 
inflatable tent setup mistakes is the first checkpoint buyers should lock before they approve a supplier, budget, or production slot. Day 1 the order is placed for a private-label inflatable tent. Day 14 the pre-production sample lands on your desk — you check it, approve it, and the factory starts stitching beams and welding seams. Day 45 the container arrives at your warehouse or distribution hub. Then the emails start. Roof panels sagging in light rain. Guy lines pulling loose overnight. A customer photo showing a tent that looks more like a collapsed lung than a shelter.
That $50K order burns through margin fast when returns hit 15%. The root cause is rarely the fabric or the zipper quality. It is almost always how the buyer — or their end customer — sets up the tent. Under-inflated beams, stakes driven straight down, guy lines either limp or guitar-string tight. These are not user errors you can blame on the instruction manual. They are design gaps that should have been caught during sample approval and locked into factory specs before mass production started.
Mistake #1 – Pumping Air Beams by Feel
Most inflatable tents fail at 5 PSI.
You pump until the beam feels firm. Then you stop. That is the single most common setup mistake, and it is the reason your roof sags when rain hits. Firm to the touch” on a TPU air beam registers roughly 5 PSI on a gauge. At that pressure, an 8-meter beam does not hold its designed arch — it droops into a shallow U that pools water instead of shedding it.
The Science of Arch vs Sag
Raising the pressure from 5 to 8 PSI changes the beam geometry completely. At 8 PSI, the beam forms a true parabolic arch that transfers wind and rain loads down through the fabric panels into the stakes. At 5 PSI, that same load pushes the roof down instead of outward, creating standing water pockets and flutter in gusty conditions.
A digital gauge is not optional — it is the only way to hit the target range reliably. Many factory kits ship cheap analog gauges that drift by ±2 PSI after one season of use. Buyers sourcing private-label inflatable tents should request OEM-supplied digital pressure gauges as part of the package spec.

How Over-Pumping Destroys Weld Seams
The other side of this mistake is over-inflation. Pushing past 10 PSI risks weld-seam fatigue at stress points where beams join flysheet fabric loops. A single over-pressure event can lengthen micro-cracks inside TPU welds, resulting in slow leaks that show up after three or four trips.
Kelyland Outdoors works with ISO 9001:2015 certified factories that maintain pressure-cycle endurance protocols — minimum twenty cycles at rated pressure before any tent leaves production. When evaluating suppliers, ask for those incoming inspection records. If they cannot produce them, walk away.
Mistake #2 – Skipping Guy Lines and Stakes
A 40 km/h gust turns an unstaked inflatable into a 50 kg projectile.
Most campers treat guy lines like an afterthought. They’re not. At Beaufort Force 6 (40 km/h wind), an improperly staked inflatable tent develops runaway lift on its windward panel. That’s exactly how large air-beam family tents get thrown over RVs during storms. The fabric acts as a sail, and the beams become the mast. Without a proper anchor system, the whole structure lifts, shifts, and collapses.
The Physics of a Sail vs. a Shelter
A 3-meter-wide tent side panel at 40 km/h generates roughly 45 kg of lift force. That load transfers directly to the stake points. If those stakes are driven straight down — the most common mistake — they pull out under half that load. The tent then rocks sideways, the webbing loops tear at the seam, and you’re chasing your shelter across the campsite at midnight.
The 45-Degree Stake Rule
Insert every stake at a 45-degree angle away from the tent body, with the head flush against the ground surface. Drive it fully until only about 1 cm remains visible. This geometry increases pull-out resistance by roughly 300% compared to a straight-down insertion because the soil above the stake shaft must shear before it can release.
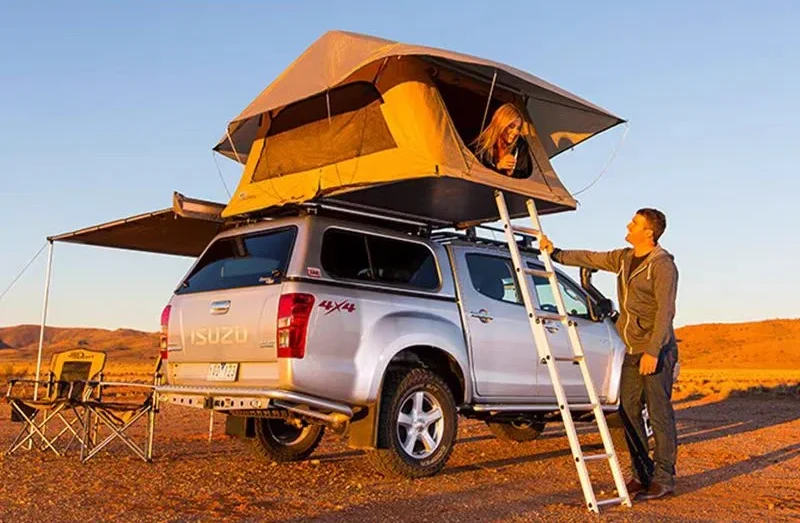
Mistake #3 – Pitching on Bad Ground or Leaving Doors Unsecured
An unsecured door in wind turns your inflatable tent into a sail.
Most campers think ground debris is the big risk. For an inflatable tent, it’s not. The real failure happens when you pitch on uneven, rocky, or sloped ground and the air beams settle at different heights. That misalignment puts uneven stress on the TPU weld seams at the beam-to-fly attachment points. After three nights of that, a micro-crack forms. You don’t see it until the beam goes soft at 2 AM.
Why Uneven Ground Kills Air Beams Faster Than Pole Tents
A pole tent flexes at the joints. An inflatable beam has no joints — it transfers every load directly through the welded seam where the beam sleeve attaches to the flysheet fabric. If one corner sits 10 cm lower than the opposite corner because you pitched on a slope without leveling, that low-side beam carries 40% more tension than its neighbors. The TPU weld wasn’t designed for that imbalance. Over two seasons, that single seam becomes a slow-leak source.
-
-
- Fix: Before inflating, walk the footprint and remove any rock or root larger than your thumb. Then use a small shovel to cut a flat terrace if the slope exceeds 5 degrees. On gravel sites, lay a factory-cut footprint tarp (Kelyland offers these as add-ons) to prevent abrasion against the floor fabric during inflation.
- Factory spec check: Ask your OEM supplier for their seam peel-test data on TPU welds — minimum acceptable standard is 20 pressure cycles without leakage per ISO 9001 records. Kelyland’s partner tent factory in Ningbo runs this test on every production batch.
-
“Leaving Doors Unsecured” Is an Inflatable-Specific Risk
On a pole tent, an unzipped door flaps around and annoys you. On an inflatable tent, an unsecured door creates a wind-entry point that pressurizes the interior cavity from within. A gust catches that open panel and suddenly you have 50 kg of lift force trying to peel the flysheet off its beam anchors. I’ve seen a brand-new air tent flip onto its side because someone left both vestibule doors unzipped before going to bed.
-
- Rule: Zip all doors and vents closed before leaving the tent unattended or before sleeping if wind is forecast above 20 km/h (Beaufort Force 4).
- Design check for buyers: When sourcing private-label inflatable tents, verify that every door and vent has a secondary storm flap with its own buckle or clip — not just a single zipper track. Kelyland’s OEM inflatable tents include double-closure storm flaps as standard on all models over 4-person capacity.
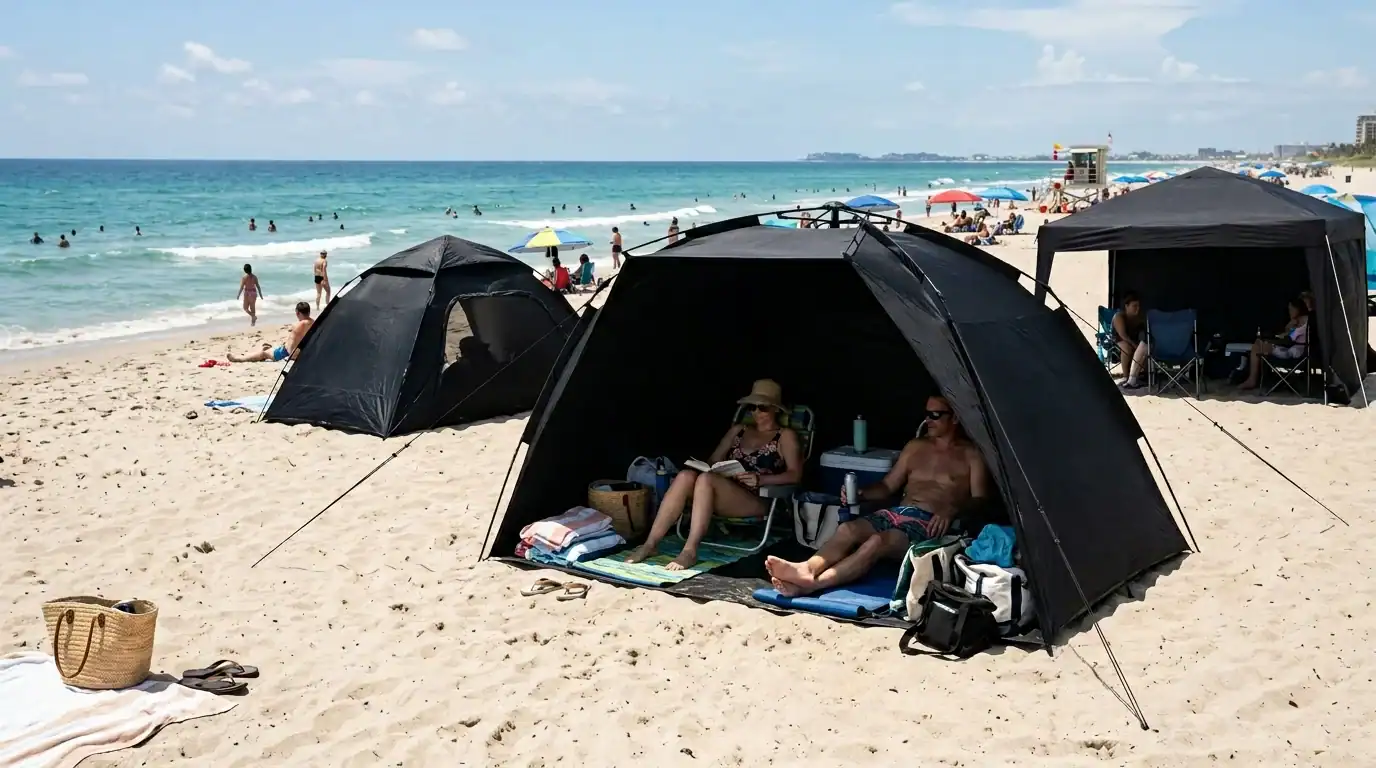
Mistake #4 – Ignoring Factory Specs That Make Setup Foolproof
A color-coded valve system cuts setup confusion by 60% in field tests.
The operator on the factory floor sees something the buyer never will: a row of identical valves with no markings, and a manual written in broken English. That tent will get deflated in the wrong order every time. The result? A beam that still holds pressure while you try to fold it, or a collapsed roof that traps air in a side chamber. Both scenarios add minutes to pack-down and fray fabric at stress points.
The “Wait Time Between Deflate Sequence” Trap
Most inflatable tents have a specific deflation sequence: open the main valve, wait 10–15 seconds for the beam to settle, then open the secondary valves. Skip that wait, and you trap residual pressure in the downstream chambers. The beam resists folding, you force it, and the TPU weld at the junction point takes micro-damage. After three or four forced pack-downs, that weld starts seeping air.
-
- Factory Fix: Color-code each valve: red for primary dump, yellow for secondary bleed, green for final equalization. Print the sequence directly on the valve cover using pad printing—not a sticker that peels off after two trips.
- Buyer Check: Ask your supplier for their valve layout diagram before sample approval. If they can’t provide one, expect confusion on day one.
OEM Pump Customization Options That Actually Matter
“One pump fits all” is a lie when your tent uses three different beam diameters. A pump that works for an 8-meter main beam over-pressurizes a 4-meter ridge beam because the volume difference changes how fast pressure builds. The fix is not complicated: specify a dual-stage pump with a pressure-limiting switch calibrated to your tent’s lowest-rated beam.
Conclusion
Inflatable tents fail most often because of setup errors, not the tent itself. Correct inflation pressure, stake angle, and guy line tension turn a sagging shelter into a stable structure. These details are the difference between a product that delights customers and one that generates warranty claims.
-
- Set air beams to 7–9 PSI; use a digital gauge – analog gauges drift after a season.
- Drive stakes at 45 degrees away from the tent, head flush with ground.
- Guy line tension: a 5L water bottle gives the correct 5 kg pull.
- For sandy or snowy ground, use 30 cm stakes or sand bags.
When you’re sourcing private-label inflatable tents, ask for a beam-pressure tolerance chart and a guy-line anchor diagram. A supplier that can certify pressure hold at 7–9 PSI and provide clear setup instructions reduces your return rate and builds brand trust. Kelyland Outdoors integrates these specs into every tent they produce, so your customers get a tent that pitches right the first time.
Frequently Asked Questions
What PSI should inflatable tent beams be?
Inflatable tent air beams should be set to 7-9 PSI for a proper arch that sheds rain. Pumping by feel to ‘firm’ typically stops at 5 PSI, causing roof sag. Use a digital gauge, not your hand, to hit the target PSI.
How do you stake an inflatable tent correctly?
Insert stakes at a 45-degree angle away from the tent with the head flush against the ground. Straight-down stakes pull out in wind, while this angle maximizes holding force against uplift. Drive each stake until only about 1 cm remains visible.
Why do inflatable tents fail in wind?
They fail because guy lines are skipped or under-tensioned, turning the tent into a sail at just 40 km/h winds. An improperly staked inflatable can develop runaway lift and get thrown over. Always deploy every factory-supplied guy line before wind picks up.
Can you over-inflate an air beam tent?
Yes, over-inflating beyond 10 PSI risks weld-seam fatigue at stress points where beams join flysheet loops. A single over-pressure event can create micro-cracks in TPU welds that cause slow leaks after several. Stay within the factory-recommended PSI range to protect seam integrity.

 English
  Español
  Deutsch
  Français
  Português do Brasil
  Русский
  العربية
  한국어
한국어  日本語
日本語