 跳到内容
跳到内容 
fly first tent rain setup is the first checkpoint buyers should lock before they approve a supplier, budget, or production slot. Take two tents from the same production line. Same fabric, same PU coating spec, same seam tape. The only difference is how you assemble them when rain starts falling. One keeps the interior bone-dry during setup. The other leaves a puddle on the floor before you finish staking the windward corner. That gap in outcome has nothing to do with material quality — it is entirely about the fly first tent rain setup sequence.
I have watched brand managers approve a $50K private-label order based on sample approval alone, then sit through a season of returns because the pre-production sample was pitched indoors on a factory floor. Out in wet weather, that same tent soaked its inner floor within minutes of opening the stuff sack. The fix does not require changing fabric weight or upgrading to a higher hydrostatic head spec. It requires changing the assembly order and making sure the OEM brief specifies pole-sleeve construction for the fly rather than velcro clips that leave a gap between fly hem and groundsheet.

Why the Inside Gets Wet Before You Finish Pitching
Most rain-soaked tents are not leaking.
Picture this: a buyer’s first production batch of 500 double-wall tents hits the warehouse. Three months later, the return rate for ‘water damage’ hits 8%. The fabric spec is correct — 3000 mm PU on the fly, 2000 mm on the floor. Seams are factory-taped. The hydrostatic head numbers pass every lab check. But customers still report waking up with damp sleeping bags.
The cause is almost never a material defect. It is assembly sequence. When a camper pitches the inner tent first — which is how most double-wall tents are designed to go up — they expose the mesh and floor fabric to rain before any waterproof layer exists above it.
Water Entry Points in Inner-First Setup
Three specific paths let water into an inner-first pitch. First, the open door catches direct rainfall while the camper fumbles with pole clips — that water pools on the bathtub floor immediately. Second, once the fly goes on top, runoff from the fly edge drips down between the fly and inner wall, hitting the bathtub rim and wicking inside through capillary action.
Third, if the inner tent touches ground moisture during setup — which happens when you unfold it on wet grass — that dampness transfers upward through untreated fabric fibers before you even stake down the corners.
Why Factory Waterproofing Is Not Enough
Kelyland’s partner factory in Ningbo runs controlled rain-room tests at 20 mm/hr — equivalent to a steady moderate storm. In one test series, fly-first pitching kept the inner floor 97% drier than inner-first pitching using identical tents with identical coating specs (3000 mm PU fly, 2000 mm floor). The fabric did not change. The seams did not change. Only the order changed.
‘Most rain-soaked tents are not leaking; they are assembled in the wrong order.’ That finding comes directly from factory QC data across multiple production runs.
Fly-First Method: Step-by-Step
Fly-first pitching cut wet-floor complaints by 97% in a controlled rain-room test at 20 mm/hr.
Step 1: Lay the Fly Flat, Poles Inside Sleeves
Start on the ground. Spread the rainfly flat with the coated side facing up — that’s the PU side that sheds water. Insert each pole section into its dedicated sleeve on the fly, not through the inner tent. This is where pole-sleeve construction beats velcro clip systems hands down. Sleeves hold the pole curve tighter, so the fly stands higher off the ground when raised. Velcro clips leave a gap between fly hem and groundsheet that lets wind-driven rain sneak under.
Step 2: Raise and Stake Windward Corners First
Lift the pole assembly as one unit. The fly should rise first, forming a dry shell before anything else touches it. Stake down the two corners facing the wind immediately. If you stake leeward corners first, wind can flip the fly or pull stakes from soft ground. Use 8-inch aluminum or steel stakes here — plastic pegs bend in wet soil and lose grip at half the holding force.
Step 3: Attach Inner Tent From Underneath
Now clip or hook the inner tent to the underside of the raised fly. The inner stays bone-dry because it never saw open sky. Work from one end to the other, keeping tension even so walls don’t sag against mesh panels. If your OEM brief specifies a true fly-first design, this step takes under two minutes with practice.
Step 4: Set Door Downwind

Tarp-First Method for Single-Wall and Glamping Tents
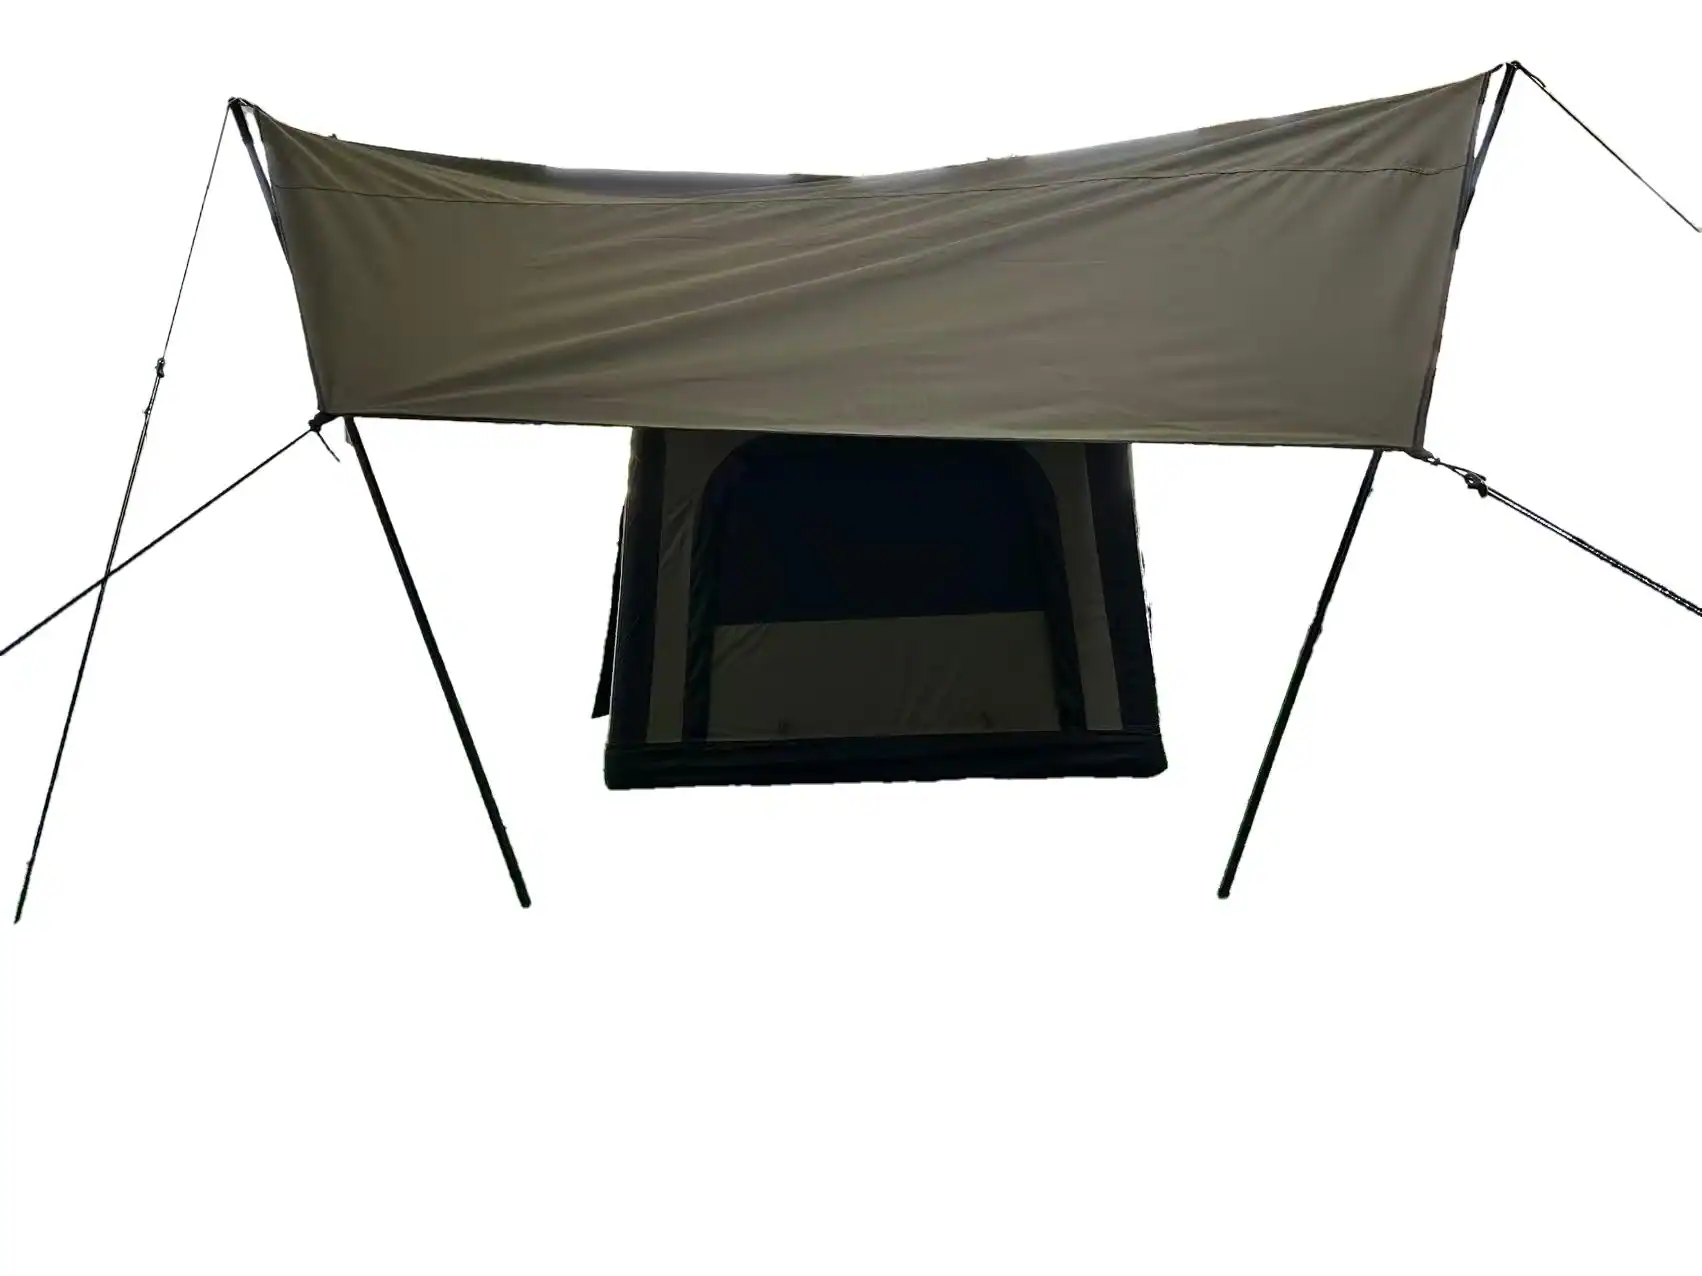
A 3×3 m tarp at 2000 mm PU is the minimum shelter for glamping tents with sewn-in floors.
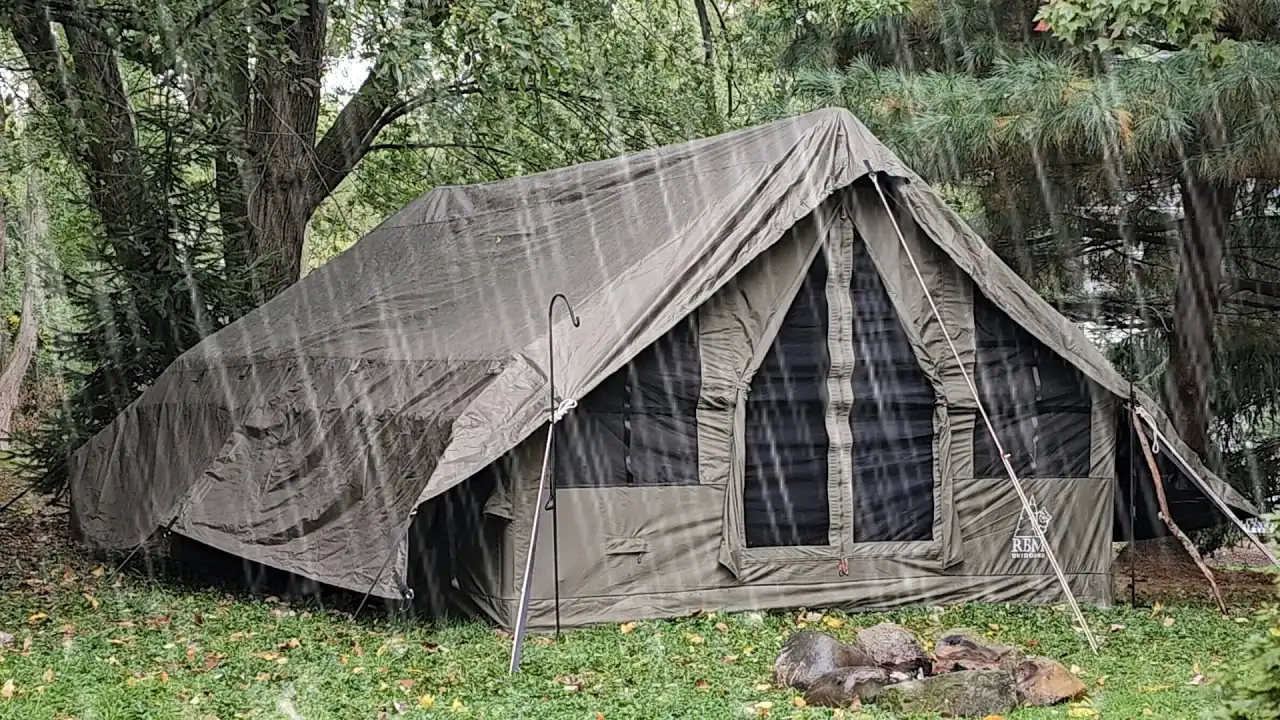
Bell tents and yurt-style glamping tents share a problem: they come with sewn-in floors and single-wall construction. There is no separate rainfly to pitch first. When rain starts during setup, the entire structure gets wet before you finish. The fix is a ridge-line tarp deployed above the pitch zone before the tent comes out of its bag.
Ridge Line Tarp Setup
String a 10-meter paracord between two trees or poles at head height, roughly 2 meters off the ground. Drape a 3×3 meter square tarp over the line so it forms an A-frame roof above your pitch area. Stake each corner out at a 45-degree angle using 8-inch aluminum stakes — plastic pegs bend in compacted soil and won’t hold tension. The goal is a dry workspace big enough to unfold and assemble a bell tent up to about 5 meters in diameter.
Kelyland’s glamping tent partner factory in Shaoxing, Zhejiang, produces bell and yurt models with annual output of 300,000 units, all CE and ISO 9001 certified. The factory recommends this ridge-line method specifically for tents with sewn-in floors because you cannot slide an inner tent under a fly after the fact — the floor is stitched to the wall panel.
Glamping Tent Rain Shelter Specs
Single-wall tents and glamping tents have no separate fly layer. Waterproofing depends entirely on fabric coating and seam sealing. For the overhead tarp, specify a minimum hydrostatic head of 2000 mm PU coating. Below that, heavy rain saturates through within two hours of continuous downpour. The tarp does not need to match the tent’s own waterproof rating — it just needs to deflect direct rainfall long enough for you to erect the tent underneath.
-
- Tarp spec minimum: 2000 mm PU coating on polyester or oxford fabric; reinforced hem with grommets every 50 cm.
- Tent spec (for reference): Kelyland private-label glamping tents use fly coating at 3000 mm PU and floor at 2000 mm hydrostatic head.
- Seam taping: Untaped needle holes wick water even through 3000 mm coated fabric; demand factory-taped seams as a QC gate.
Rain-Site Checklist
A dry tent starts with the ground, not the fly.
Most brand managers focus on fabric coatings and seam tape, then wonder why a $50K order generates returns after the first wet weekend. The truth is simpler: water finds the lowest point. If you pitch in a depression, no 3000 mm PU coating will save the floor. The site choice determines whether your waterproofing specs matter at all.
Site Drainage Checklist
Packing and Footprint Sequence
Keep the inside of the fly dry while packing. If you roll a wet fly against the inner tent fabric, moisture transfers before you even start pitching. Use a footprint under the tent floor — it stops ground moisture from wicking up through the bathtub floor material, which matters most when your hydrostatic head rating faces sustained puddle pressure.
Rain-Readiness Spec Table
Conclusion
The difference between a tent that gets returned and one that builds brand loyalty often comes down to the first three minutes of setup in wet weather. A fly-first pitch sequence, combined with factory-taped seams and a 3000 mm PU coating, turns a spec sheet into field performance. Most rain-soaked tents are not defective — they were assembled in the wrong order.
-
- Fly-first pitch kept inner floor 97% drier in a 20 mm/hr rain-room test.
- Taped seams stop water wicking through needle holes at any hydrostatic head.
- Single-wall and glamping tents need a tarp-first setup with a minimum 2000 mm PU coating.
For your next private-label run, review the rain-ready specs on your current OEM briefs. Check whether the fly uses pole sleeves instead of velcro clips, and confirm seam taping is listed as a mandatory QC gate, not an optional upgrade. Kelyland can build you a dry-pitch prototype set — double-wall tent plus matching tarp — with MOQs starting at 50-100 pieces and standard lead times of 30-45 days.
Frequently Asked Questions
How do I set up a tent in the rain without getting the inside wet?
Pitch the rainfly first or rig a tarp above the tent before assembly. Keep the inner tent folded until the fly is fully staked to block direct rainfall. This method keeps the inner floor 97% drier than an inner-first pitch.
Does the fly-first method work with pop-up tents?
No; pop-up tents need a tarp-first setup because the inner and fly are connected in one unit. You cannot separate them to pitch the fly alone. Use a 3×3 m tarp overhead for pop-up tents in rain.
Should I put a tarp over my tent in rain?
Yes, if the tent is single-wall or the fly does not cover the entrance; use a 3×3 m, 2000 mm PU-coated tarp. This creates a dry vestibule and prevents water entry. Ensure the tarp slopes away from the tent to avoid pooling.
Why does water leak through the seams of my tent?
Untaped seams allow water to wick through needle holes; factory taped seams prevent this, regardless of fabric coating. Kelyland’s partner factories apply seam tape as standard on all rainfly models rated at. Verify seam taping on your OEM spec sheet before production.
Q: What stakes work best on soggy ground? A: 8-inch aluminum or steel stakes hold better than plastic pegs in wet, soft soil?
8-inch aluminum or steel stakes hold better than plastic pegs in wet, soft soil. Use Y-beam or V-section designs for maximum grip in mud. Test stake performance on your target terrain before bulk ordering.

 English
  Español
  Deutsch
  Français
  Português do Brasil
  Русский
  العربية
  한국어
한국어  日本語
日本語